Leveling the Fusion Pro 48 Table
5
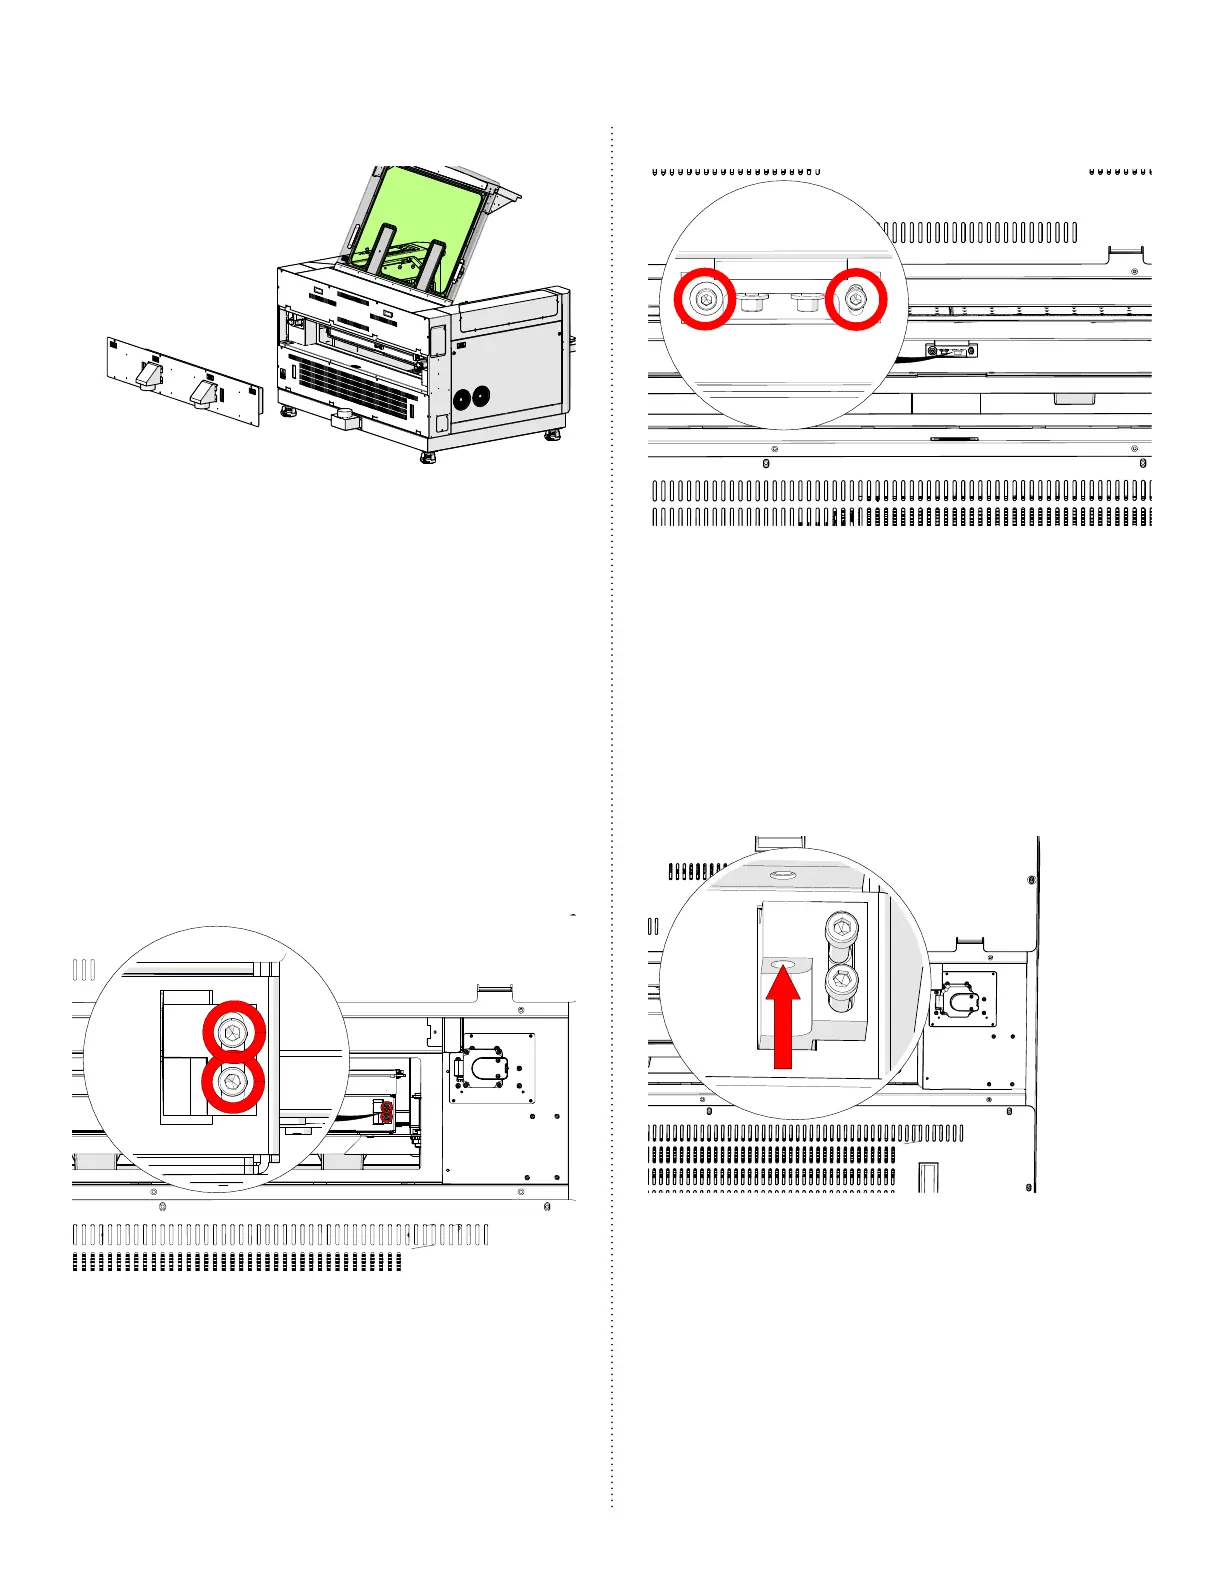
6. Remove the exhaust plenum:
7. While standing at the rear of the
machine and with the focus gauge in
contact with the table, move the lens
carriage between positions 1 and 2.
Observe the focus gauge to confirm
that it remains in contact with the
engraving table.
8. If adjustments are needed to this area
of the table, loosen the table clamp
locking screws for positions 1 and 2:
Table Clamp Locking Screws Position 1
Table Clamp Locking Screws Position 2
9. Once the table clamp locking screws
are loosened, the table can be
raised or lowered using the Allen
head leveling screws shown below.
Tightening the screws will lower the
table and loosening the screws will
raise the table:
Table Leveling Screw Position 1