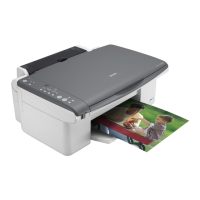
32 Maintaining Your Epson Stylus CX All-in-One
3. Press and release the B ink button. The P On and B ink lights flash.
If one of the cartridges is low or empty, the Epson Stylus CX moves that
cartridge to the _ ink out mark. Go to step 4.
If no cartridges are low or empty, the ink cartridge holder moves to the ink
replacement position. Go to step 5.
Note:
Do not hold down the
B ink button for more than 3 seconds or the printer will start
to clean the print head.
Caution:
Do not move the print head by hand; this may damage the Epson Stylus CX.
Always press the
B ink button to move it.
4. Press the B ink button again.
■ If more than one cartridge is empty or low, the next cartridge moves to
the _ ink out mark.
■ Once the Epson Stylus CX identifies all of the empty or low ink
cartridges, the print head moves to the ink cartridge replacement position.

 Loading...