Mounting instructions (if stand is not
used)
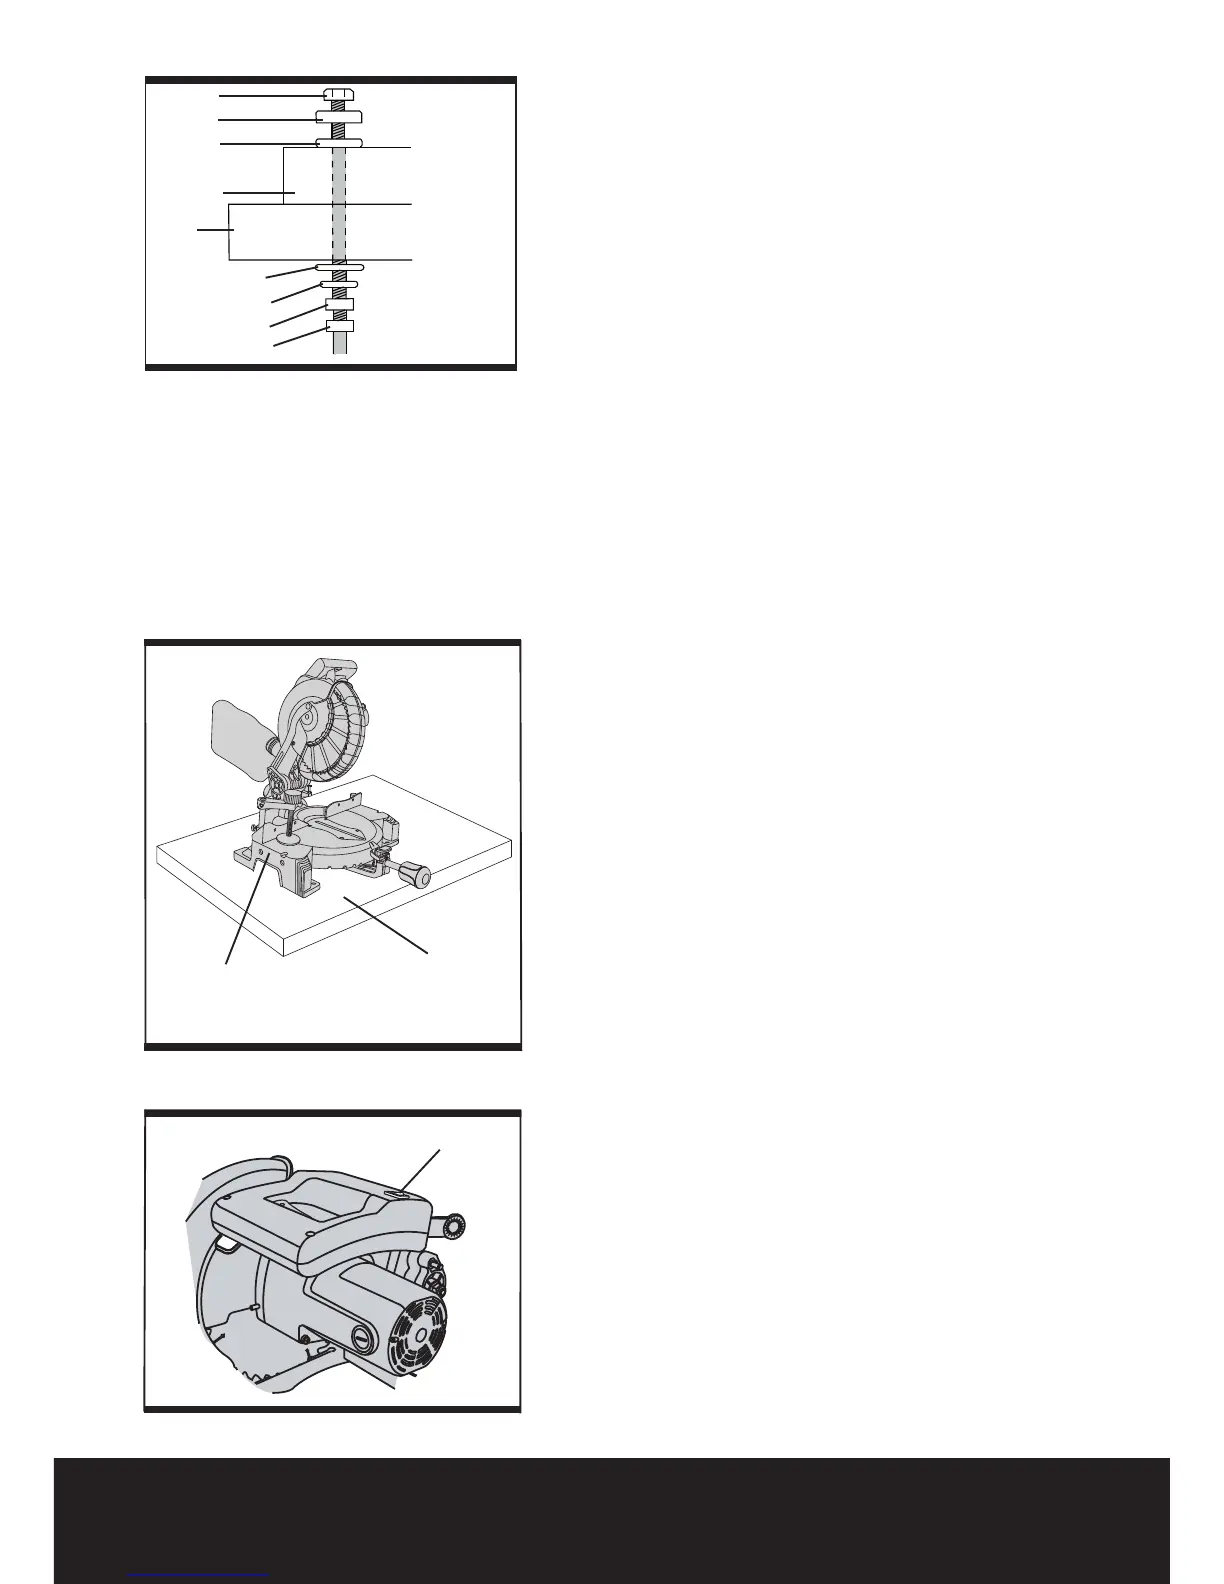
1) For stationary use, place the saw in the
desired location, directly on a workbench
where there is room for handling and proper
support of the workpiece. The base of the saw
has three mounting holes. Bolt the base of the
mitre saw (1) to the work surface (5), using the
fastening method as shown in Fig 20.
Note: Mounting hardware is not included with
this tool. Bolts, nuts, washers, and screws must
be purchased separately.
2) For portable use, place the saw on a 19
mm thick piece of plywood. Bolt the base of
the mitre saw securely to the plywood using
the mounting holes on the base. Use
C-clamps to clamp this mounting board to a
stable work surface at the worksite.
(See fig. 21)
7. The laser guide
1) To turn laser on, press on/off rocker switch
(1) to “ON” position.
2) To turn off laser, press on/off rocker switch to
“OFF” position. (See fig. 22)
1
Fig 22
Fig 21
Hand Hole for
Transportation
19 mm Plywood
Fig 20
2
3
1
6
4
5
7
8
9
1. Mitre saw base
2. Hex head bolt
3. Rubber washer
4. Flat washer
5. Workbench
6. Flat washer
7. Lockwasher
8. Hex nut
9. Jam nut