StepsSteps
1.1.
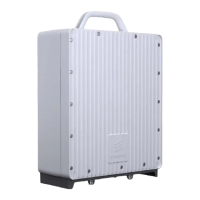
Ge11048A
Ge11048A
Hook the radio into the groovesHook the radio into the grooves
of the single pole clamp.of the single pole clamp.
2.2.
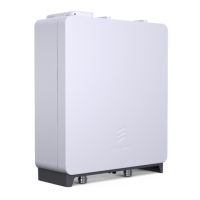
Ge11049A
Ge11049A
22 Nm22 Nm
16 mm16 mm
Attach the lower bAttach the lower bolts to theolts to the
single pole clamp and tighten thesingle pole clamp and tighten the
four bolts.four bolts.
66..66 CCoonnnneecct t CCaabblleess
Make sure that all cable connectors are in good condition; replace if needed.Make sure that all cable connectors are in good condition; replace if needed.
For information on cable product numbers, refer toFor information on cable product numbers, refer to Main-Remote InstallationMain-Remote Installation
Products OverviewProducts Overview..
Because of space limitations, always connect the cables in the Because of space limitations, always connect the cables in the following order:following order:
StepsSteps
1.1. CoConnennect tct the ghe grouroundinding cng cabable, le, seesee Ground Radio
Ground Radioon page 21.on page 21.
2.2. CoConnennect ct the the powpower er cabcablele, s, seeee Connect Power CableConnect Power Cableon page 22.on page 22.
3.3. CoConnennect tct the he optopticaical cal cableble, se, seee Connect Optical CableConnect Optical Cableon page 22.on page 22.
4.4. CoConnennect tct the he ALD ALD (RE(RET) cT) cablable, e, seesee Connect ALD (RET) Cable
Connect ALD (RET) Cableon pageon page
25.25.
5.5. CoConnennect thct the exe exterternal anal alarlarm cam cableble, see, see Connect External Alarm Cable
Connect External Alarm Cableonon
page 25.page 25.
6.6. CoConnnnecect tht the Re RF caF cablble, se, seeee Connect RF Cable
Connect RF Cableon page 26.on page 26.
Install Radio
Install Radio
67/67/15153131-L-LZA ZA 70701 61 600001/1/1 1 UeUen n JJ || 20201717-0-06-6-0606
1919
 Loading...