6 MAINTENANCE
0463 645 001
- 16 -
© ESAB AB 2020
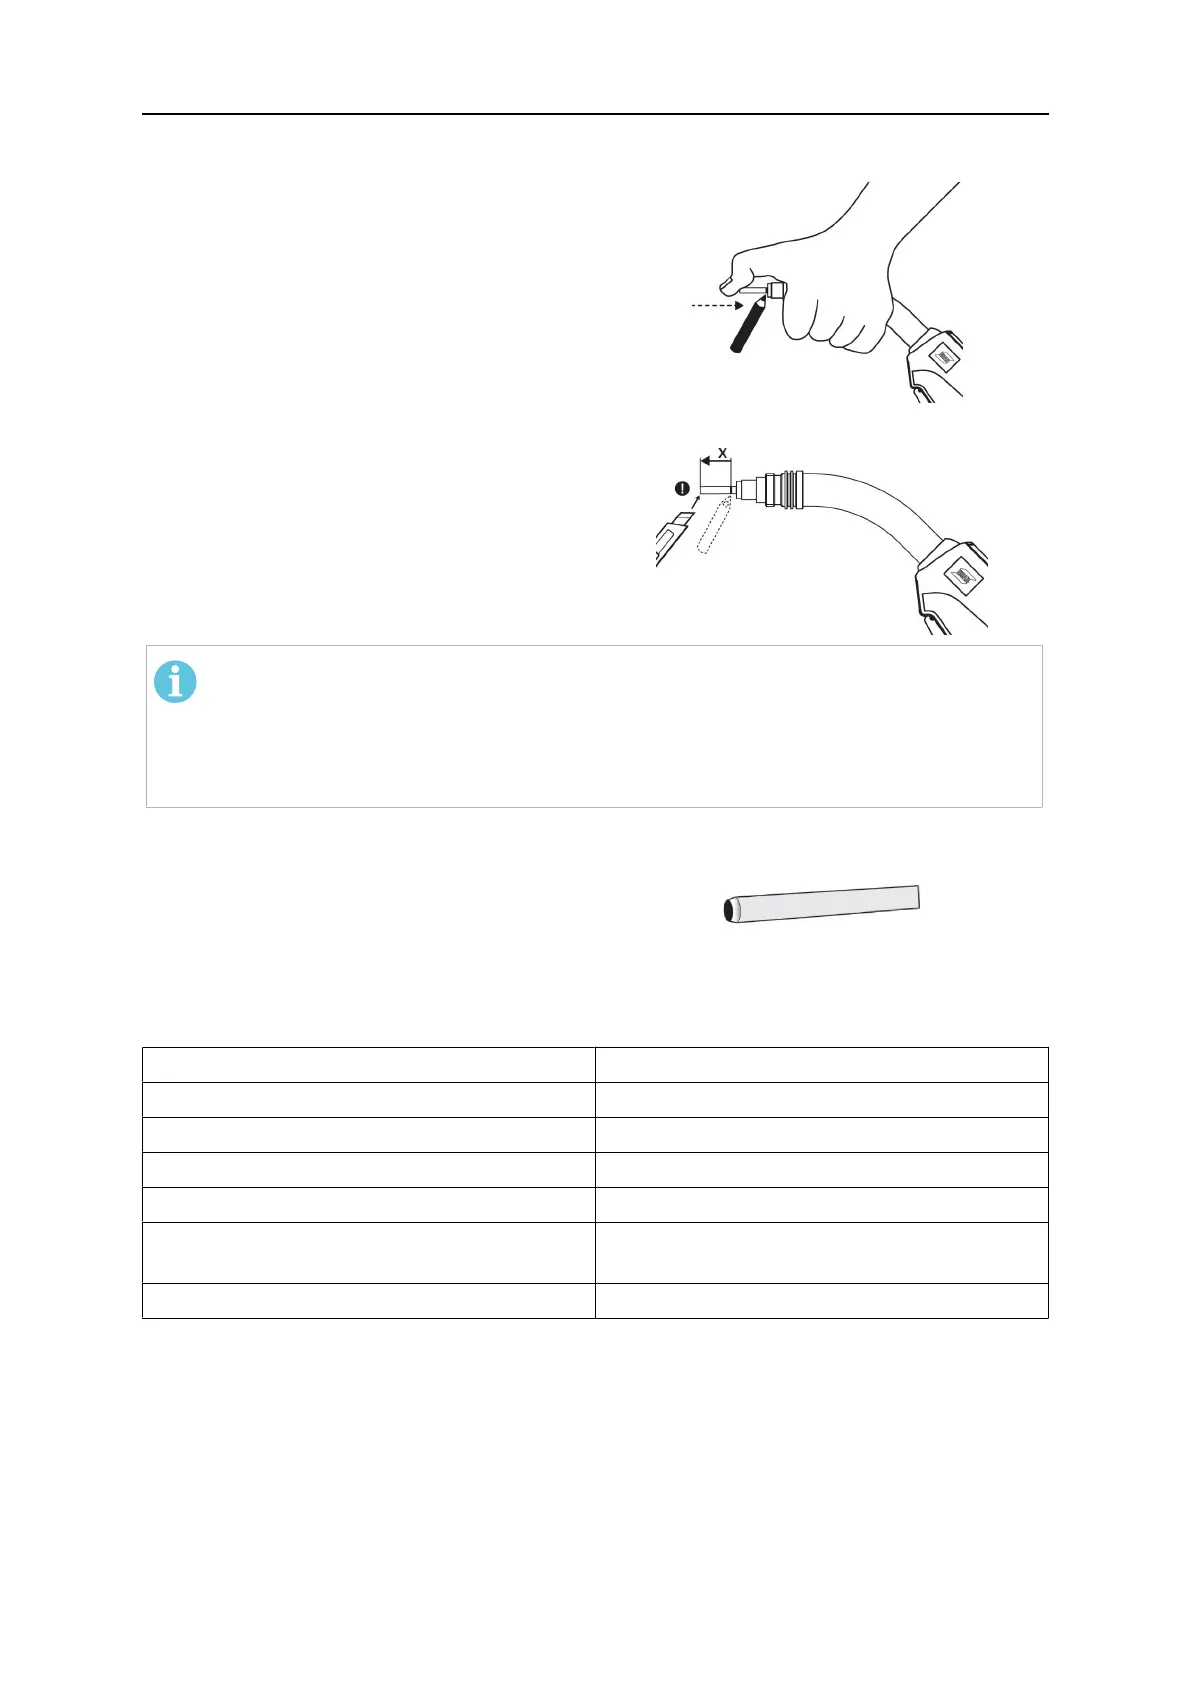
Installing a plastic liner
1. Remove the sleeve nut from the
central connector, remove the gas
nozzle, contact tip and tip holder
from the torch.
2. Insert the liner through the central
connector and lock it with the sleeve
nut.
3. Gently push back the front part of
the liner into the torch as far as it will
go, do not apply force. Mark the end
of the torch neck on the liner.
4. Cut the liner to the correct length
using a projectile "X" measured from
the marking as shown in the figure.
Slightly chamfer the liner front end
after the liner has been cut to the
correct length.
NOTE!
If the liner has a bronze front end, first cut the plastic liner to a suitable length and
let the bronze liner stick out approximately 40-50 mm from the torch neck. Attach
the bronze liner to the front of the plastic liner and only then cut this liner
assembly to the precise length.
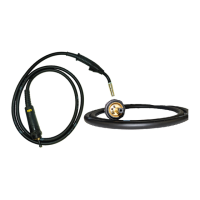
If it is difficult to insert the liner into the torch,
make a clean cut at the front end of the liner
and chamfer the edges (e.g. with a pencil
sharpener).
Install all equipment parts on the torch neck.
Cutting length
Welding torch Projectile "X"
PSF 260 13mm
PSF 315, PSF 315 RS3 13mm
PSF 415, PSF 415 RS3 9mm
PSF 515 14mm
PSF 420w, PSF 420w RS3, PSF430w,
PSF430wRS3
9mm
PSF 520w, PSF 520w RS3 9mm