Do you have a question about the Eureka NEU180 series and is the answer not in the manual?
Record model, type, serial number, and date of purchase for future reference.
Register your Eureka product online for warranty and updates.
Inspect the vacuum for shipping damage immediately after unpacking.
Follow basic precautions including avoiding wet surfaces, keeping away from children, and proper cord handling.
Keep body parts away from moving parts, avoid placing on stairs, and do not pick up burning items or flammable liquids.
Store indoors, keep work area lighted, understand polarized plug, and do not oil motor/brushroll.
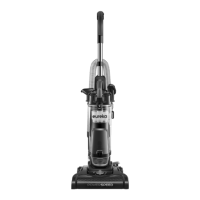
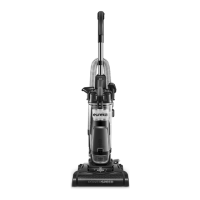
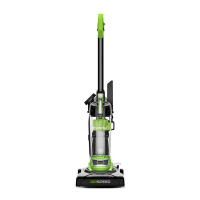
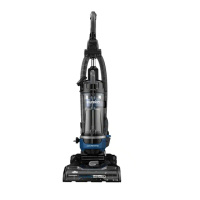
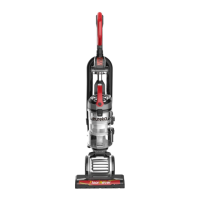
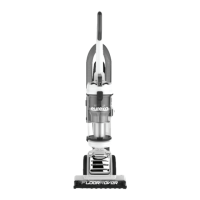
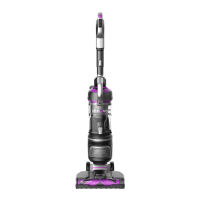
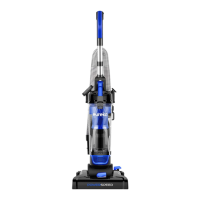
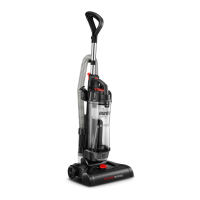
Identify the main vacuum cleaner unit included in the carton.
List of accessories: dusting brush, upholstery tool, and crevice tool.
Slide and push the handle into the top of the vacuum cleaner until it clicks.
Loop the hose over the retainer and push the loose end securely onto the hose inlet.
Store dusting brush, upholstery tool, and crevice tool on the back of the vacuum cleaner.
Wrap the power cord onto the upper and lower cord wraps for storage.
Identify key parts of the vacuum cleaner like the handle, dust cup, and brushroll cover.
Identify the dusting brush, upholstery tool, and crevice tool.
Identify the washable foam filter, filter screen, dust cup, and belt.
Plug in the vacuum, adjust height for carpet pile, and use the power switch.
Lower the handle using the release pedal for vacuuming floors.
Empty the dust cup after every use by releasing the bottom lid.
Connect accessories to the handle wand or directly to the hose for cleaning.
Use the crevice tool for tight spaces, corners, and detailing.
Use the dusting brush for furniture, drapes, blinds, and vents.
Use the upholstery tool for furniture, chairs, sofas, and mattresses.
Press release button, lift off cup, hold over wastebasket, and release bottom lid to empty.
Clean foam filter and filter screen monthly by rinsing and drying thoroughly.
Check dust cup, filter screen, wand, and hose for obstructions if suction is low.
Empty dust cup, clean filters, use a blunt implement for wand/hose, and check air path.
Lower the handle, turn vacuum face down, and check brushroll for debris.
Use scissors to clip and remove heavy threads or strings from the brushroll.
Remove 6 screws to lift off the brushroll cover.
Position new belt around motor shaft and brushroll shaft, then loop it.
Insert brushroll, align cover, snap into place, and replace screws.
If vacuum shuts off, unplug, check for overheating causes, wait 30 mins, and retry.
Solutions for motor not starting, no suction, burning smell, and difficulty pushing.
Two-year warranty for defects, not covering consumables or damage from misuse.
Return product with proof of purchase to an Authorized Warranty Station or contact for info.
Details on implied warranties, consequential damages, and state-specific rights.
| Brand | Eureka |
|---|---|
| Model | NEU180 series |
| Category | Vacuum Cleaner |
| Language | English |