6
Installation
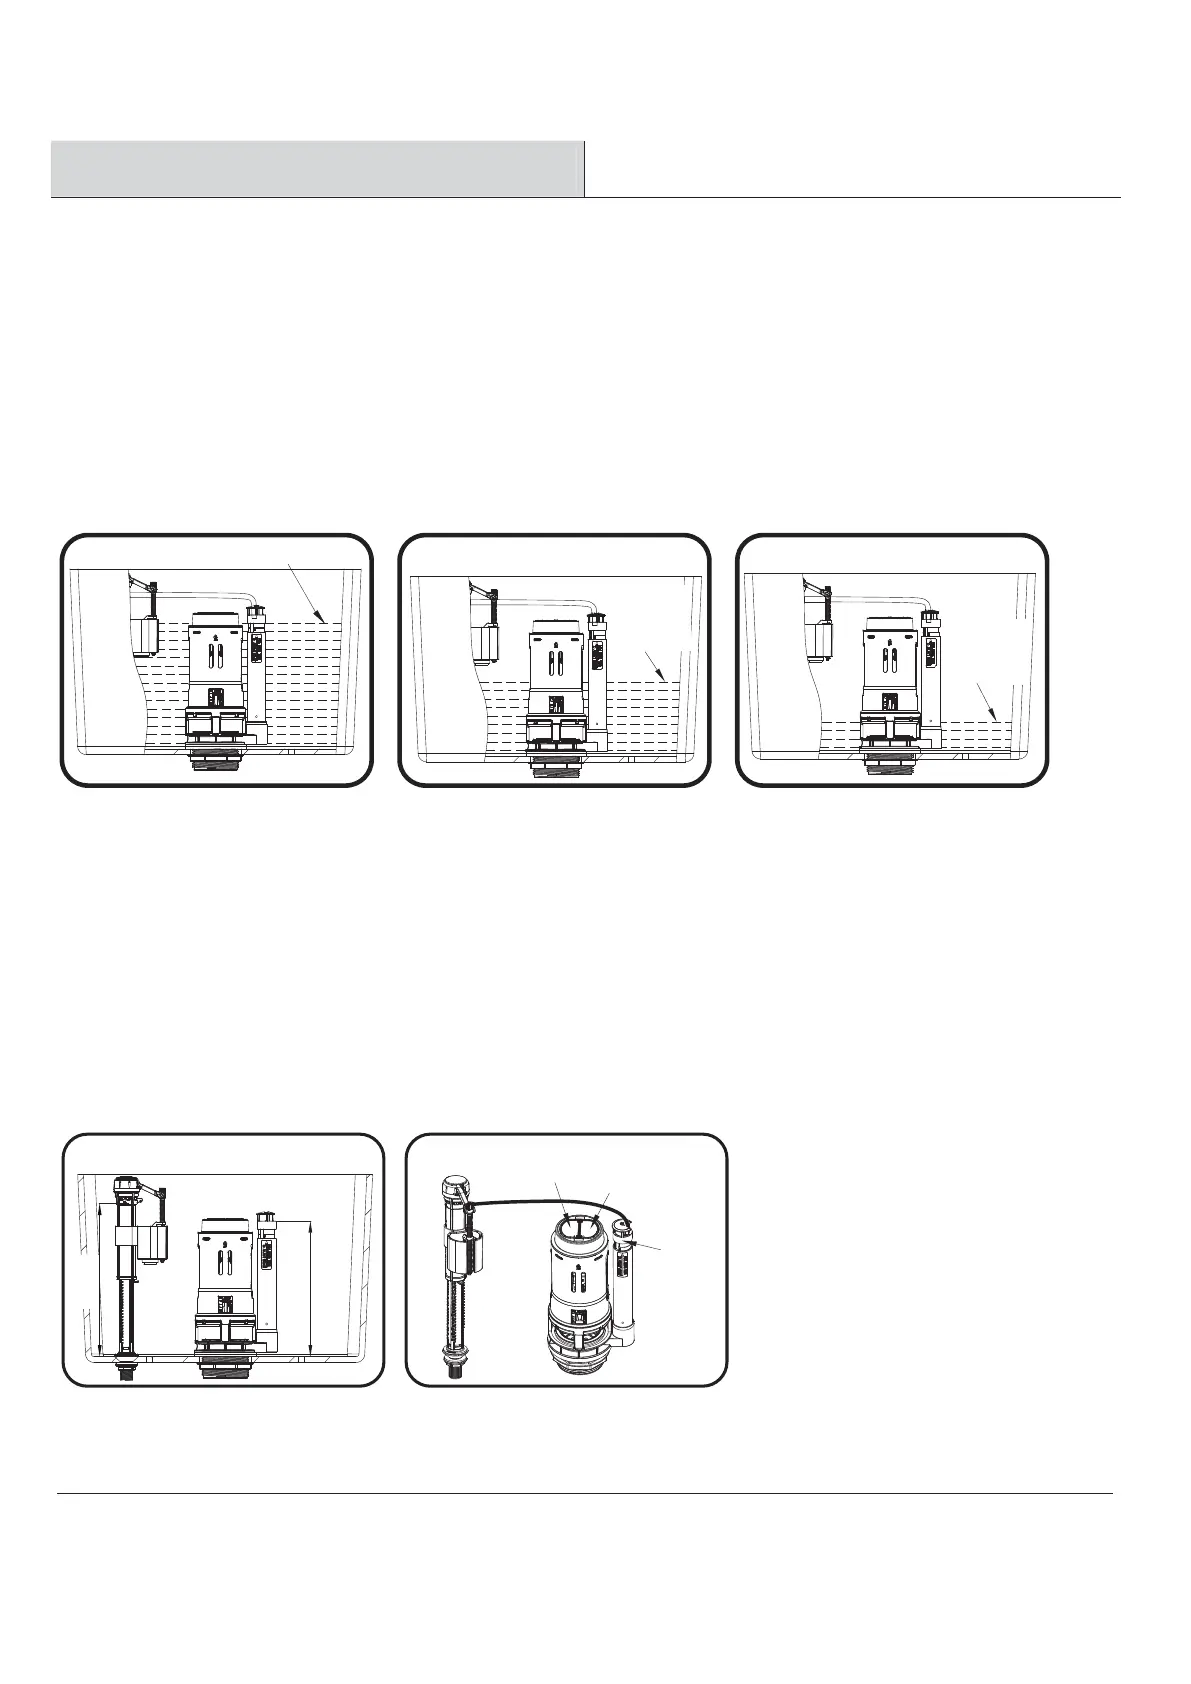
1. Marking water levels
1 2
1 2
3
A. Remove the water tank lid and mark the water level with a pencil.
B. Turn off water supply switch and press the half-flush button. When flush finishes, mark the residual
water level of the half flush.
C. Turn on the water supply switch. When the water inlet finishes,turn off the water supply switch.
Press full flush button. When the flush finishes, mark the residual water level of the full flush.
D. Drain the residual water in the tank and absorb water with a sponge.
E. Remove the water supply pipe.
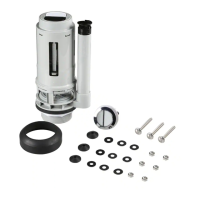
2. Preparing the water tank
A. Measure and record the overflow height of the existing valve body in the water tank.
B. Observe the position of full and half flush buttons in the water tank and the direction of the overflow
pipe.
C. Prepare a relatively flat place for the removed water tank. Place a towel on the flat position to
prevent
damage to the water tank and avoid sliding of the water tank.
Working water level
Half flush
remaining
water level
Full flush
remaining
water level
Half flush
push button
Full flush
push button
Overflow
CL line
Overflow Height