~ 19 ~
© 2008 VAN OS MEDICAL UK LTD., Corunna House Business Centre, 42
44 Ousegate, Selby, North Yorkshire, YO8 4NH
Tel. +44(0)1757 701177, Fax +44(0)1757 706011, E-mail: sales@vanosmedical.com, www.vanosmedical.com
Setting the length of the amputation support
In order to set the length of the amputation support, you require the supplied wrench number 5
- Remove the four screws with the wrench, see figure 22. You can now move the black tube around the silver
tube
- Move the amputee support to the desired position
- Make sure all screws tightened.
5.7
Using the wheelchair brake
Putting the wheelchair brake on
If you are in the wheelchair
-
Lift the black lever part of the brake handle out, see figure 24
-
Push the lever forward until you hear the click, this confirms that the wheelchair has put on the parking
brake.
If you are next to the wheelchair
-
Go to the side of the wheelchair and face towards the front of the wheelchair. Lift the black lever out
-
Push the lever forward until you hear the click, this confirms that the wheelchair has been put on the
parking brake
If you are next to the wheelchair
- Go to the side of the wheelchair and face towards the front of the wheelchair. Lift the black lever out
- Push the lever forward until you hear the click, this confirms that the wheelchair has been put on the
parking brake
- You can now hide the black lever away, draw upwards and push backwards
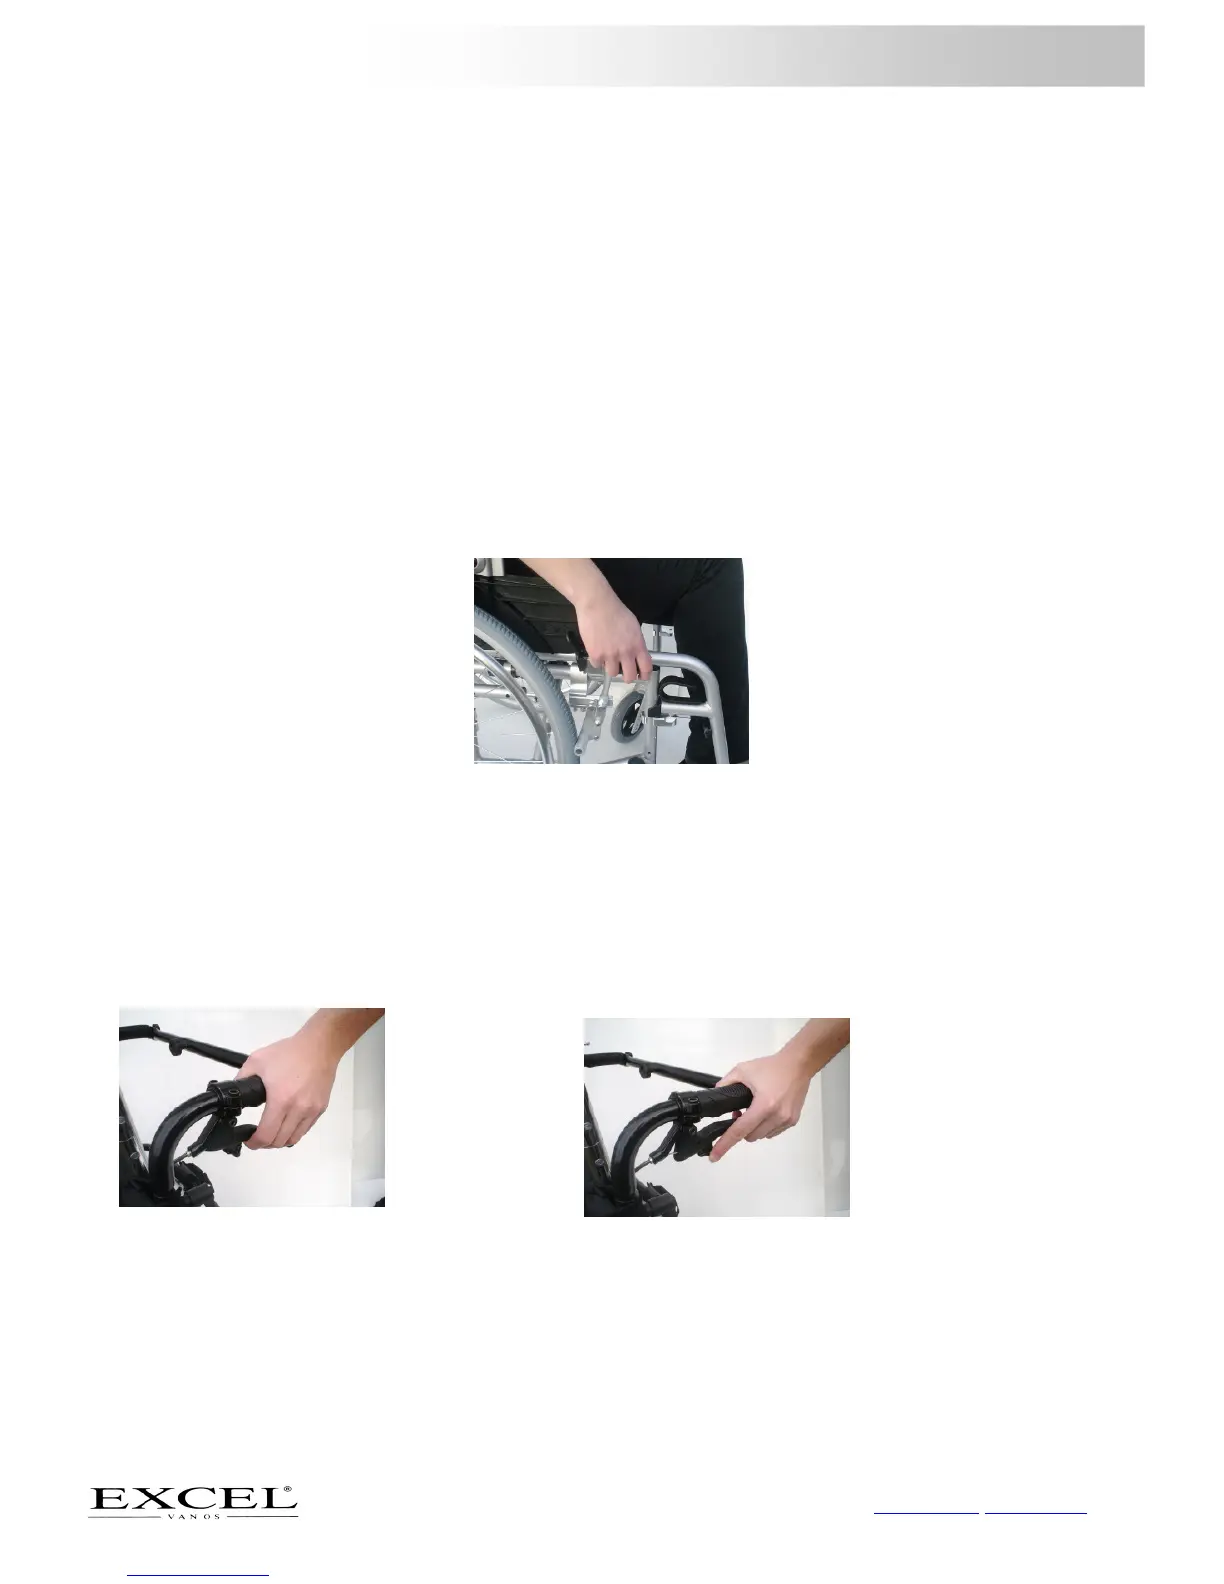
Using drum brakes
Sometimes a wheelchair will be fitted with drum brakes which can be found on the push handles of the wheelchair
- Squeeze the lever toward the black push handle to brake, see figure 25.
You can also put a parking brake on
- Squeeze the lever toward the black push handle
- Keep the lever there and push the button on the black lever forward to brake, see figure 26.;
- Reverse this to remove the parking brake