12
Galaxy
Basketball Systems
13
14
15
16
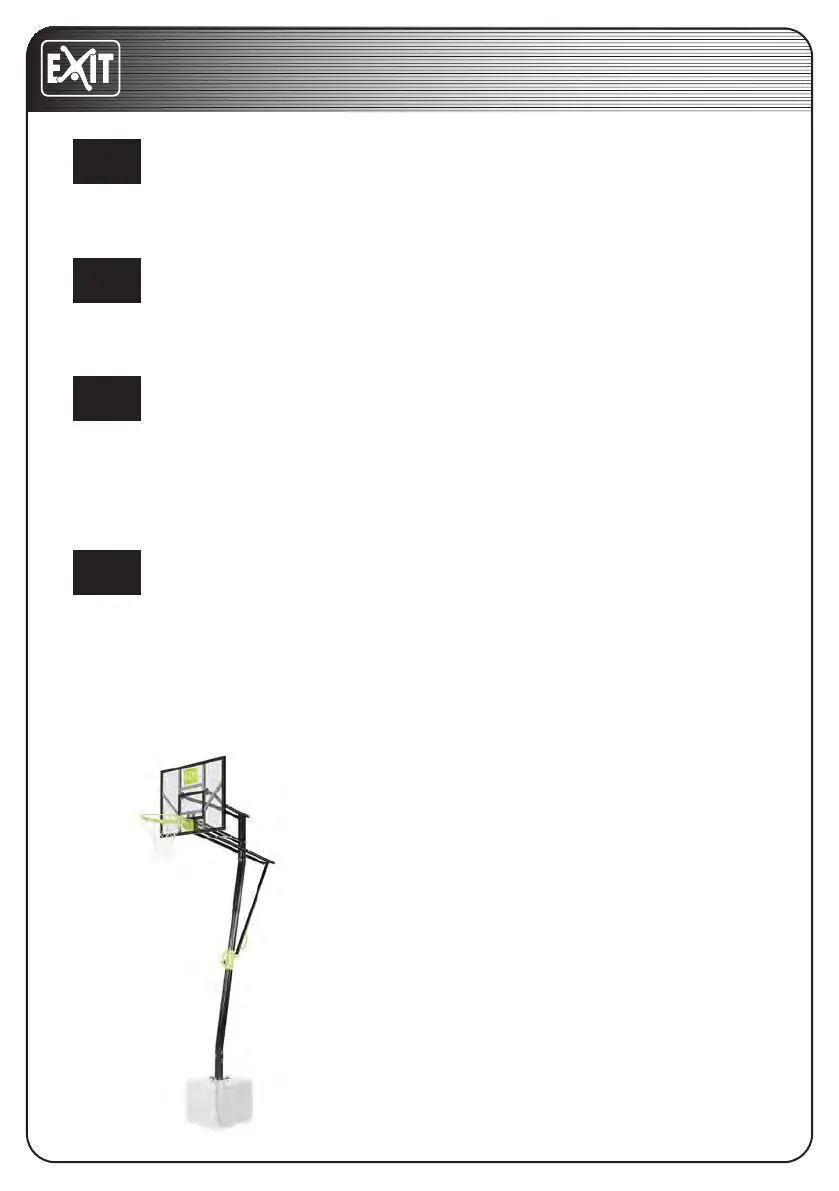
Install the anchor connector (36) to bottom pole (3) using three M10X102mm Bolts
(A8), three M10 washers (F2), and three M10 locknuts (C3).
First, dig out a pit not smaller than 320*350*500mm in the earth, put the anchor
into it and then pour it into concrete.
1. Attach the anchor (35) to the anchor connector (36) using an M10X90mm bolt
(A24) and an M10 locknut (C3).
2. Then, attach the anchor (35) to the anchor connector (36) using four
M12X40mm bolts (A18), four M12 spring washers (G2) and four M12 big washers
(D4).
If you want to adjust the rim height, follow the steps below:
1. Turn the knob to free the adjustment knob (5). See picture (1);
2. Then grasp the slider handle and rear handle (14) to pull the frame up or down
to a hole preferred by you and click the knob back. See picture (3);
3. Tighten the adjustment knob (5). See picture (2).
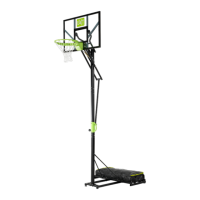
Congratulations! Your EXIT Galaxy Basketball
hoop is now fully assembled (put together).