4-Port SATA3 RAID/HyperDuo PCIe(x2) Card
7
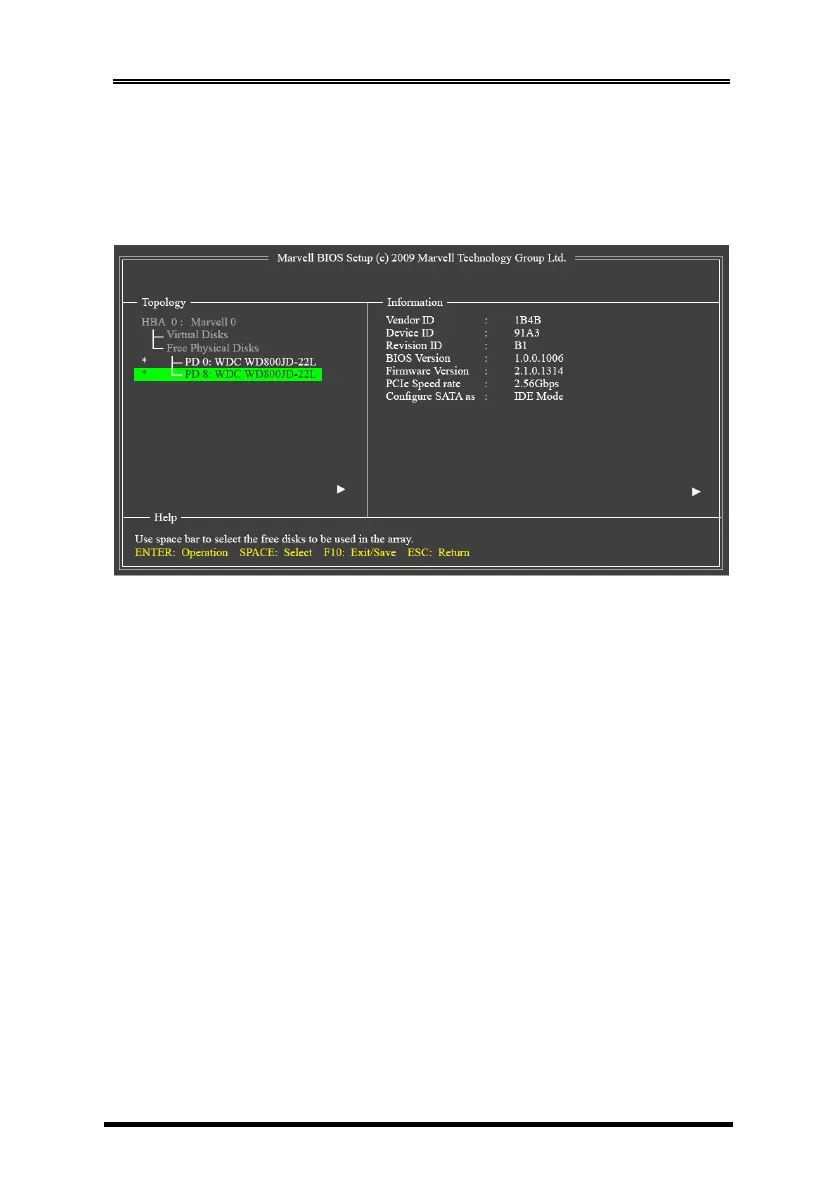
6.1 Create a Disk Array:
Under Free Physical Disks, use the <Space> key to select the hard
drives to be included in the RAID array. The selected hard drive will
be marked with an asterisk (*). After selecting the hard drives, press
<Enter> to proceed.
To further configure the disk array, use the up or down arrow key to
move the selection bar to select an item in the right block of the
screen and press <Enter>. Set the required items in sequence and
press <Enter> after each step:
1. RAID Level: Select a RAID level. Options include RAID 0 (Stripe)
and RAID 1 (Mirror).
2. Stripe Size: Select the stripe block size. Options include 32 KB and
64 KB.
3. Gigabyte Rounding: Select whether to permit the installation of a
replacement drive that is smaller than the failed drive when
performing a RAID 1 rebuild. Options include None, 1G, and 10G.
4. Quick Init: Select whether to quickly erase old data on the hard
drives when creating the array.
5. VD Name: Enter an array name with 1~10 letters (letters cannot
be special characters).
6. Next: After completing the settings above, move to Next and
press <Enter> to begin creating the array. When prompted to
confirm whether to create this array, press <Y> to confirm or <N>
to cancel.
 Loading...