4-Port SATA3 RAID/HyperDuo PCIe(x2) Card
2
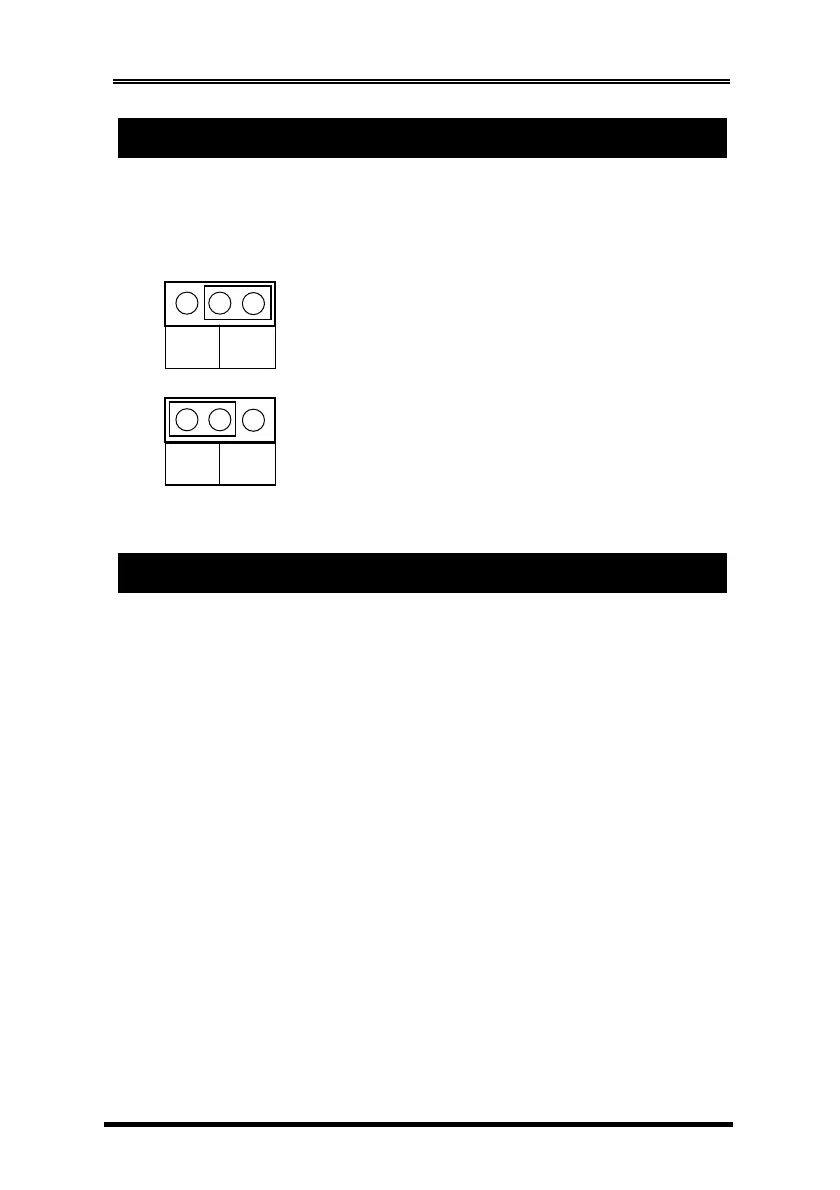
The JP1 can be used to disable the BIOS on the card for some critical
applications, please leave the jumper at “ENA” all the time.
JP1: BIOS Enable/Disable Jumper
1. Power down the computer, remove the computer cover.
2. Choose an unused PCI Express bus slot (2, 4, 8 or 16 lane), unscrew and
remove the slot cover.
3. Place the SATA3 RAID PCIe Card into the slot. Carefully press the board
into the slot until it seats firmly.
4. Secure the SATA3 RAID PCIe Card with the slot cover screw.
5. Install the SATA cables from the SATA connectors to your SATA devices.
6. Carefully reinstall the computer cover. Insert and tighten the computer
cover screws.
7. Power up the PC and observe the monitor. The BIOS lists all Serial ATA
devices attached to the SATA3 RAID/HyperDuo PCIe Card. For example:
BIOS Enabled:
Jumper Installed at “ENA”
(Default)
BIOS Disabled:
Jumper Installed at “DIS”
DIS ENA
DIS ENA