3 382200 and 382202 v3.6 5/14
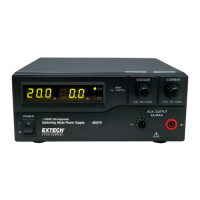
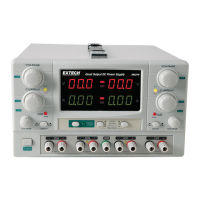
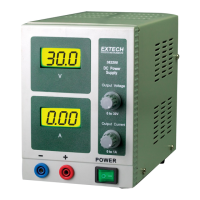
Operation
CAUTION: Verify that the AC voltage setting and fuse rating matches the power source
being used BEFORE applying power to the instruments. Do not connect to a voltage
source that is greater.
CAUTION: Limit full load operation (>25watts for the 382200 and >45watts for the 382202)
to 15 minutes continuous operation. Always allow a cool down period after full load
operation.
1. The Power Supply must be powered using the rated line voltage within +10%.
2. Before turning the power supply ON, remove any load and set the Voltage and Current
Adjustment Knobs to their full counter-clockwise positions.
3. Use the Current and Voltage Adjustment knobs for setting variable Current and Voltage
output signals respectively.
4. The LCD displays will indicate actual current and voltage outputs.
5. Keep the meter's cooling vents (top and sides) clear of obstacles to prevent overheating.
Current Limit
To avoid having the load draw too much current, a current limit can be set as follows:
With the voltage and current output adjustments set fully off, carefully short the positive and
negative output terminals together.
Turn the Output Voltage knob clockwise to the 25% position (approx).
Adjust the Output Current knob clockwise until the desired current level is displayed.
Turn the Output Voltage knob counter-clockwise (current display will go to 0.00).
Connect a load to the output terminals and adjust the voltage to the desired level.
Fuse Replacement
The fuse receptacle is located on the back of the unit next to the power cable input. Each unit
comes with one 120V 2A or 3A fuse installed in the unit. Three spare fuses are included, a second
120V 2A or 3A fuse, and two 230V 1A fuses. See below for the fuse specifications.
120V 230V
382200 2A 1A
382202 3A 1A
230V Operation
1. Replace the 2A or 3A, 120V fuse with a 1A (230V) fuse.
2. Toggle the switch located on the rear of the unit from 115V to 230V.
3. Use a power cord that matches the outlet for the country in question.
 Loading...