Installation manual e-MatriX 800/1600 ST
10 < < < <
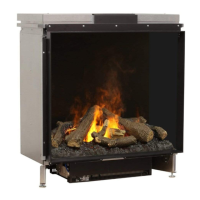
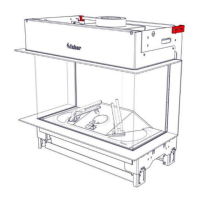
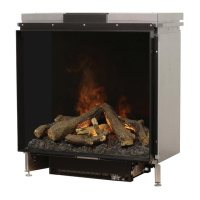
4.3 Control box (see fig. 1.3)
Please note!
Fix the Control box at an accessible location
behind the service door, see dimensional
drawing 10.2 and 10.3.
Connection of the control box to the e-MatriX,
see fig. 1.3:
A = control cable, 9 pole
B = power cord (power supply Control box)
C = extension cable (power supply Control
box to Engine)
D = main switch on/off
E = external water pump connection
(optional)
Electrical connection
Please note!
Connect all plugs according to the wiring dia-
gram, see fig. 2.0.
AA = control box
BB = Engine
CC = printed circuit board
DD = power supply LED
EE = bottom lighting (optional)
FF = fan heating
GG = fan extraction
HH = external water pump (optional)
Lead control cable A, from the Engine to
the Control box and connect it, see fig.
1.3-A.
Connect the supplied extension cable B to
the Control box, see fig. 1.3-B.
(Max. cable length from the center of the
fire to the left is 1,5m.
Max. cable length from the center of the
fire to the right is 1,0m).
Connect the supplied power cord C to the
Control box, see fig. 1.3-C.
If desired, a 2m extension set is available (The ex-
isting cables are extended by 2m), item number
20901478.
Water connection
Please note!
Connect all parts according to the flow dia-
gram. See fig. 3.0.
Place the water filters, in the correct direction
of flow, in an accessible location. There is a
“flow direction” mark on both filters.
Water inlet
Connect the water supply pipe to the (inlet) water
connection of the control box (see dimensional
drawing 10.2).
Water supply to the Engine
Connect the blue flexible pipe, which protrudes
from the side of the fireplace, to the (outlet) water
connection on the control box (see dimension
drawing 10.2).
Assemble the flexible water pipe
Press the blue flexible pipes 15mm in a coupling
piece. When mounting correctly, you feel re-
sistance that you have to push through.
Check the connection by pulling the pipe. Secure
the connection with the supplied red / or blue
safety clips.
Please note!
A watertight connection is only guaranteed
with safety clips.
Disassemble the flexible water pipe
Remove the red or blue safety clip.
Push the water pipe in the coupling, hold the
flange in its position and pull the water pipe out of
the coupling.
This appliance is equipped with the following
(overflow) protections:
Electromechanical valve in the control box
that is controlled by sensors in the water
tank.
Absorption valve in the Engine that kicks
in when the water sump has an unexpect-
edly overflow, see fig. 3.0-K.
4.4 LED lighting (optional)
LED bottom lighting
The bottom lighting, which is located in the bottom
plate, can be switched on and off with both the re-
mote control and the App. (See user manual). See
fig. 2.0-EE and 1.2 for the position of the connec-
tion of the led bottom lighting.
Removing the bottom plate with LED lighting
Please note!
To prevent damage / scratches, it is strongly
recommended to protect the cover strip, see
“A” in fig. 1.1. Should scratches nevertheless
occur, this can only be repaired with spray
paint (Order number: 09000026).
 Loading...