4
Step 1: Power Up
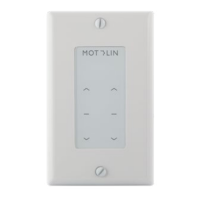
Step 2: Pair Motor to Remote
With the roller shade installed, connect power. The motor will confirm power with a beep and
jog. At this point the motor will be in program mode for 10 seconds.
1. If it has been more than 10 seconds since powering up, the motor will need to be put back
into Programing Mode. To do this, Press the PROGRAM button on the MOTOR for 2 seconds,
the motor will Beep and Jog, entering into pairing mode for 10 seconds.
2. On your REMOTE, press and hold STOP for 3 seconds. The motor will jog twice and beep
three times, signaling the remote is paired to the motor.
Note: In programming mode, the motor will move in ½” increments. Press and Hold UP or DOWN
direction for faster travel.
Step 4: Set Limits
Step 5: Test your Limits
Adjust to the desired top limit set point. Press & hold UP + STOP simultaneously (2-3 seconds)
until the motor jogs twice and beeps thrice.
Adjust to desired bottom limit set point. Similarly, press & hold DOWN + STOP simultaneously
for 2-3 seconds until the motor jogs twice and beeps three times.
The motor automatically enters User Mode upon setting the top & bottom limits. Check your
limits by pressing on the UP or DOWN buttons. If everything looks good, your programming is
complete.
Step 3: Reverse Remote Direction
Check if the remote’s arrow directions operate as intended. To reverse directions:
Via REMOTE: press & hold up/down simultaneously (2-3 seconds) until it jogs once, signaling the
control direction has changed.
Via MOTOR: Press & hold Program button, releasing after the 3rd jog (8-10 seconds). The motor
will beep thrice confirming the direction has changed.
Programming
Quick Start
 Loading...