26
EN
INSTALLATION AND PRELIMINARY CHECKS
4
.1 - Installation
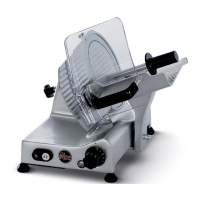
Place the slicer on a well leveled, smooth,
dry and stable plane ,suitable to support
its weight.
4
.2 -
Electric connection
Install the slicer in the immediate vicinity of
an outlet in compliance with EC standards
derived from a system that complies with
applicable regulations.
It is the user’s responsibility to verify
the suitability and proper functioning
of the electrical system (supply line,
outlet, distribution panel, differential
magnetothermal circuit breaker protection,
grounding system).
Before executing the connection check
that the characteristics of the power supply
network correspond to those indicated on
the nameplate of the slicer.
4
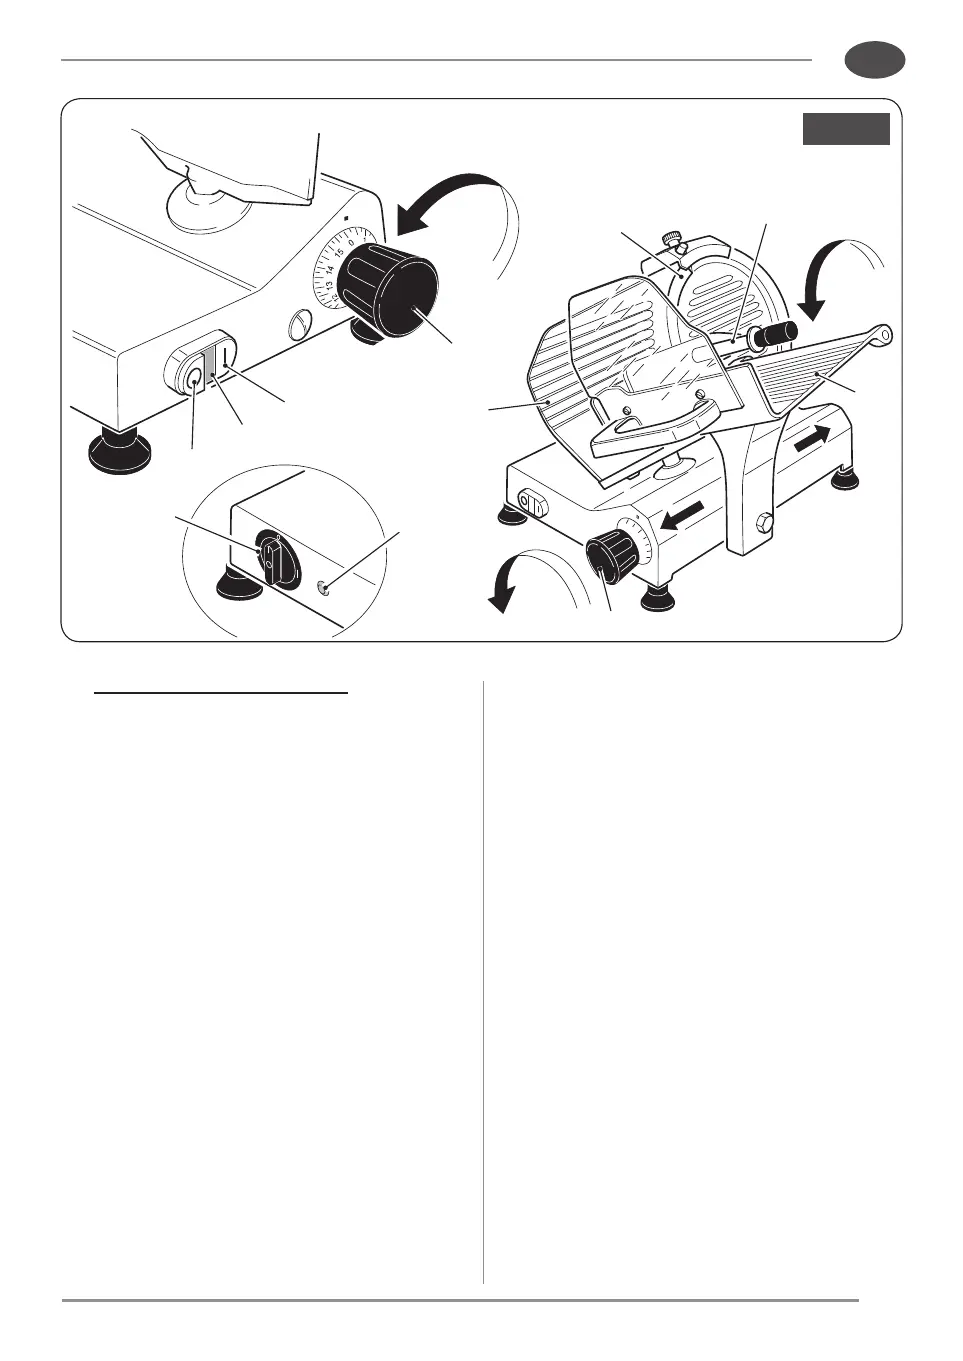
.3 -
Control of operation and blade
rotation direction
• Depending on the model, press the
green button “I” (3a) or turn the switch
(3b) clockwise on “I/ON” to start the
blade.
• The warning light (5) lights up indicating
that the machine works correctly.
• Depending on the model, press the red
button “0” (4) or turn the switch (3b)
anticlockwise on “0/OFF” to stop the
blade movement.
• Check that the blade rotates towards
the direction indicated by the arrow
(anticlockwise if looking at the machine
from the blade plate side).
Fig. 5
plug.
product grip (10) smoothness.
adjustment.
scale, anticlockwise.