Do you have a question about the Fanaway FRASER and is the answer not in the manual?
Disconnect power before installation/servicing and avoid solid-state speed controls.
Mount to a secure outlet box and ensure 7 feet blade clearance from the floor.
Follow NEC codes for wiring; device complies with FCC rules for digital devices.
Secure the outlet box directly to the building structure for fan support.
Feed the down rod through the canopy and connect it to the coupling.
Connect the quick connector and secure the lamp-holder part to the light kit bracket.
Pass power wires through the outlet box and hang the fan assembly onto the mounting bracket.
Connect household wires to receiver input and output wires for fan and light operation.
Slide and align the canopy to the mounting bracket, tucking wires securely.
Match DIP switch settings on the remote transmitter and receiver for proper fan control.
Understand remote buttons for fan speed, light control, and dimming functions.
Mount the holder to the wall and hang the transmitter for convenient access.
Understand normal fan movement and potential minor operating noises.
Periodically clean the fan with a soft cloth; do not use liquids or solvents.
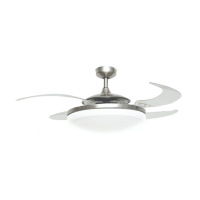
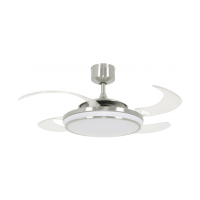
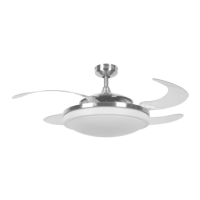
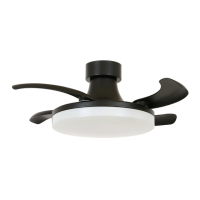
View performance data including fan size, speed, voltage, amperage, wattage, and airflow.
Review the 1-year warranty covering the entire fan for detailed terms.
| Type | Ceiling Fan |
|---|---|
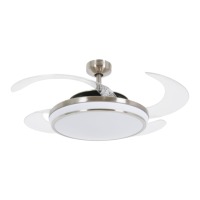
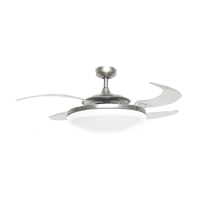
| Blade Material | Acrylic |
| Motor Type | AC Motor |
| Control Type | Remote Control |
| Number of Blades | 4 |
| Light Kit | Included |
| Diameter | 48 inches |
| Speed Settings | 3 |
| Style | Modern |
| Diameter (Open) | 48 inches |