FEI BAO F-16 1/6TH
• I simply added weight and fitted it back into the elevator slot in the fuse to check balance.
• Once satisfied, use silicon and place a liberal amount in the hole and place the lead into
the silicon
• Keep adding weight till it starts to stay down or not move in a horizontal position. Repeat
previous step for the other elevator.
• Install the elevator servos into the fuse and connect to the control arm attached to the
elevator mechanism.
• This is an important step to ensure that the installation is tight and all screws and fasteners
are tight and installed with locktite.
• do not use the rubber grommets as they may cause flutter if there is to much play.
• Attach a 36" heavy-duty 22-gauge extension to each servo. Tape the connections for
safety.
• Copy these steps for the other elevator and then centre nd match both elevators to the RX
system.
• Run the elevator servo extensions from the rear of the fuse forward. I tend to run these
extensions and the rudder extension lead through a Teflon tube for heat protection from
the thrust tube.
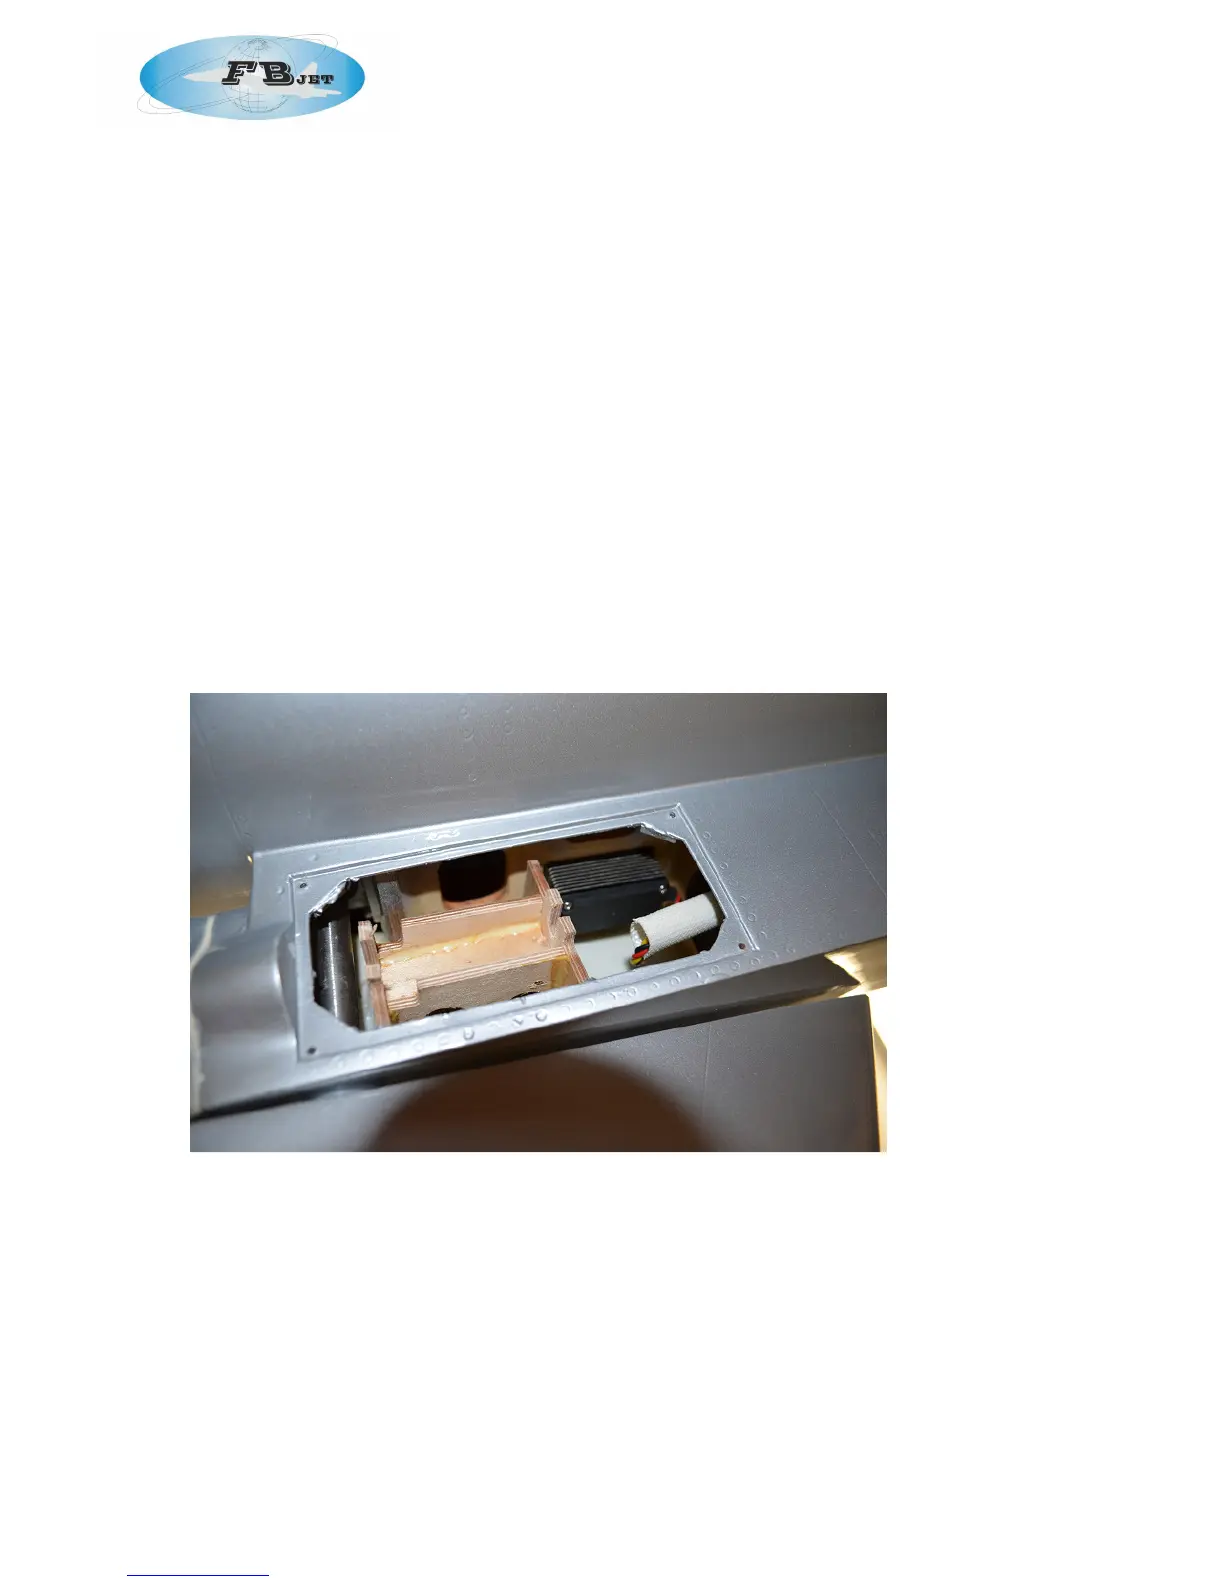
Photo 5 – elevator servo installation
•
With control arms in the vertical position and the control surface centred, adjust the
linkages to the proper length for both elevators and the rudder.
•
With the two elevator servos activated through the Matchmaker, set the length of control
linkage such that the elevators are equally centered and attach (photo 20). Make sure not
to over tighten the bolts such that the arm binds.
•
Replace servo covers.