FEI BAO F-16 1/6TH
• Set the wings aside for the glue to cure. Double check to make sure there are no
fingerprints or excess glue on the wing surfaces. (cigarette lighter fluid will help remove
fingerprints)
• When the glue has cured, install the linkages.
• Insert the wing tip missile rails into the mounting holes. When the pins are fully inserted,
tighten the locking clamp bolts through the small holes in the top of the fuse.
Step 14: Cockpit
• Trim the edges of the cockpit area so that the tub sits down fully into the forward fuselage
(photo 11).
Photo 11 – trim the sides of the cockpit area such that the tubs drop in place
• Make sure both tubs clear any electronic gear sitting on the component boards.
• At this point, you may wish to paint the tub, instrument panel and glare shield with flat black
paint.
• Trial fit the tub into the fuse to ensure a nice fit. Locate the air ram for the canopy and
check attachment fit.
• We included a sequencer for the canopy function and added a air ram to the fron of the
canopy area so that when the canopy is in the closed position, the second air ram acts as
a lock pin.
Step 15: Radio Programming
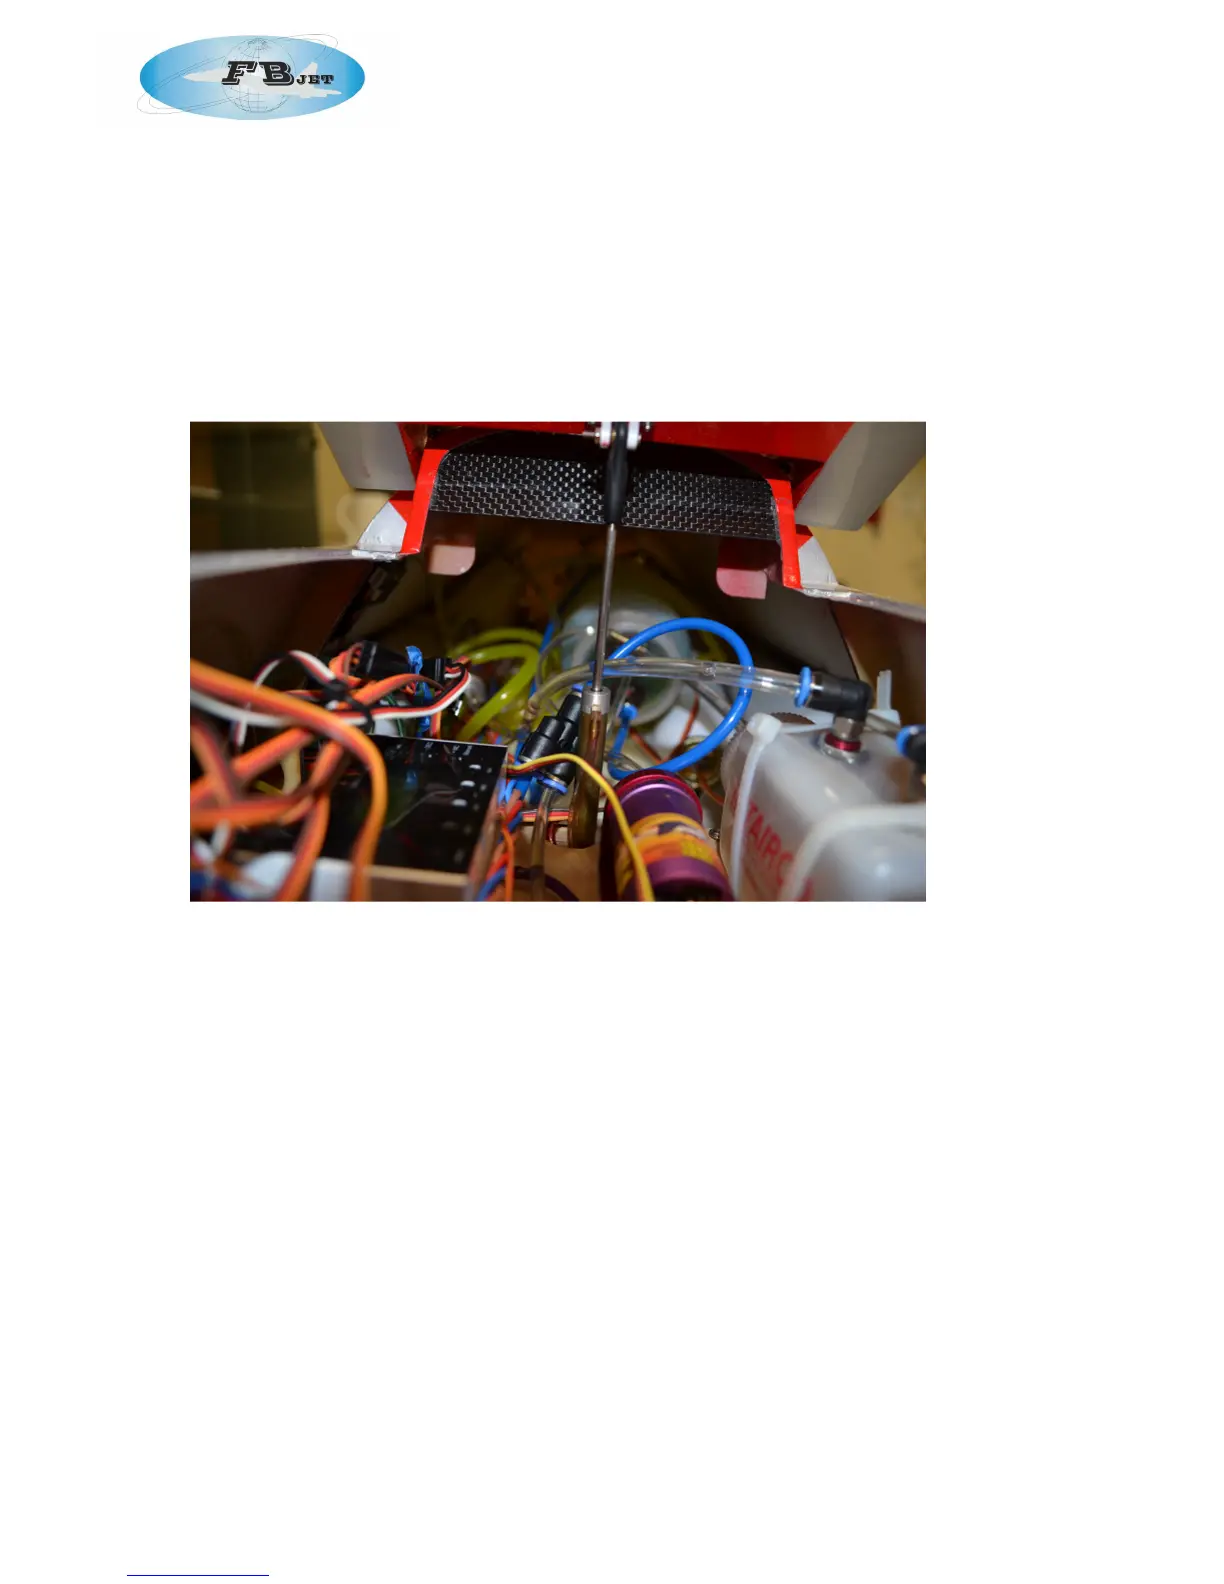
• Complete the installation of your radio gear and batteries. In our F16, the switches were
mounted on the front component board together with the RX, ECU shut down, ecu etc.
• The rear board has the air equipment and the UAT together with the fuel fill valves;
• Batteries were mounted to the nose forward of the front component board so they can be
removed for charging if required. We used 2* 4000mAh 7.4v Lipos and a 9.9v Life for the
Jetcat 180RX.
• Set your radio for the following throws:
• Ailerons: 20 mm in either direction
• Elevators: 30 mm in either direction
• Rudder: max throw allowable