EasyManua.ls Logo

FBI XL-1T - User Manual

Default Icon
72 pages
Print Icon
To Next Page IconTo Next Page
Loading...
;
;
/
/
7
7
6HF XULW\6\VWHP
,QVWDOODWLRQDQG6HW8S*XLGH
N9883 9/98
123
STAY
4
56
BYPASS
789
INSTANT
*
0
#
CODE
ARM
STAY
INSTANT
AC/LB
READY
1
2
3
4
Previous

Table of Contents

Questions and Answers

  • J
    Jeff JohnsonAug 3, 2025
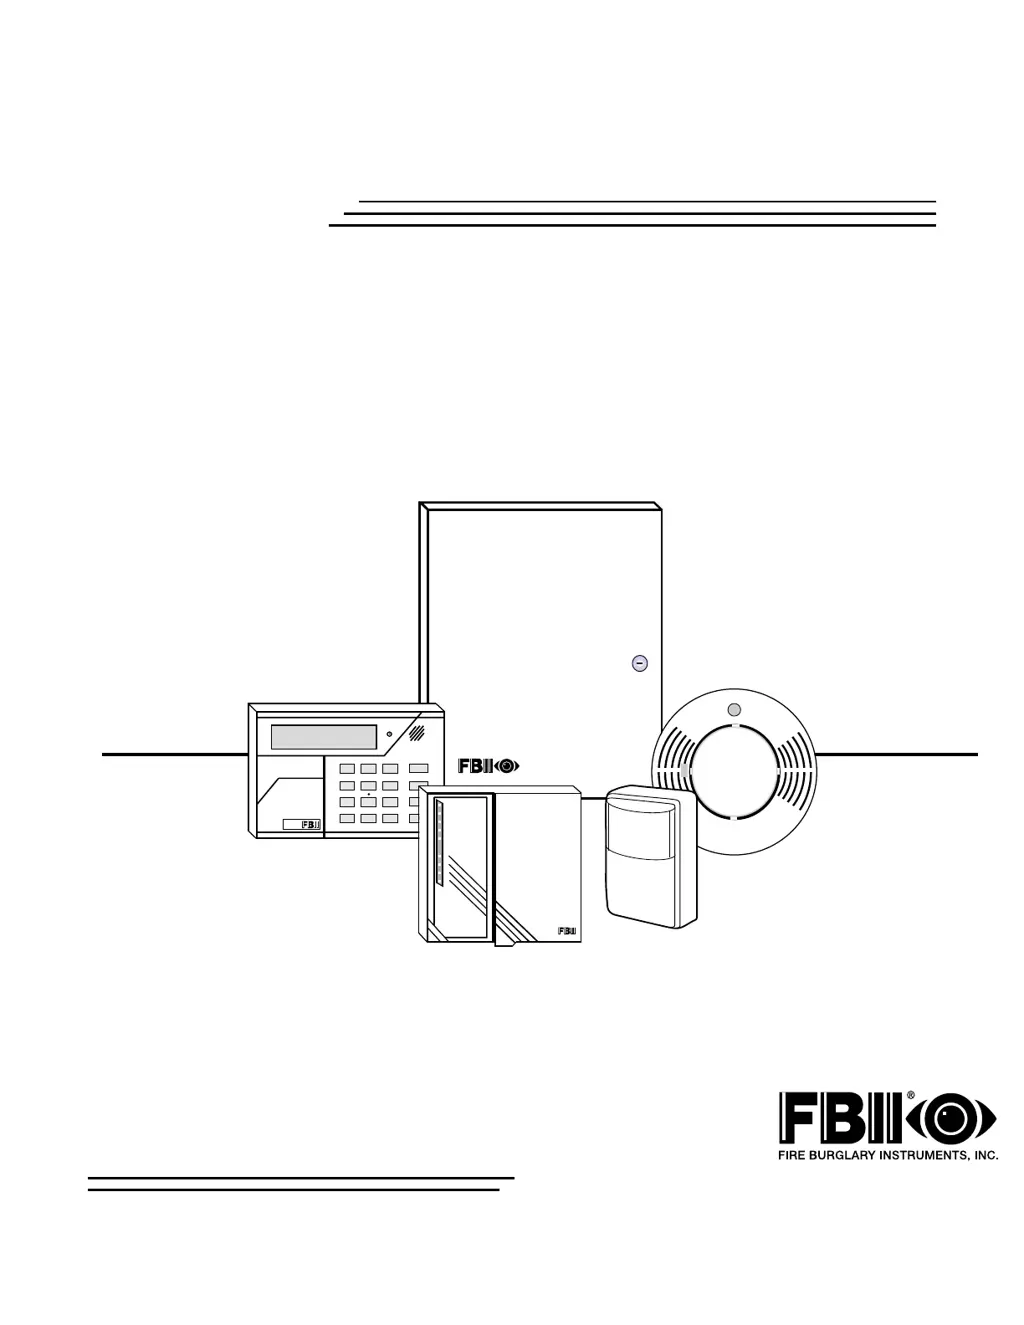
    What to do if the FBI Security System shows “NOT RDY: ZN #” and “SYSTEM NOT READY”?
    • M
      Matthew Lopez Jr.Aug 3, 2025
      If the “ARM” light is ON and the “READY” light is OFF, accompanied by the messages “NOT RDY: ZN #” and “SYSTEM NOT READY”, it indicates that a zone is faulted, preventing the system from being armed. This could be due to an open or short in the loop wiring, a bad resistor, or an incorrect resistor value. Inspect the loop wiring for any opens or shorts and repair them. Also, check the resistor and its value. Alternatively, the keypad or the panel might be faulty. Check zone terminals for 3.3 VDC, bypass the zone temporarily, or replace the keypad or panel.
  • M
    matthew99Aug 13, 2025
    Why does my FBI XL-1T show “COMM FAILURE”?
    • W
      William WelchAug 13, 2025
      If the “ARM” light is slowly blinking and shows “COMM FAILURE”, it means that the system is failing to communicate with the central station. This can be caused by cut or disconnected telephone lines, or incorrect programming of the central station information. It may also indicate a faulty panel. Verify the telephone lines are properly connected and intact. If the lines are faulty, consult the telephone company. Also, ensure the central station information is correctly programmed. If the problem persists, consider replacing the panel.
  • L
    Lisa WarrenAug 23, 2025
    How to fix a FBI Security System keypad with no display?
    • K
      Kevin BallardAug 23, 2025
      If the keypad display is not lit, it could be due to a lack of AC and DC power. Check the transformer and battery connections, AC input voltage, and battery voltage (with the transformer disconnected). Also, inspect the auxiliary fuse. Another possible cause is that the keypad is not powered. Check terminals 12(+) and 9(-) for 12 VDC.

Summary

SECTION 1 Introduction

SECTION 2 Installing The System

Mounting the PC Board

Instructions for physically attaching the main circuit board to the enclosure.

Mounting the XK-104 Keypad

Procedures for surface-mounting the XK-104 keypad to various surfaces.

Mounting the 6805 Keypad

Instructions for surface and recessed mounting of the 6805 keypad.

SECTION 3 System Wiring and Hookup

System Wiring Diagram

Detailed diagram illustrating all system connections and component wiring.

Terminal Connections

Explanation of the function and wiring for each terminal on the control panel.

SECTION 4 Keypad Layout

Layout of Keypads

Description of the buttons, LEDs, and display elements on the XK-104 and 6805 keypads.

SECTION 5 System Operation

Power-Up and System Reset

Procedure for initial system power-up, reset, and stabilization mode.

Arming and Disarming the System

Steps for arming (Away, Stay, Instant) and disarming the system.

Bypass and Zone Management

How to bypass zones, manage their status, and use auto/manual unbypass.

User Code and Emergency Operations

Procedure for user code management and activating emergency signals.

Setting System Time and Date

Procedure to set the system's internal clock and date.

SECTION 6 Installer Modes

Entering and Navigating Installer Modes

Steps to access and navigate through installer programming modes.

Installer Mode 1: System and User Defaults

Resets system or user codes to factory default values.

Installer Mode 2: System Log View

Allows viewing of the system's alarm history and event log.

Installer Mode 3: Unattended Download

Enables remote software download without operator presence.

Installer Mode 4: Online Download

Initiates a remote communication session for downloading and commands.

SECTION 7 System Programming

General Programming Overview

Overview of programming methods and worksheet usage.

Detailed Programming Questions

Explanation of specific programming questions and data entry procedures.

SECTION 8 Data Entry via LED and LCD Keypads

Entering Keypad Programming Mode

Steps to enter installer keypad programming mode.

Interpreting Keypad Displays

How to understand data on LED and LCD keypads during programming.

Data Entry Procedures

Step-by-step guide for entering programming data via keypad.

SECTION 9 System Defaults

APPENDIX A Central Station Reporting Formats

Standard (3 X1) Reporting Format

Details of the 3x1 pulse mode reporting format.

4 X2 Reporting Format

Details of the 4x2 pulse mode reporting format.

Point ID Reporting Format

Details of the ADEMCO Contact ID reporting format.

APPENDIX B Troubleshooting

Troubleshooting Common System Issues

Guide to diagnosing and resolving common system symptoms and problems.

APPENDIX C XL-1 T System Planning Worksheet

APPENDIX D Warnings and Limitations

System Warnings and Limitations

Important safety warnings and operational limitations of the alarm system.

APPENDIX E FCC Statement and Telephone Problems

FCC Statement and Interference

Information regarding FCC compliance and potential radio frequency interference.

Telephone Operational Problems

Troubleshooting steps for telephone line issues and communicator problems.

APPENDIX F Warranty

FBII Limited Warranty Details

Information on the product warranty, terms, and conditions.

FBI XL-1T Specifications

General IconGeneral
BrandFBI
ModelXL-1T
CategorySecurity System
LanguageEnglish