F
F
e
e
n
n
d
d
e
e
r
r
S
S
t
t
a
a
g
g
e
e
1
1
0
0
0
0
/
/
1
1
0
0
0
0
H
H
/
/
1
1
6
6
0
0
F
F
r
r
o
o
n
n
t
t
P
P
a
a
n
n
e
e
l
l
F
F
u
u
n
n
c
c
t
t
i
i
o
o
n
n
s
s
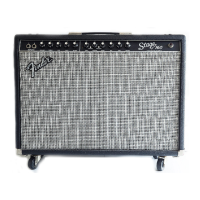
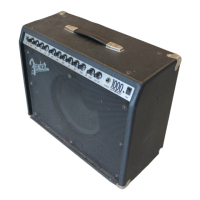
Congratulations on your purchase of a Fender
®
Stage 100/100H/160 amplifier. With worldclass
Fender quality built-in, Stage 100/100H/160
amplifiers deliver the tone and features that
today’s musicians demand:
• Two channels with independent tone controls.
• Switchable “More Drive” pre-amp boost for
harmonically rich leads.
• 160 watts of output power @ 4 ohms
(100 watts @ 8 ohms).
• Rear panel Effects Loop jacks for connection
to external effects devices or “add-on” ampli-
fiers.
• Balanced 3-pin XLR line out jack for connec-
tion to re c o rding or sound-re i n f o rc e m e n t
equipment.
• Classic Fender spring Reverb effect.
• Footswitch jack with channel and pre-amp
switching capabilities.
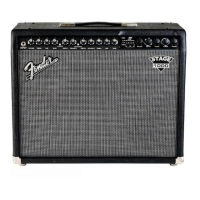
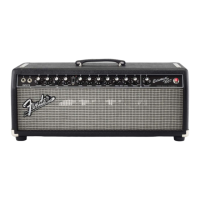
The operation and functions of all three versions
(Stage 100 and Stage 160 “amplifier/speaker
combinations” and the Stage 100H “amplifier
head only”) are identical except for the speaker
output functions (see items 3-5 under Rear
Panel Functions).
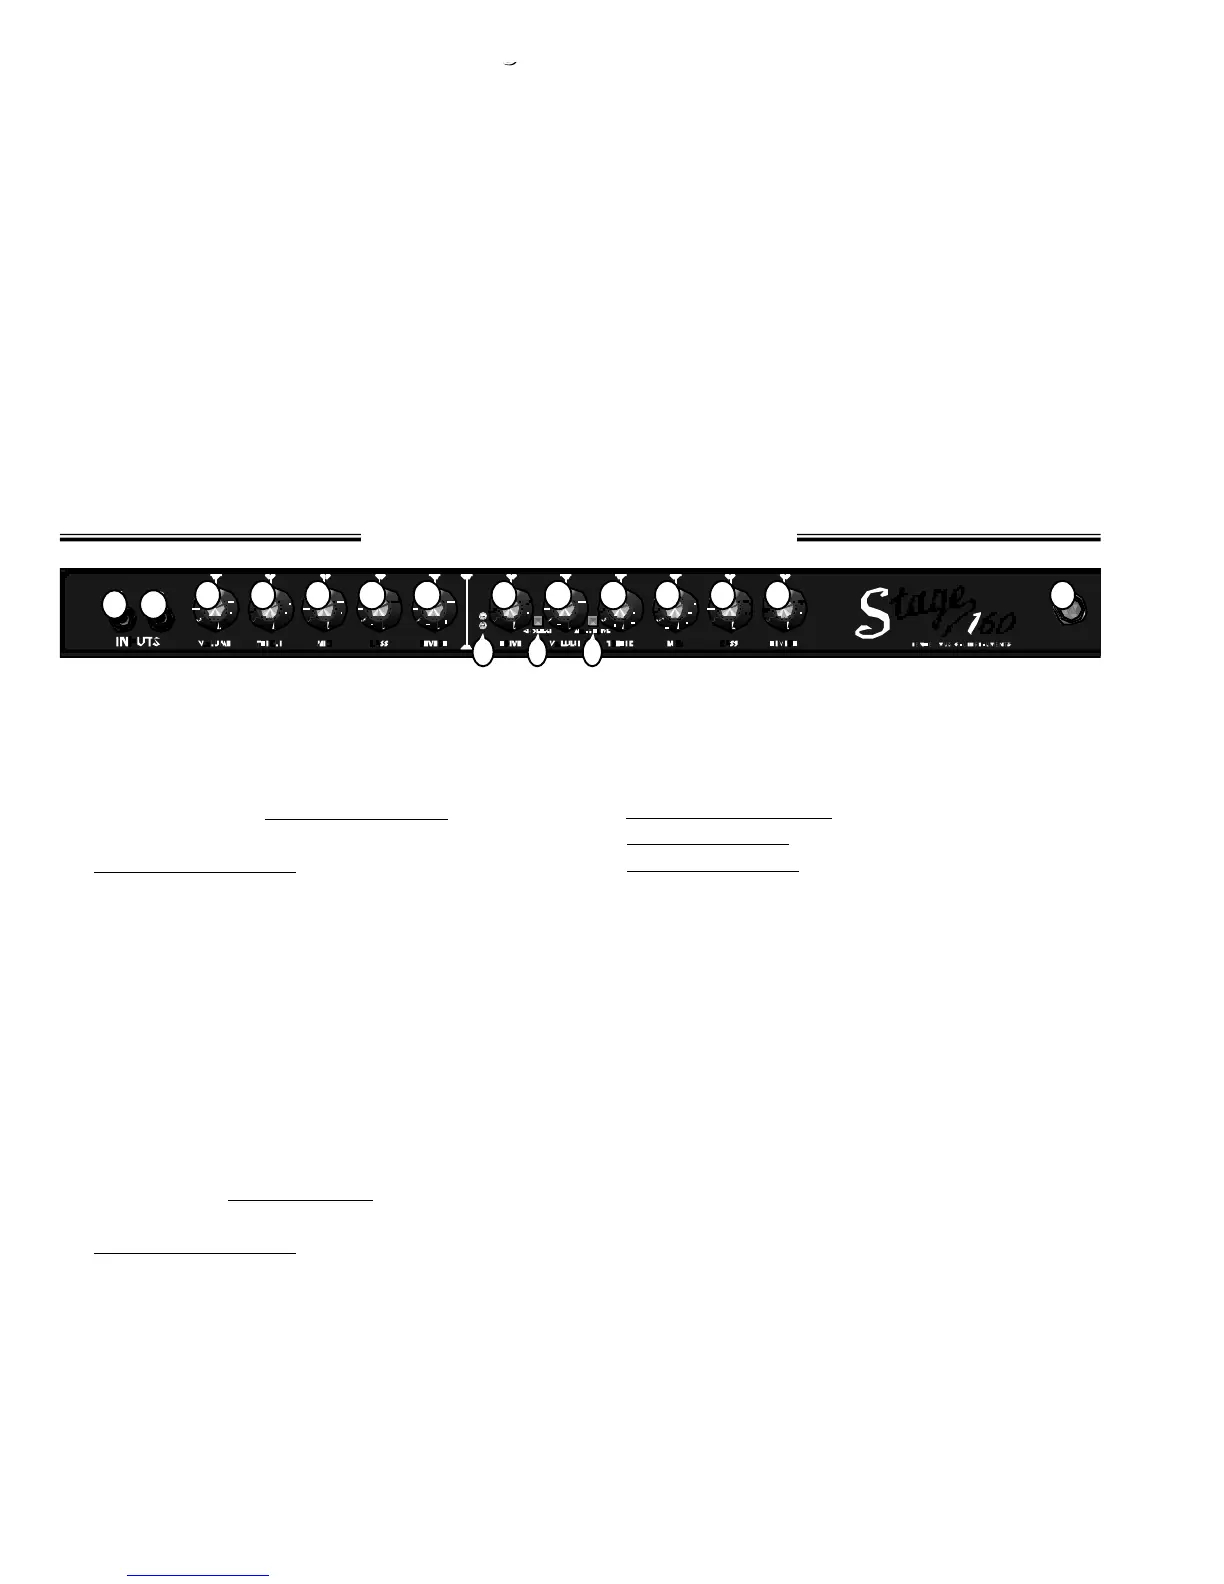
1. INPUT 1 - Plug in your guitar at this jack.
2. INPUT 2 - A lower impedance / sensitivity
input for guitars with active pickups. Both
inputs are identical if used simultaneously.
• NOTE: The
N o rmal channel must be
selected for items 3-7 to function. See
CHANNEL SELECT (item 10).
3. VOLUME (Normal Channel) - Adjusts the
loudness of the of the amplifier while in the
Normal channel.
4. TREBLE - Adjusts the high-frequency level of
the Normal channel.
5. MID - Adjusts the mid-frequency level of the
Normal channel.
6. BASS - Adjusts the low-frequency level of the
Normal channel.
7. REVERB - Adjusts the REVERB effect level of
the Normal channel.
• NOTE: The Drive channel must be selected
for items 8-9 and 11-16 to function. See
CHANNEL SELECT (item 10).
8. DRIVE CHANNEL-MODE INDICATORS -
Red LED indicates MORE DRIVE boost is ON.
Yellow LED indicates MORE DRIVE boost is OFF.
See MORE DRIVE pre-amp boost (Item 12).
9. DRIVE - Adjusts the pre-amp level (distor-
tion/sustain) of the Drive channel in conjunc-
tion with Drive channel VOLUME c o n t ro l
(item 11) to set the overall amplifier loudness.
10.CHANNEL SELECT - Button IN selects the
Drive channel. Button OUT selects the
Normal channel.
11.VOLUME (Drive channel)- Adjusts the ampli-
fier loudness while in the Drive channel in
conjunction with the DRIVE control (item 9).
12.MORE DRIVE - Button IN activates the MORE
DRIVE pre-amp boost. This boost enhances
the intensity of the DRIVE control (item 9).
Button OUT deactivates MORE DRIVE boost.
13.TREBLE - Adjusts the high-frequency level of
the Drive channel.
14.MID - Adjusts the middle-frequency level of
the Drive channel.
15.BASS - Adjusts the low-frequency level of the
Drive channel.
16.REVERB - Adjusts the REVERB effect level of
the Drive channel.
17.POWER INDICATOR - Illuminates when the
amplifier is ON and receiving power.