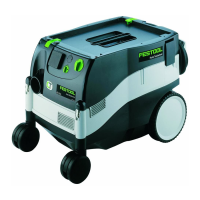
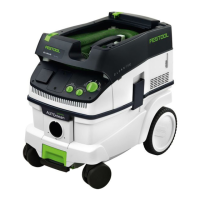
13
9 Service and maintenance
9.1 Acoustic warning signal
An acoustic warning signal sounds if the
air speed in the suction hose falls below
20 m/s.
Possible causes and remedies
- Suction power adjuster setting too low:
Set the suction power adjuster to a higher
setting.
- Hose diameter setting does not match the
diameter of the connected suction hose:
Set the correct hose diameter.
- Suction hose clogged or kinked:
Eliminate blockage or kink.
- Disposal/Filter bag full:
Change the disposal/fi lter bag.
- Filter element clogged:
Clean or replace the fi lter element.
9.2 Automatic fi lter cleaning
To maintain a constant suction power, the
fi lter element is cleaned automatically every
30 seconds during operation.
We recommend cleaning the fi lter ele-
ment completely if severely clogged:
After extracting with a disposal bag:
• Set the suction power control to the ma-
ximum setting.
• Cover the end of the nozzle or suction hose
with your hand for 10 seconds.
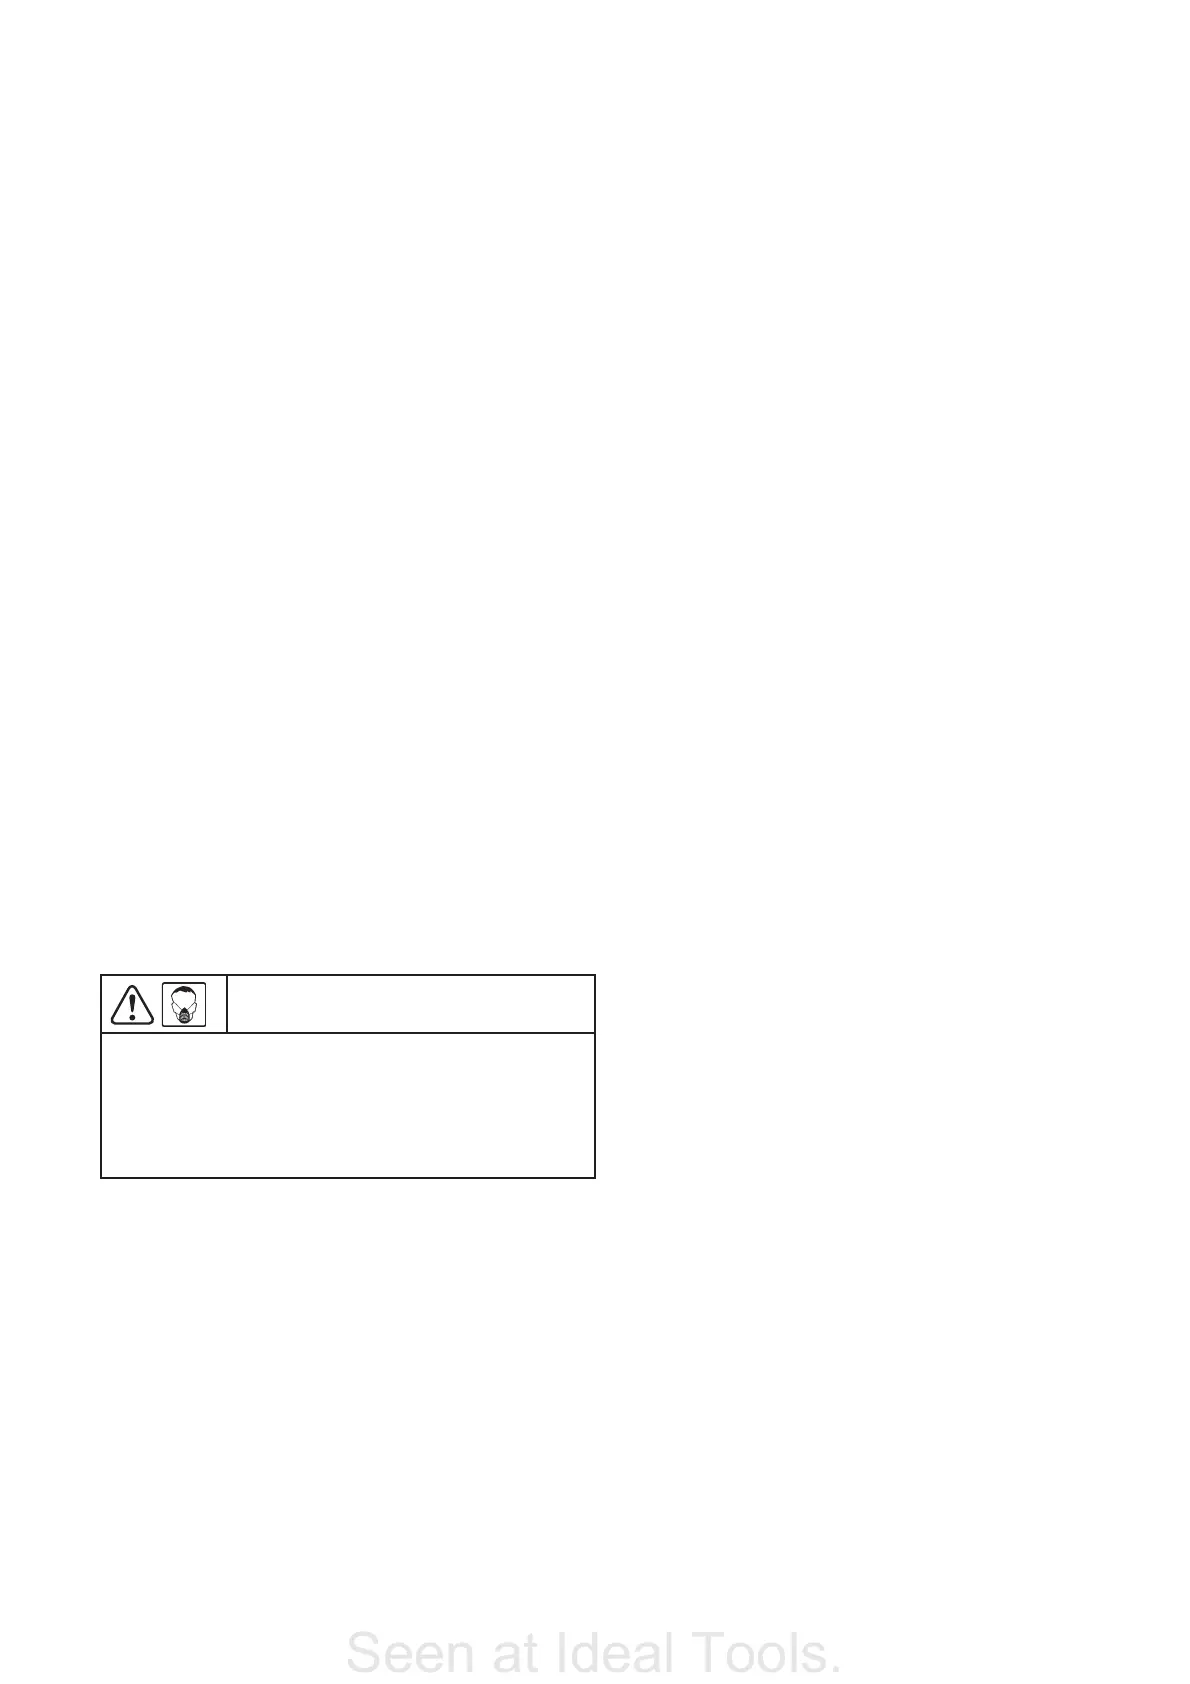
9.3 Changing fi lters
CAUTION
Hazardous dust!
- Do not generate clouds of dust unneces-
sarily.
- Always wear a P2 dust mask when wor-
king with hazardous dust.
Changing the disposal bag
• Clean the fi lter element before changing
the disposal bag (Chap. 9.2).
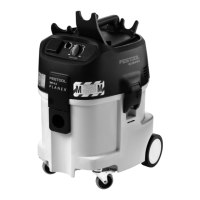
• Remove the top section [Fig. 2].
• Pull the fi lter bag socket [5-2] carefully
from the intake opening [5-1].
• Close off the fi lter bag socket with the slide
piece [5-3].
• Close the disposal bag using the cord pro-
vided.
• Insert a new disposal bag [Fig. 3] in the
clean container.
• Dispose of the used bag in accordance with
statutory regulations.
Changing the fi lter bag
• Remove the top section [Fig. 2].
• Pull the fi lter bag socket [5-2] carefully
from the extractor opening [5-1].
• Close off the fi lter bag socket with the slide
piece [5-3].
• Insert a new fi lter bag [Fig. 4].
• Dispose of the used bag in accordance with
statutory regulations.
Changing the fi lter element
XNever operate the machine without a fi lter
element as this may damage the motor.
• Remove the top section [Fig. 2].
• Pull the fi lter element upwards to remove
[Fig. 6].
• Open the stirrup handle [6-3] and remove
the stirrup section.
• Remove the fi lter retaining disc [6-1].
• Remove the fi lter element.
XClean the fi lter seal and fi ll level tube
[6-2].
• Insert a new fi lter element.
• Place the fi lter retaining disc in position.
• Replace the stirrup and secure the stirrup
handle.
• Dispose of the used fi lter element in ac-
cordance with statutory regulations.
9.4 Emptying the dust container
• Remove the top section [Fig. 2].
• Empty the extracted material.
• Clean the edge of the container and re-
place the top section of the extractor.
• Clean the intake opening and the hose
sleeve.
• Dispose of the extracted material in ac-
cordance with statutory regulations.
10 Accessories
Use only original Festool accessories and
Festool consumable material intended for
this machine because these components are
designed specifi cally for the machine. Using
accessories and consumable material from
other suppliers will most likely affect the
quality of your working results and limit any
warranty claims. Machine wear or your own
personal workload may increase depending
on the application. Protect yourself and your
machine, and preserve your warranty claims
by always using original Festool accessories
and Festool consumable material!