WARNING: To prevent possible injury, the Valve Actuator Assembly shall be disconnected, shunted and removed
from the FAV when performing any of the following procedures.
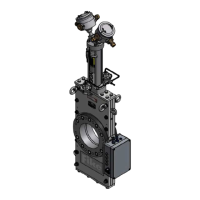
Step 1: Remove the two (2) muffler assemblies from the base of the FAV actuating cylinder.
Step 2: With the FAV in the closed position (down), remove the nuts and lock washers at the upper end of the
actuating cylinder.
Step 3: Remove the upper end cap.
Step 4: Remove the actuating cylinder from the assembly.
Step 5: Remove the cylinder seals from the grooves of the upper and lower end caps.
Step 6: Clean Valve Actuator Assembly debris from the cylinder, piston and piston o-ring using a clean wiper.
Step 7: Remove the corrosion inhibitor pads from the piston and replace.
Step 8: Apply new vacuum grease to the cylinder, piston and piston o-ring.
Step 9: Install new cylinder seals into the upper and lower end caps.
Step 10: Reassemble the components and torque the bolts/nuts, in a star pattern, to the value specified in Table 2.
Step 1: Thread a 1/2" NPT pipe plug in one of the muffler ports and attach shop air to the other port.
Step 2: Using shop air at a pressure of 3-4 barg, raise the gate to the full open position.
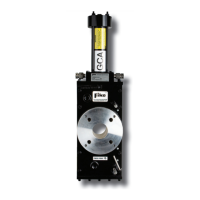
Step 3: With the FAV in the open (up) position, remove the bolts retaining the housing bottom.
Step 4: Remove the gate damper and use a light to inspect the gate to flange areas. If the flange o-rings have been
damaged the flanges will have to be removed and the o-rings replaced. Refer to Section 6.4 for this
procedure.
Step 5: Remove the corrosion inhibitor pads from the piston and replace.
Step 6: Insert a new gate damper in the lower housing.
Step 7: Remove excess gasket sealer from the housing and housing bottom and apply new gasket sealer (vacuum
grease) to the sealing surface of the housing bottom.
 Loading...