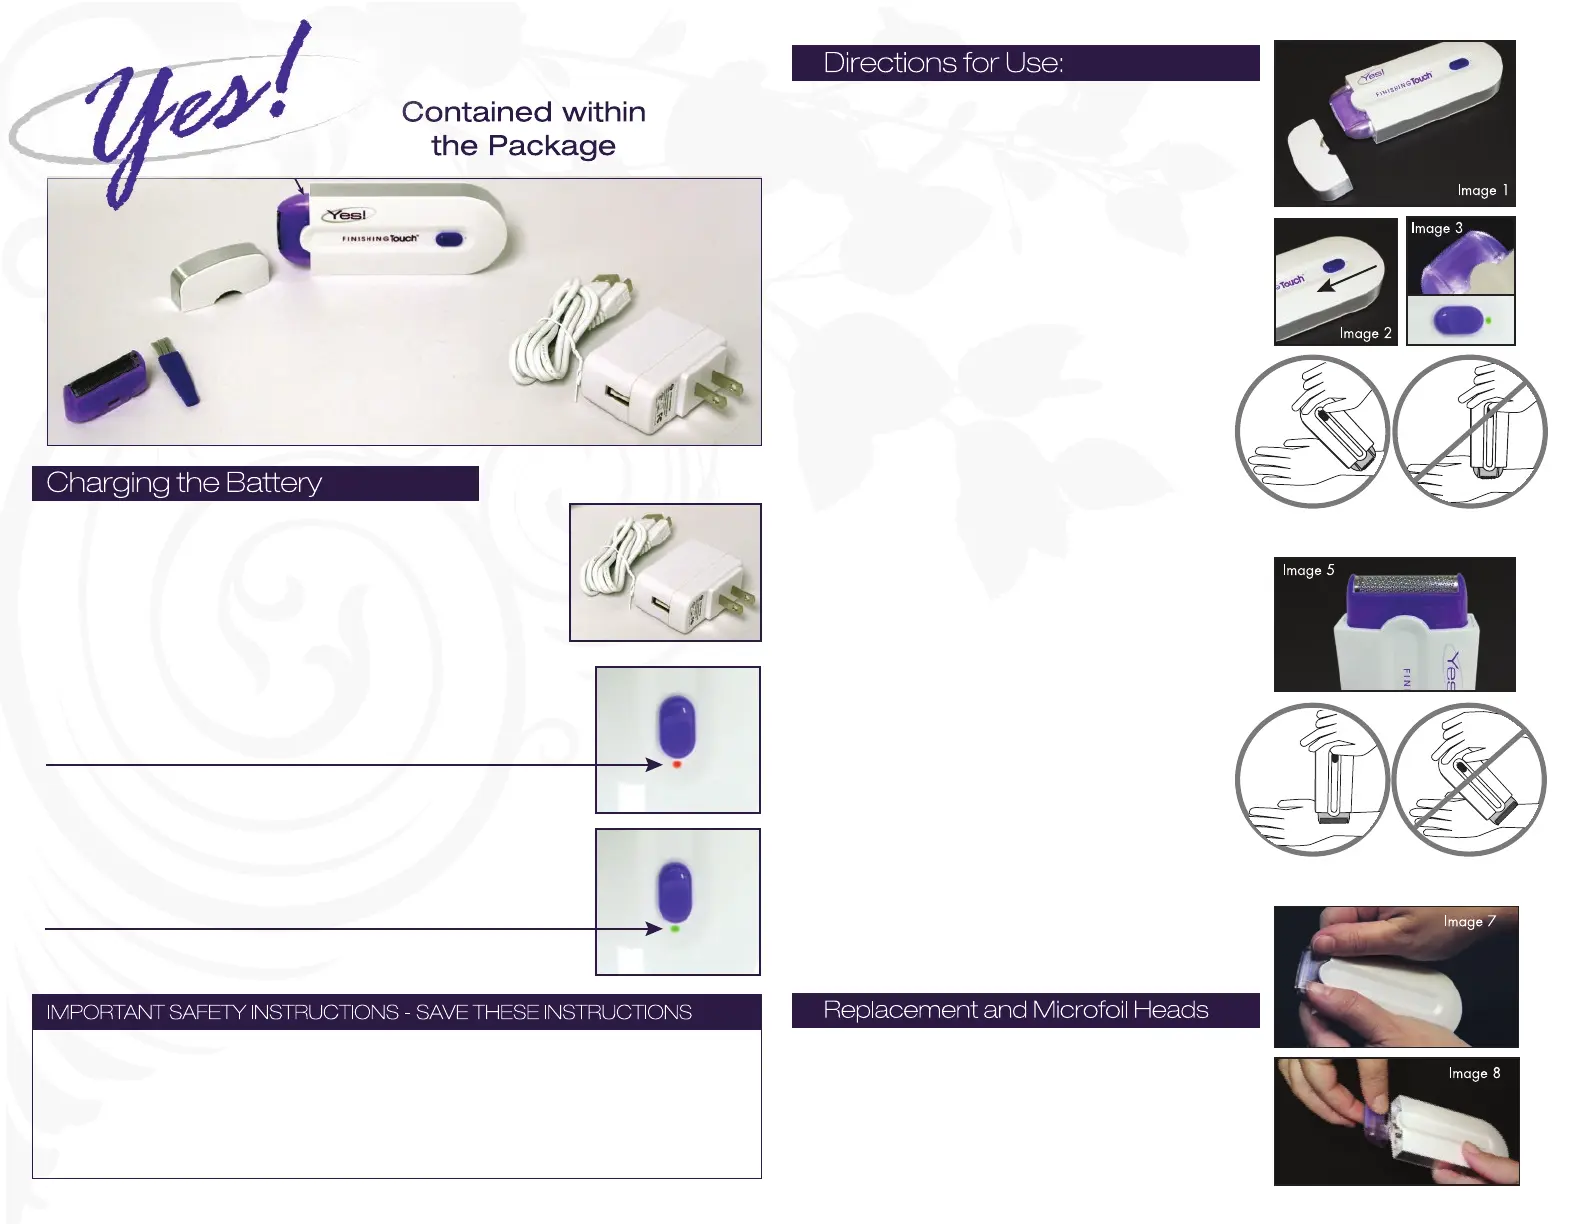
NOTE: Prior to first use, fully charge FT Yes for
approximately 2.5 hours.
FT Yes must be charged with the supplied USB cable,
using either the supplied AC adapter or an alternate
USB source.
While the unit is charging, the red light will remain on.
The green LED will remain on when unit is connected to the
adapter and fully charged. Charge will hold approximately 60
minutes run time.
DANGER: TO REDUCE THE RISK OF FIRE OR ELECTRIC SHOCK, CAREFULLY
FOLLOW THESE INSTRUCTIONS.
FOR CONNECTION TO A SUPPLY NOT IN THE U.S.A., USE AN ATTACHMENT PLUG
ADAPTER OF THE PROPER CONFIGURATION FOR THE POWER OUTLET.
Use on clean and completely dry skin with
no cream or cosmetic residue.
1. Remove cover (see Image 1).
2. Move switch to ON position (toward head)
(see Image 2).
3. Purple touch activated light and green LED will
flash (see Image 3).
4. Position Trimmer Head against the skin to
begin hair removal. (Touch activated light will
automatically turn on when in use). This unit will
not begin to work until contact has been
made with skin. The purple touch activated light
and the green activation LED will remain on while
the unit is in use. Place the FT Yes on skin and gently
glide the head of the unit along skin in the opposite
direction of hair growth at a 45° angle (NOT at a
900 angle) (see Image 4).
DO NOT APPLY EXCESSIVE PRESSURE
DURING USE to avoid damage to skin or head of
unit. Discontinue use if any skin irritation results.
5. For short hair, stubble or touch-ups, select the touch
activated Microfoil Head (see Image 5). For best
results while using the Microfoil Head, hold the
FT Yes at a 900 angle to skin (NOT on a 45°
angle) and apply SLIGHT pressure (see Image 6).
NOTE: For more effective hair removal, make
sure to trim hair as short as possible using the
Trimmer Head prior to using the Microfoil Head.
6. FT Yes will turn off within approximately 6
seconds. Green LED will return to flash. Unit will
automatically turn on again when it comes in
contact with skin.
7. When finished using your FT Yes, turn switch to
OFF position (away from head), cover and store
in cool dry place.
450
angle
450
angle
900
angle
900
angle
Image 4
Usage for Trimmer Head
Image 6
Usage for Microfoil Head
To change / replace heads, place your thumbs on the back
of the unit. Push gently in the direction of the arrow, toward
the front and in an upward motion. The head will separate
from the body. (Image 7)
Line up new head with arrow on back of unit and press.
Head will click into position. (Image 8)
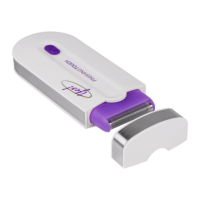
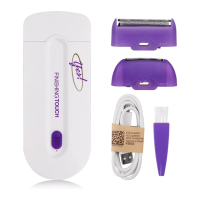
Trimmer Head
Cap
Finishing Touch Yes!™
Adapter
Adapter and
Charging Cable
Charging Cable
Microfoil Head
Cleaning Brush
 Loading...