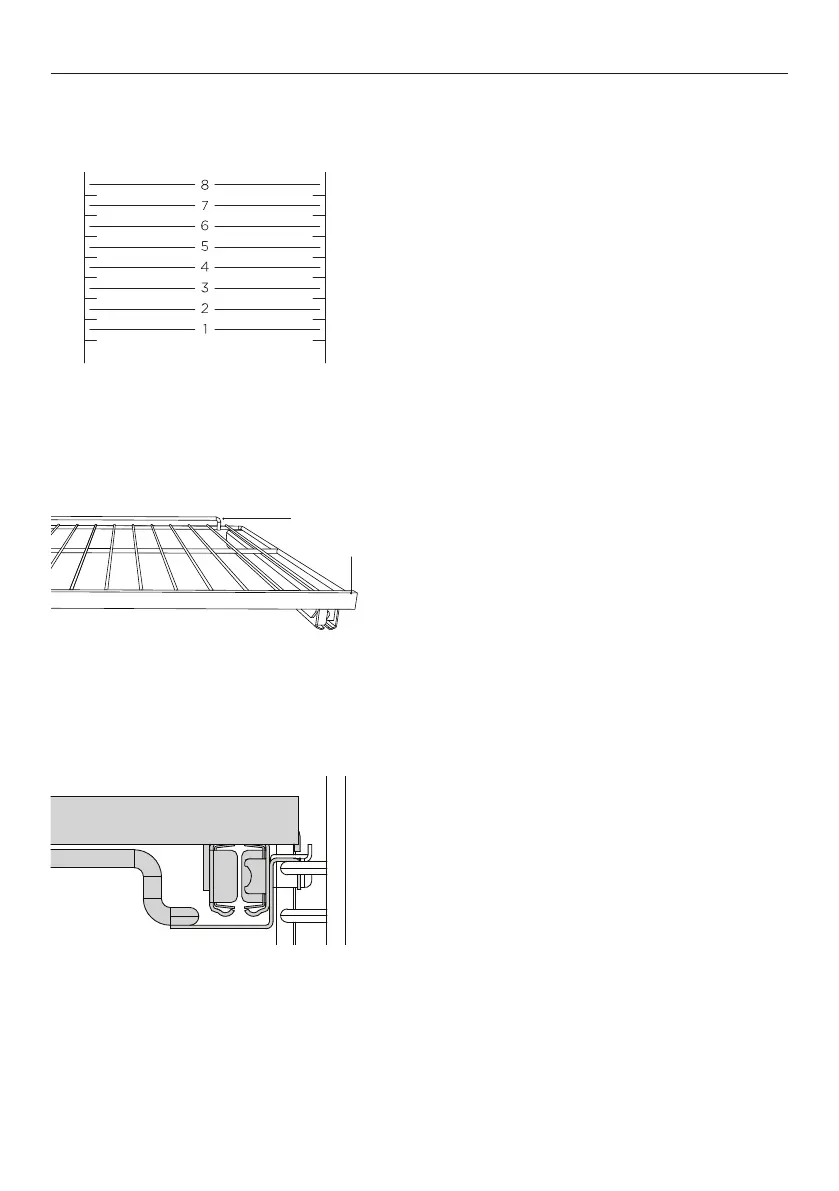
11
To replace shelves
1 Grip the shelf at the front (making sure
you are holding the wire shelf and the
sliding frame together).
2 Ensure the shelf is level and facing
the right way with the guard rail at
the back.
3 Place the shelf on top of the side racks
at the desired height, hooking the rear
tags over the side racks on both side.
4 Push the shelf all the way into the
oven, making sure the front tags
are also securely hooked over the
side racks.
Ensure shelves are positioned on
top of the side rack wires instead of
between them.
When there is food in the oven, take care
to slide the shelves horizontally when
extending them. This will prevent the tags
lifting off the side racks and the shelf
tipping over.
Shelf positions
We recommend placing the sliding shelves
on position 3 and 6 for everyday cooking.
FIRST USE
Replace shelving in your preferred positions
Guard rail
Front bar

 Loading...