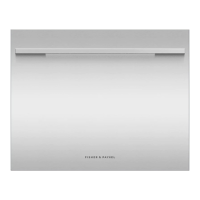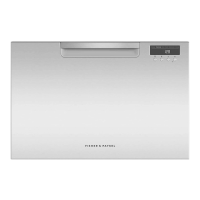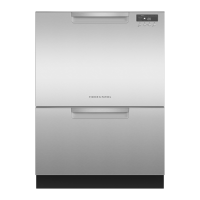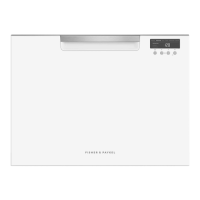
Do you have a question about the Fisher & Paykel DD24STI9N and is the answer not in the manual?
| Style | built-in dishwashers |
|---|---|
| Color | custom panel ready, custom |
| Load Capacity | 7 |
| Number of Cycles | 15 |
| Options/Settings | delicate wash, quick wash, normal, rinse, eco wash, heavy wash, sanitary, fast, extra dry |
| Drying Type | heated drying |
| Noise level | 44 decibels adjusted |
| Control Type | touchpad |
| Delay Start | yes |
| Number of Racks | 1 |
| Sanitize Settings | no |
| Annual Energy Consumption | 144 kilowatt hours |
| Water Consumption Per Cycle | 1.6 gallons |
| Voltage | 120 volts |
| Current | 15 amperes |
| Depth | 22 1/2 inches |
|---|---|
| Height | 17 9/10 inches |
| Width | 23 1/2 inches |
| Net Weight | 121 pounds |
Warnings about electrical dangers during installation and operation.
Requirements for proper grounding to prevent electric shock.
Critical safety guidelines for installation and use of the dishwasher.
Warning about sharp edges on panels and potential for cuts.
Parts for water drainage, including support and joiner.
Components for securing the dishwasher and panels.
Parts for custom front panels and toekick attachment.
Protective elements and other installation aids.
Steps to safely remove the dishwasher drawer.
Steps to access and disconnect electrical components.
Connecting electrical wires and reassembling covers.
Steps to reattach the drawer to its runners.
Specifications for the overall product height and width.
Specifications for product depth and chassis depth.
Dimensions related to drawer fronts and the main chassis.
Specifications for ventilation gaps and drawer extension.
Required internal dimensions of the cabinet.
Clearance requirements around the installed dishwasher.
Specifications for the material and construction of front panels.
Formula for calculating the required panel width.
Formula for calculating the upper and lower panel heights.
Specifications for the material of the toekick panel.
Formula for calculating the toekick panel height.
Guidelines for different toekick depths and cutting templates.
Preparation steps related to the countertop and moisture tape.
Guidelines for locating and preparing service holes.
Details on water supply connection and pressure requirements.
Specific considerations for kosher installations.
Maximum lengths for hoses and cords on the left side.
Maximum lengths for hoses and cords on the right side.
Steps to attach side mounting brackets to the product.
Routing hoses and cord and inserting the product into the cabinet.
Fastening the product to the cabinet sides.
Optional method to secure the product from above.
Routing hoses and cord and inserting the product into the cabinet.
Steps for removing the dishwasher drawer.
Fastening the product to the cabinet sides.
Optional method to secure the product from above.
Steps to remove panel brackets from the product.
Detaching the Knock-to-Pause module.
Mounting custom panels onto the brackets.
Connecting the module to the custom panel.
Connecting the module's cable to the controller.
Reattaching the ground wire to the panel bracket.
Mounting the prepared custom panels onto the dishwasher.
Fine-tuning panel height for cabinetry alignment.
Selecting the correct cutout profile based on toekick depth.
Positioning and securing the cutting template.
Performing the actual cutting of the toekick panel.
Attaching the toekick to the dishwasher's mounting rails.
Steps for marking, scoring, and snapping the prefinished toekick.
Finishing the toekick edges after cutting.
Final attachment of the toekick to the unit.
Attaching the drain hose support to the wall.
Proper routing of the drain hose to the standpipe.
Connecting drain hoses to the joiner and air break.
Attaching the drain hose support to the wall.
Connecting the drain hose to the sink trap/waste tee.
Ensure proper connection of the water inlet hose.
Instructions for powering up the dishwasher after installation.
Addresses residual water, no supply, beeping, and light errors.
Verifies water connections, product stability, and drawer operation.
Guidance on seeking help if problems persist.
Checklist for the installer to complete before final handover.
Steps to verify product function after installation.
Information to be completed and kept by the installer.


