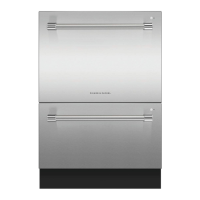
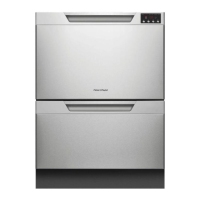
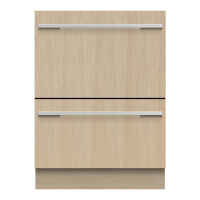
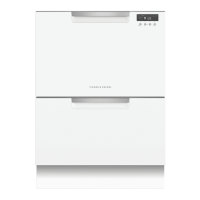
Do you have a question about the Fisher & Paykel DOUBLE DISHDRAWER DD60DA and is the answer not in the manual?
Warnings about electrical hazards and proper earthing procedures for safe installation.
Warnings about improper earthing connection and modifications to the power supply plug.
Warning regarding sharp panel edges and the risk of cuts during handling.
Important reminder to keep the installation guide for future reference.
Highlights the need for basic skills, local compliance, and leaving instructions with the customer.
Covers indoor use, water shutoff, power outlet placement, and cord/hose care during installation.
Instructions for attaching side mounting brackets securely before sliding the product into the cavity.
Guides on routing hoses and power cord while pushing the appliance into the cabinet.
Steps for securing the appliance to the cabinetry sides using trim moulding and brackets.
Instructions for optionally securing the appliance to the cabinetry above using top mounting brackets.
Guides on routing hoses and power cord while pushing the appliance into the cabinet.
Steps for safely removing the lower drawer to prevent hose kinking.
Securing the appliance to the cabinetry sides using formed brackets and screws.
Instructions for optionally securing the appliance to the cabinetry above.
Steps for refitting the drawer onto the runners after securing the appliance.
Details for connecting the drain hose to a 38mm standpipe.
Details for connecting the drain hose via a drain hose joiner to a sink trap.
| Model Number | DD60DA |
|---|---|
| Width | 60 cm |
| Height | 82 cm |
| Capacity | 14 place settings |
| Energy Rating | 3.5 stars |
| Water Rating | 4.5 stars |
| Noise Level | 44 dBA |
| Wash Programs | 6 |
| Control Type | Electronic |
| Number of Drawers | 2 |
| Energy Star Qualified | Yes |
| Display | LED |
| Child Lock | Yes |
| Color | Stainless Steel |
| Delay Start | Yes |
| Depth | 572mm |
| Capacity per drawer | 7 place settings |
| Wash Programs List | Heavy, Eco, Rinse |
| Drying System | Fan-assisted |
| Type | Drawer |
