Do you have a question about the Fisher & Paykel DishDrawer DS605 and is the answer not in the manual?
Covers essential safety precautions including electrical safety, ESD, good practices, water isolation, leak checks, and insulation tests.
Details specific tools required for servicing, such as static straps and the Fisher & Paykel Smart Tool.
Provides physical dimensions for both double and single models in mm and inches, including cavity sizes.
Lists electrical requirements like voltage, frequency, and current for different markets.
Details technical specifications for various components like motors, valves, and sensors.
Outlines wash performance, energy, and water usage for different regions and models.
Details the specific timings, temperatures, and water usage for various wash cycles.
Describes the construction and material of the dishwasher's main frame and tub support.
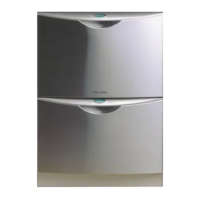
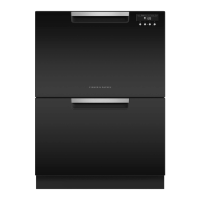
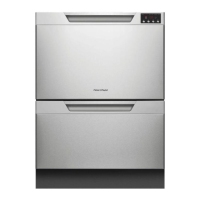
Explains the design and attachment method of the prefinished and integrated drawer fronts.
Overview of the main control board, power supply, user interface, tub home sensor, and touch switches.
Details the wash/drain motor, its rotor assembly, and the spray arm functionality.
Describes the protective cover for electrical components in the motor area.
Details the lid's operation, including manual opening, automatic closure, and behavior during power failures.
Describes the main wash tub, its construction, and water flow guidance.
Details water entry, dual valve operation, detergent/rinse aid dispensing, amount of water, and flood protection.
Explains the heating element, water heating process, temperature maintenance, and overheat protection.
Describes the locknuts securing the heater plate and motor, and reassembly considerations.
Details the drain pump operation, including its self-priming nature and speed.
Describes the filter plate, drain filter system, and procedures for cleaning.
Explains how the drying fan operates, its airflow, and flap valve function.
Details the water softener's function, regeneration process, and salt level indicator.
Guides users on entering the setup mode and adjusting various appliance options like Rinse Aid and Water Hardness.
Offers quick reference for adjusting Rinse Aid, Water Softener, Auto Power, and Cycle Beeps settings.
Guides on entering diagnostics, display/download modes, fault logging, and clearing fault logs.
Tests all hardware outputs and inputs, indicating status via LCD or LEDs.
Runs an 8-minute test cycle to check multiple components and identify failures.
Allows running any wash cycle continuously, restarting automatically after completion.
Displays current water temperature or controller rail voltage instead of time remaining.
Initiates a demonstration mode for display purposes, cycling through segments and running a wash.
Offers quick reference charts for fault display, hardware output tests, and fast test cycles.
Details how to enter and run the continuous cycle diagnostic mode.
Explains how to access temperature and voltage display features during a wash cycle.
Provides a quick reference for fault codes, their LED display, and possible causes.
Provides detailed troubleshooting steps for specific fault codes like F1 (Flood Detected) and F2 (Motor Not Rotating).
Troubleshooting guide for issues related to plastic items not drying, rinse aid usage, and cycle selection.
Addresses food particles on dishes due to spray arm obstruction, overloading, or incorrect cycle selection.
Illustrates the overall power flow and distribution within the DishDrawer™™ unit.
Presents the detailed wiring diagram for the Phase 5 DishDrawer™™ model.
Step-by-step instructions for removing and refitting the dishwasher drawer front.
Procedure for removing and replacing the handle and LCD display assembly.
Instructions for safely removing the toe kick panel for access.
Details on how to remove the lower tub cowling for access to internal components.
Step-by-step guide for safely removing the main wash tub assembly.
Instructions for removing and refitting the drying duct assembly.
Procedure for accessing and replacing the drying fan and its associated flap valve.
Steps for removing and refitting the water softener unit and its related components.
Detailed instructions for removing and refitting the detergent dispenser assembly.
Procedure for removing and replacing the main electronic controller board.
Instructions for removing and refitting the filter plate assembly from the tub.
Procedure for removing and refitting the rotor assembly, noting it's not serviceable.
Steps for removing and refitting the protective wiring cover.
Guide to disconnecting hoses and wiring from the tub before removal.
Procedure for removing and refitting the Hall sensor.
Detailed steps for removing the heater plate and motor assembly, including locknuts and seals.
Instructions for removing the lid assembly from the chassis.
Procedure for removing and refitting the yoke assembly.
Steps for removing and refitting the lid actuator mechanism.
Guide for removing and replacing the drawer slide rails.
Instructions for removing and replacing the mains filter cover and PCB.
Procedure for removing and refitting the water inlet valve.
Steps for replacing fill hoses, drain hoses, and wiring harnesses.
Guidance on checking and adjusting the link support wire position for latch resetting issues.
Instructions for removing and refitting the front trim panel on the bottom tub.
| Brand | Fisher & Paykel |
|---|---|
| Model | DishDrawer DS605 |
| Category | Dishwasher |
| Language | English |