4
Warning
The Loudbox 100 Power Amplifi er Chassis part is specifi ed either for 120V or 240V function. Make sure, before
continuing with this installation, that the correct replacement part has been selected.
Required Tools and Parts
#2 Phillips Screwdriver, 4mm Hex Wrench
Loudbox 100 120V Power Amplifi er Chassis P/N ACC-000-000 or Loudbox 100 240V Power Amplifi er Chassis P/N
ACC-000-000
Preparation
Remove and Disconnect Head Cap Chassis as shown in Loudbox 100 & Performer Head Cap Chassis
Replacement. Set Head Cap Chassis aside for later reassembly.
Remove Power Amplifi er Chassis
1. Unscrew the rear plate. Use a #2 Phillips Screwdriver to remove (10) screws from the backplate as shown.
2. Expose Power Amplifi er Chassis.
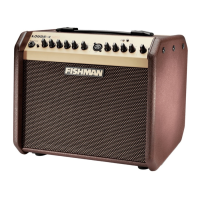
LOUDBOX 100 POWER AMPLIFIER
CHASSIS REPLACEMENT

 Loading...