34 35
• Read the entire user manual before you start assembling the product. Carefully
install the product.
• The product must be carefully installed by two adults on a flat and non-slip
surface. Contact a professional if necessary.
• Remove all packaging material and place all parts on the floor or ground.
• Make sure that no parts from the list are missing.
• There must be at least 7.5 m free space above the trampoline.
• Make sure there are no power lines, branches, swimming pools or fences in the
immediate vicinity of the trampoline.
• Do not assemble the trampoline in rain, wind or storm.
• We recommend the use of protective gloves when fitting the product.
• Carefully dispose of all packaging material and make sure that children and
pets do not have access to the material (risk of suocation!)
5 INSTALLATION INSTRUCTIONS
STEP 1: FRAME ASSEMBLY
Connect the frame tubes (C) to the legs with T-connectors (D) so that the frame
tubes form a circle.
D
C
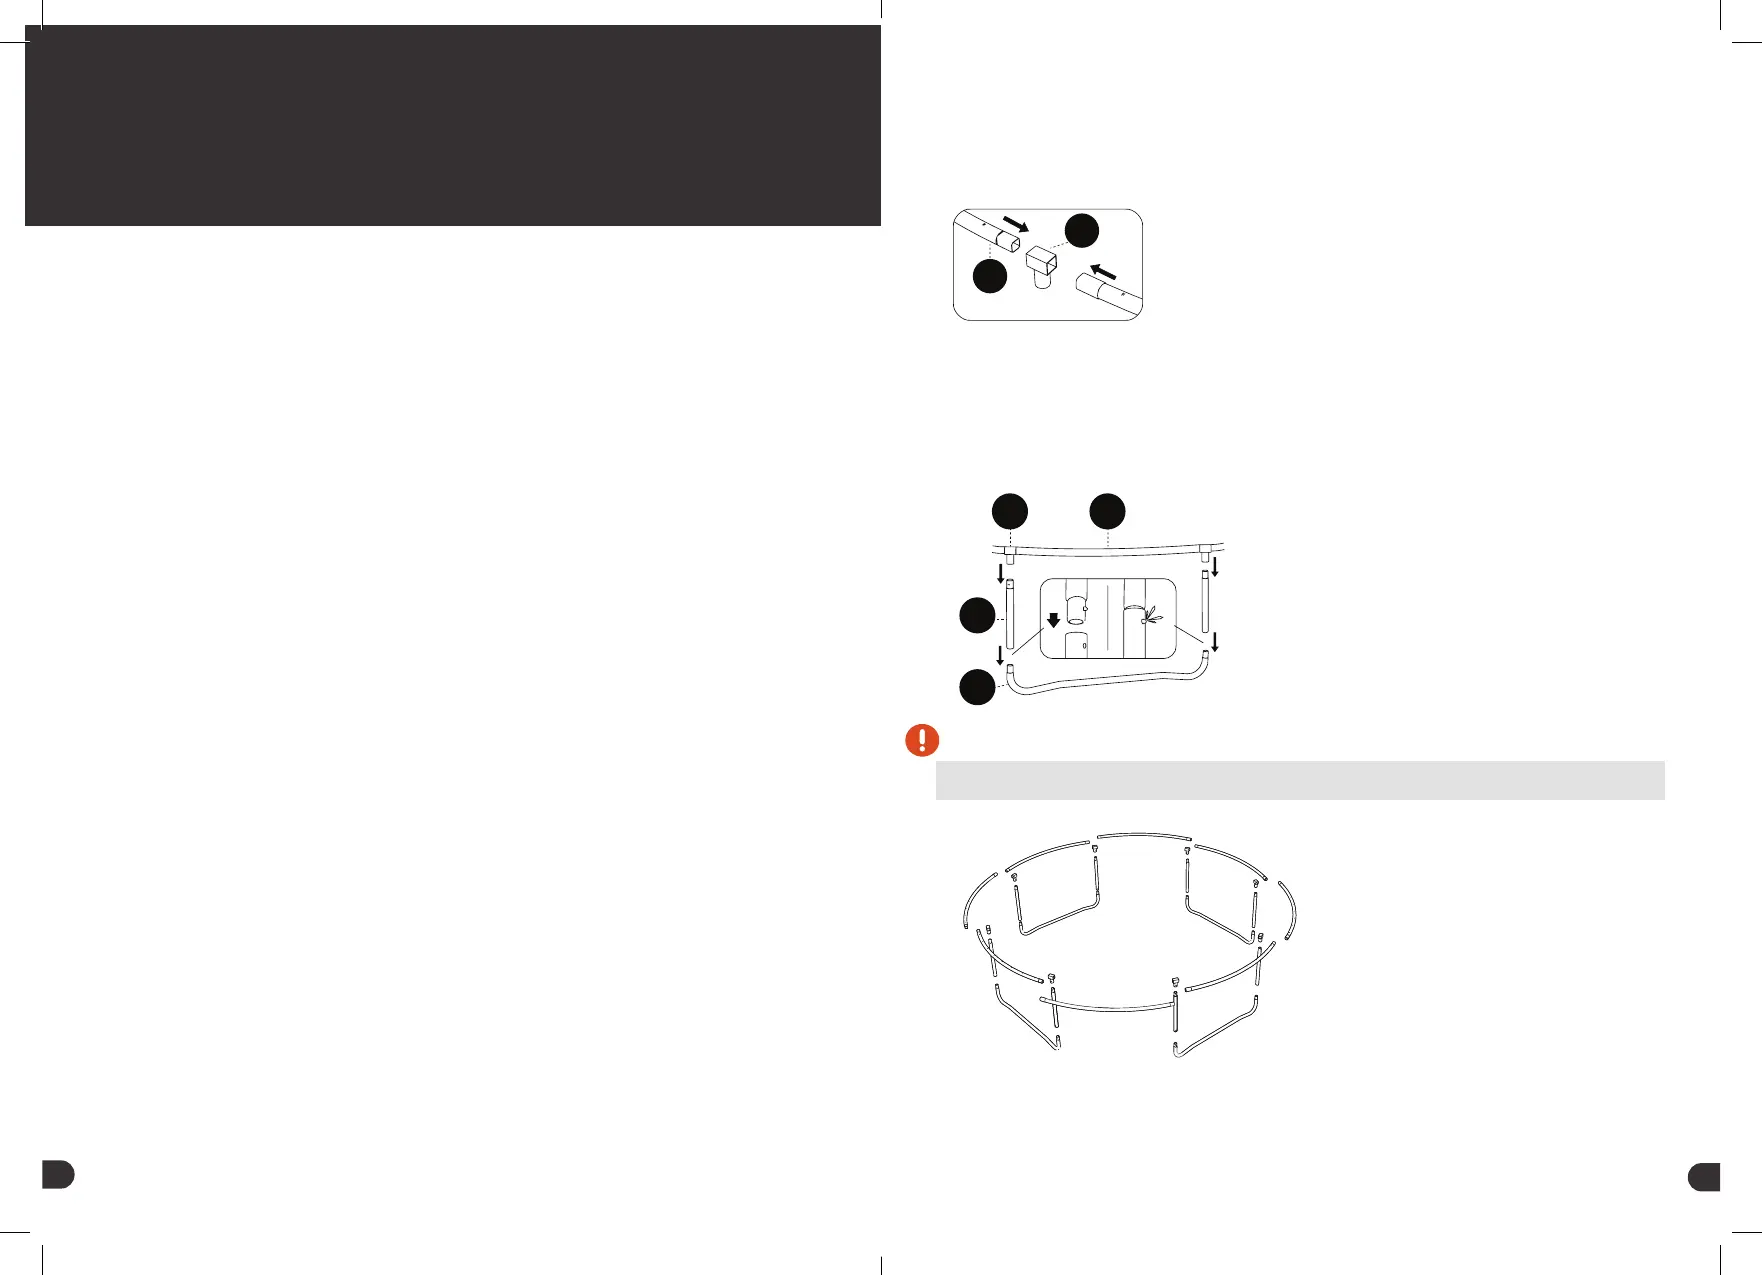
STEP 2: LEG ASSEMBLY
Connect the leg frame tubes (F), the U-legs (G) and the frame assembled in the
previous step. Make sure the parts interlock together. When the parts are locked, a
”click” sound is heard and the sprung pin comes out of the small locking hole in the
tube.
D C
F
G
Klick
.
NOTE!
Unlike other models, the 305 cm / 10FT model has three legs.
 Loading...