23
English
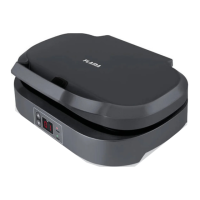
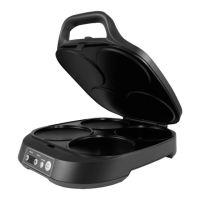
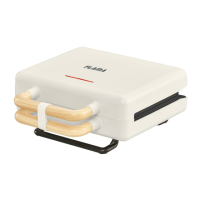
DESCRIPTION
1.An-scalding handle
2.Lid release buon
3.“Power” indicator light (means power is
on)
4.“Ready” indicator light (means ready for
use)
5.Increase me buon
6.Decrease me buon
7.LED control panel with countdown
8.Slots for pancakes and snacks
9.Integrated cable winder
10.Non-slip pads
OPERATION
Before rst use
Safely remove and discard all promoonal
labels, clean the slots and the plates with a
damp cloth, and dry them thoroughly.
Grease the plates before use according to
the instrucons in the “Care, Cleaning, and
Storage” secon of this manual.
Operang your appliance
1.Insert the power cord into a socket. The
appliance is ready for use.
2.The “POWER” light will turn red, the
control panel will show a rotang loop “ “
and the appliance will start preheang.
3.Once preheang is nished, the “POWER”
light will remain on and the “READY” light
will turn green. The machine will beep
3 mes to alert you that preheang has
nished and the informaon “00 “ will ash
connuously on the panel.
4.Press the lid open buon and open it
using the handle. Open the lid and pour the
baer / ingredients evenly into the center
of each slot. The total volume of baer /
ingredients must not exceed the edge of
the slot.
NOTE: Do not overll the slots. 1/3 cup is
the maximum recommended amount of
baer to cook well.
5.Set the required cooking me using
the increase and decrease mer buons.
Select a me between 30 seconds and 10
minutes. The mer seng is represented
in half-minute increments such as 0.5, 1.0,
1.5, 2.0 minutes, etc.
6.Time will stop ashing to indicate that the
mer is counng down.
NOTE: The “POWER” and “READY” lights
will keep turning on and o to indicate
that the machine is maintaining the correct
temperature.
7.The mer will count down in 0.5 minute
intervals, displaying the remaining cooking
me on the panel.
When reaching 1 minute, it will count down
in seconds unl the cooking me is over.
8.When the cooking me is over, the unit
will beep 5 mes and the LED panel will
display the informaon “00’. “ NOTE: Never
use metal utensils, as these can damage the
non-sck coang.
9.Open the lid and carefully remove the
pancakes or snacks with the help of a heat-
resistant silicone spatula.
10.To cook another batch, close the lid and
wait for the “READY” light to turn on. Then
repeat steps 4 to 9, unl you get the desired
number of pancakes or snacks.
NOTE:
The lid must always remain closed and
locked. When using the machine for the
rst me, you may noce a ne mist of
steam/smoke. This is caused by some of the