English - Fiing Instructions
VERY IMPORTANT - Read this first
Take all necessary safety precautions when working at height. Make sure that all work is
planned, organised and carried out by a competent person. Use an appropriate stepladder.
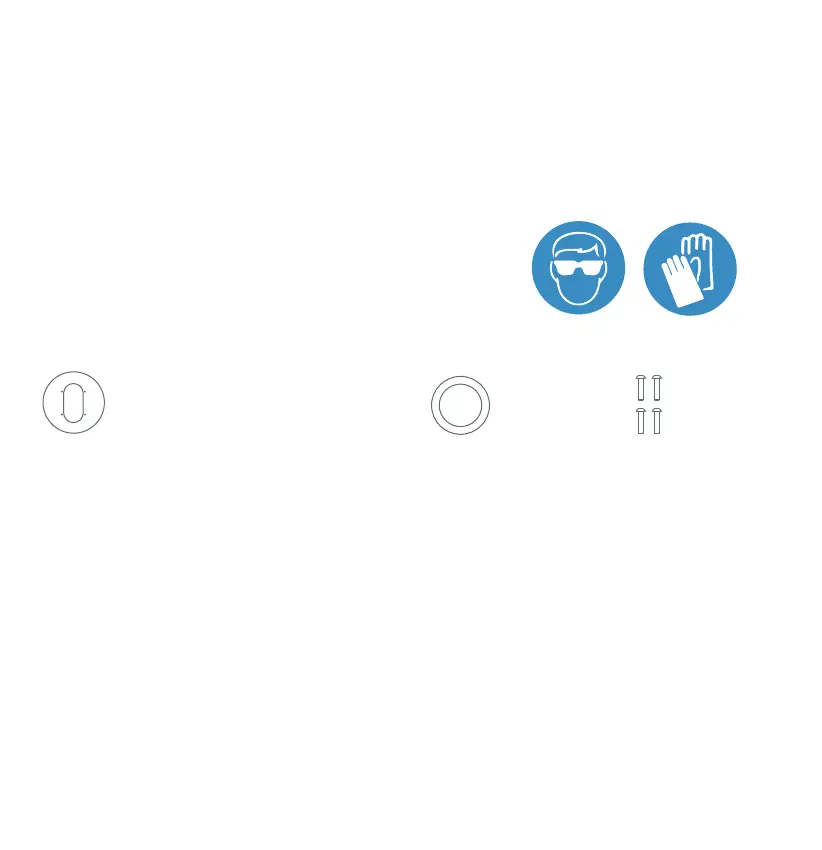
Wear work gloves and safety glasses when fiing the Slimline Converter to avoid injury
from sharp metal edges and swarf.
Use of waterproof adhesive sealant is recommended.
Ensure shuer is set to open during operation.
For further resources and assistance, visit flener.co.uk.
Contents
(A) Before removing the current ventilator
1. Place the Flener Slimline on the Plain Slimline Converter Plate on a section of
roof near the current rotor to check that the Slimline ventilator will freely rotate with
suicient clearance on all sides.
2. If a raised roof feature prevents the Flener Slimline from rotating freely, use the
Slimline Converter Riser (black) on top of the roof instead of the Plain Slimline
Converter Plate.
3. If the ventilator needs to be installed in a new location, the current hole can be covered
using a Flener Blanking Plate (sold separately).
(B) Preparation
1. Remove the current ventilator. Visit flener.co.uk/products for instructions and
videos.
2. Remove any adhesive/ sealant residue le on the roof from the current ventilator.
1 x Plain Slimline Converter Plate
1 x Branded Slimline Converter Plate
1 x Slimline Converter Riser (black)
2 x Slimline
Converter
Gaskets
4 x Slimline
Converter
Screws
 Loading...