QuickStart: FLIR BCam/InfraCam
© 2011 The Snell Group / 322 N. Main St. / Suite 8 / Barre, VT 05641 / 800.636.9820 /www.thesnellgroup.com
BCam/InfraCam Page 2
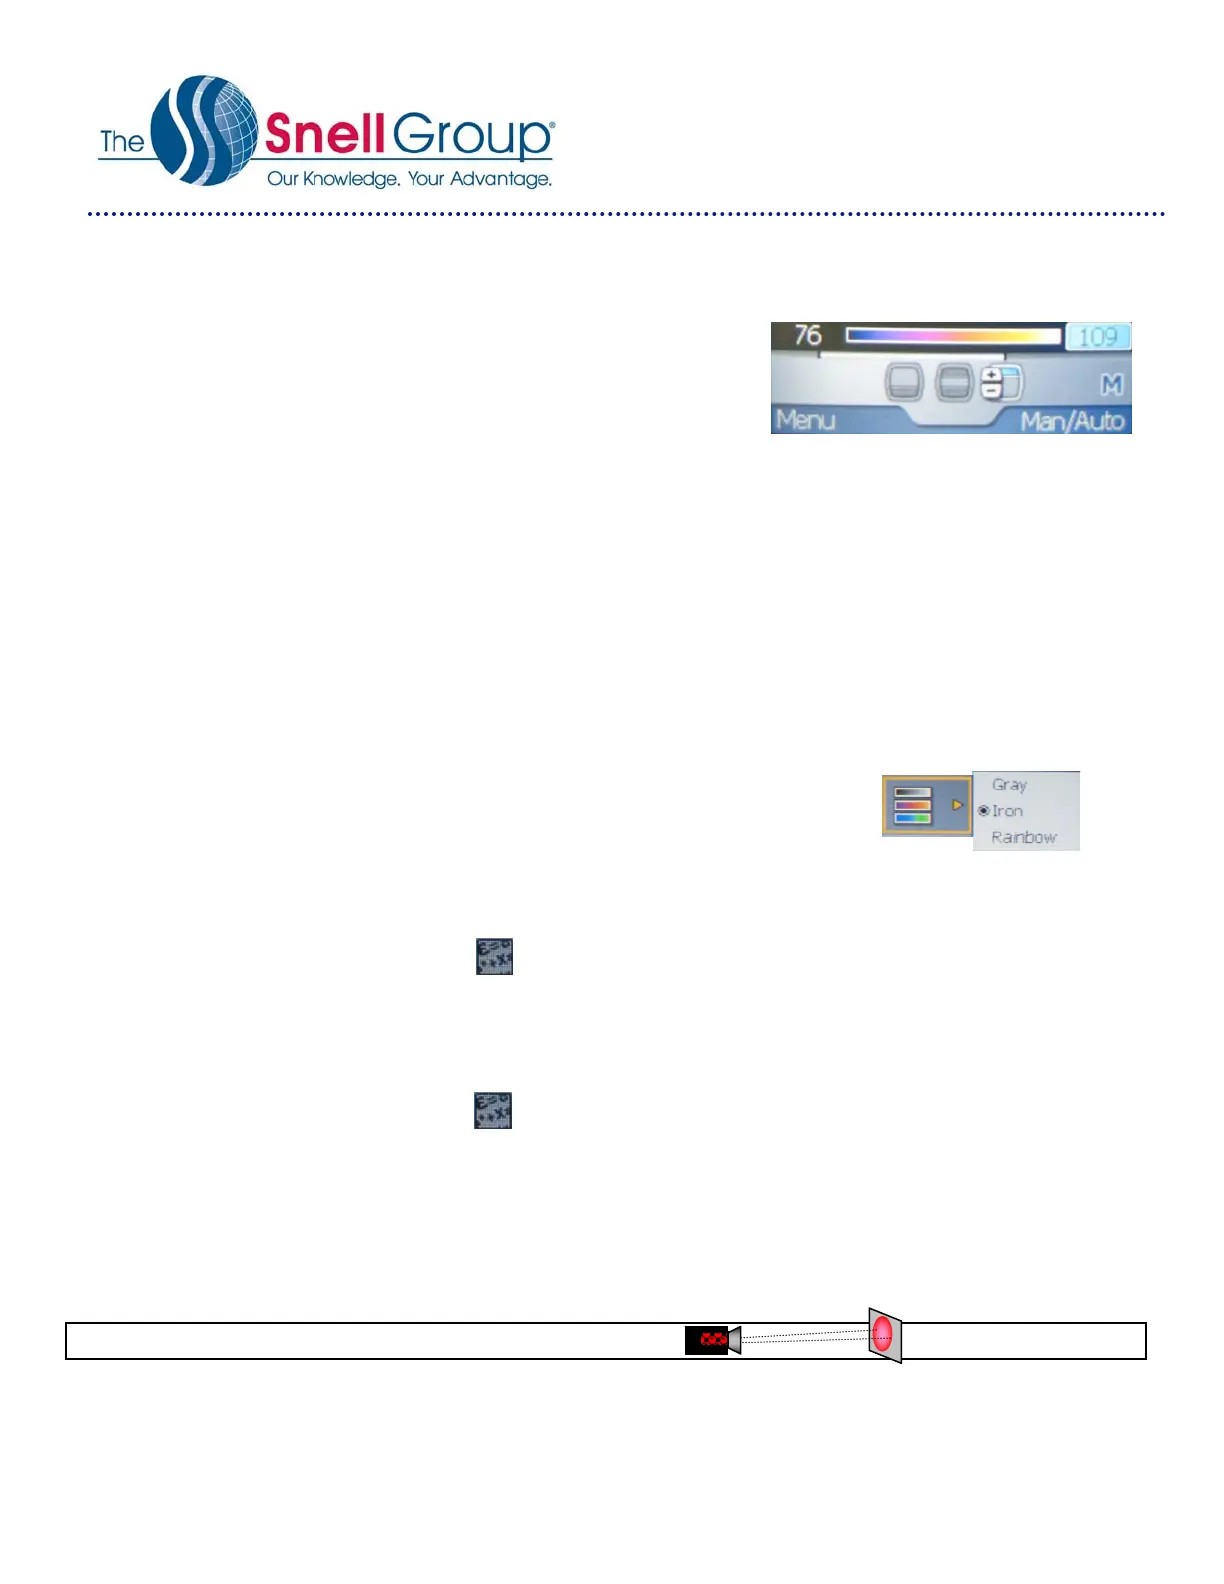
6. MANUAL ADJUST: Use the [Right Selection Button] to toggle
between Auto and Manual mode. Note when in Manual mode the
letter M appears at the bottom left portion of the screen and center
graphic indicators as seen in Fig. 1.
To adjust Span (in Manual mode) use the left and right arrows of
the Navigation Pad to select either the low span limit number or
the high span limit number. Once selected use the + or - key to change the value.
To adjust Level, use the up and down arrows until both the low and high span limit numbers are selected (and
center graphic). Once selected use the + or - key to raise or lower the Level.
7. SAVE IMAGE: Simply pull the [Trigger] to save an image.
8. RECALL IMAGE: Press the [Camera/Archive] Button to recall the last saved image. You can now use the left
and right arrows on the Navigation Pad to recall previous images.
Using the Selection Buttons by following the text prompts in the Current Function Indicator portion of the
viewing screen you can view thumbnails (Overview), select, open, or delete images.
To return live image mode press the [Camera/Archive] Button.
9. PALETTE: From the default start up screen press the Left Selection Button
(Menu) to enter the menu choices.
Using the Navigation Pad press the +/- and up and down arrows key to
highlight the Palette box then over to your three choices. After the desired
palette is highlighted press the Left Selection Button (Select) to confirm and make the change.
10. EMISSIVITY: Press “Menu” (the Left Selection Button) to view the menu.
Using the Navigation Pad highlight then press “Select”.
Select Emissivity using the Navigation Pad.
Set Emissivity by selecting “Set Value” then use the Navigation Pad to make changes.
Press “Select” to save changes and close the menu.
11. BACKGROUND: (Reflective temp.)Press “Menu” (the Left Selection Button) to view the menu.
Using the Navigation Pad highlight then press “Select”.
Select Reflective temp. using the Navigation Pad.
Set Reflective temp. by using the Navigation Pad to make changes.
Press “Select” to save changes and close the menu.
12. LASER POINTER: Remove Laser Pointer lens cap and pull the yellow Laser Trigger.
120x120 Detector IFOV (Theoretical) w/standard 25˚ lens 3.6 mRad Detect ½” target @ 13.8ft.
Fig. 1
 Loading...