10) Using the three hex head screws removed in the step above install
the butterfly actuators onto the valves in the new Flowmaster muffler
assemblies. Tighten the three screws securely.
11) Once the actuators have been installed onto the muffler assemblies,
the system can be reinstalled on the vehicle. Position one muffler at a
time, up over the axle into the clamped connection. Re-use the
original bolts to secure the rear hanger bracket up to the frame.
12) Once both mufflers are in place and supported, there are small
brackets at the rear that will connect them together. Use the two
supplied button head bolts, nuts and washers to secure the two
mufflers together. Reconnect the electrical connectors to the actuators
on the new mufflers.
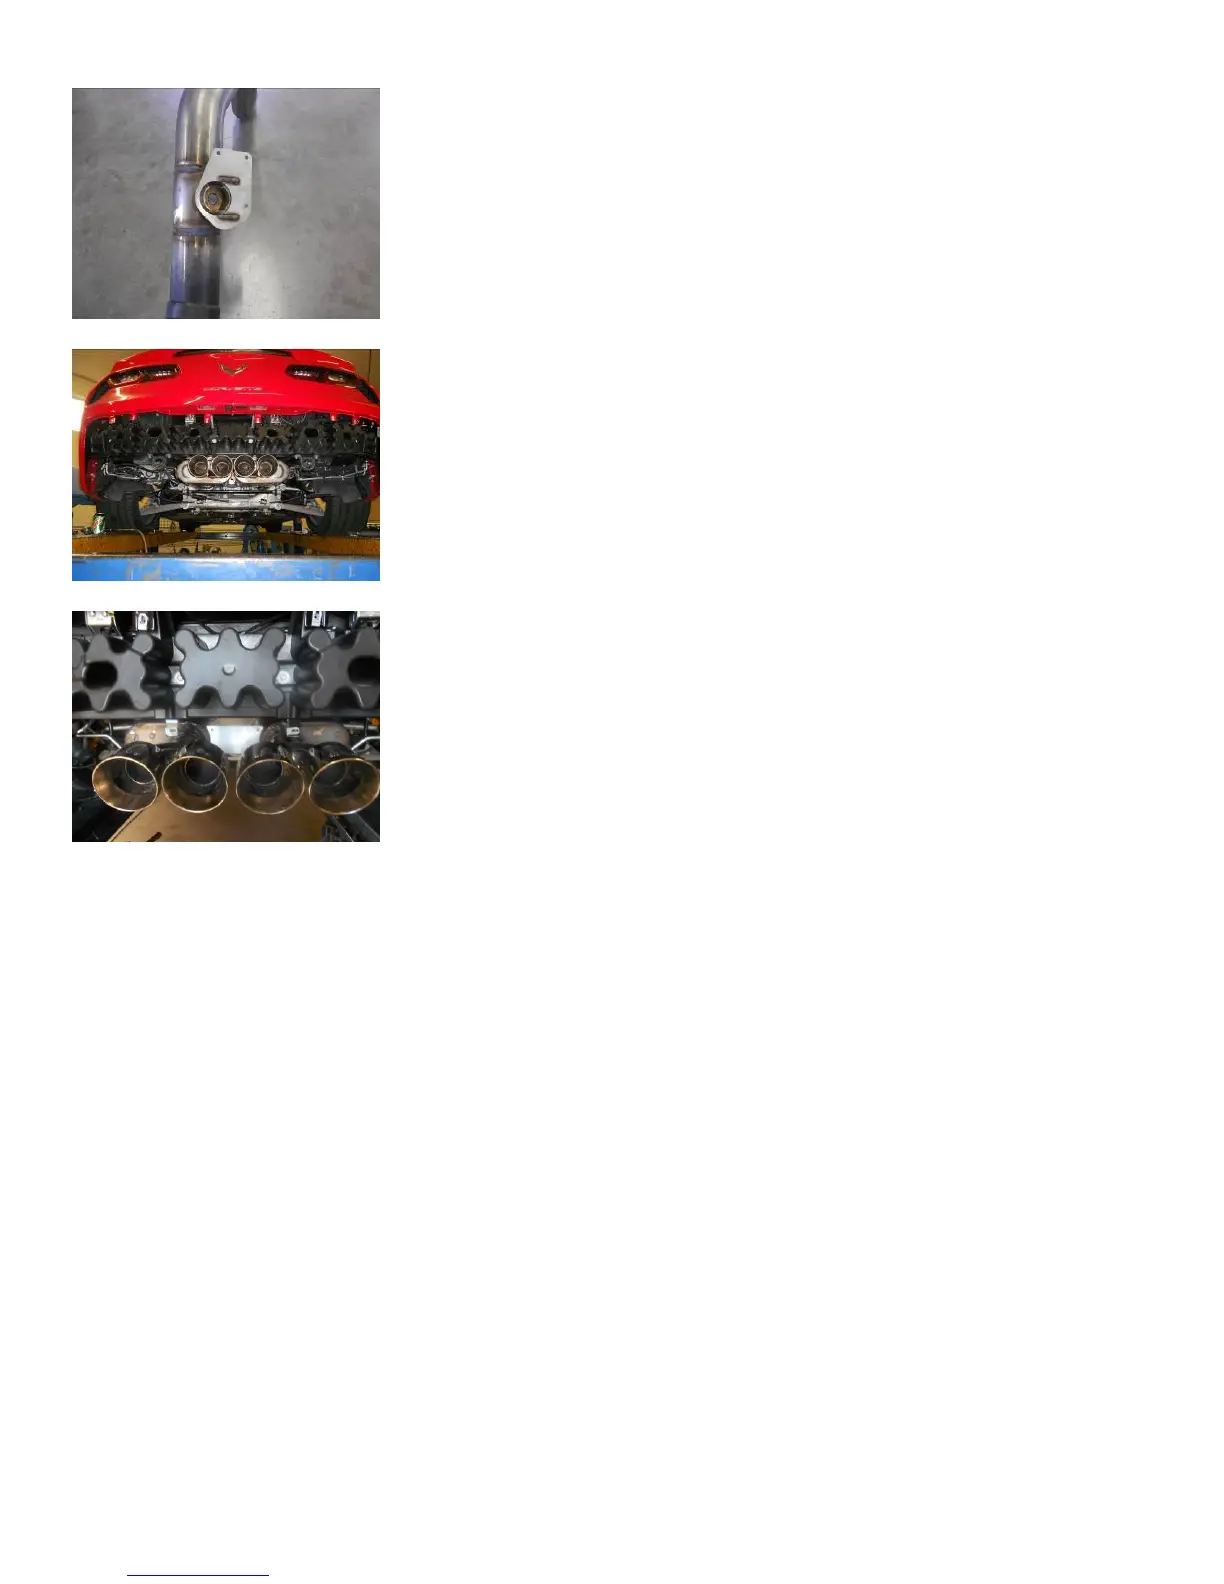
The remainder of the installation is basically the reverse of the steps in the removal process. Once the rear
fascia is back in place, you can go back and make any necessary adjustment to the alignment of the
mufflers/tips before securely tightening down the inlet clamps and rear button head bolts. Note: The GM
service manual recommends that an “ACTUATOR LEARN PROCEDURE” be done when any changes
are made to the exhaust system. In our experience this is not necessary. However, if you experience a
check engine light or any other issues, it may be necessary to visit a GM dealer and have them run this
procedure on the vehicle.
Feel the difference with Flowmaster. Find out more about performance exhaust systems we have.
 Loading...