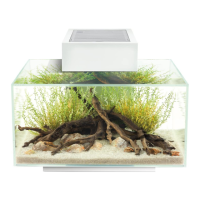
7. Place small plants in the aquarium refer to Section #4 of this Instruction Manual
8. Fill the aquarium with water refer to Section #4 of this Instruction Manual
up to half its height
9. Place high plants in the aquarium refer to Section #4 of this Instruction Manual
10.Top up the aquarium up to refer to Section #4 of this Instruction Manual
“max water level” line
11.Prepare the Strip-Light Canopy for start-up refer to Section #5 of this Instruction Manual
and place it on the aquarium top
B. AQUARIUM START-UP
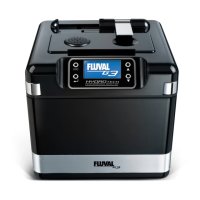
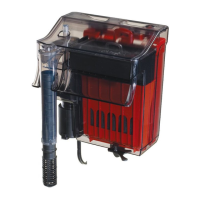
12.Plug in the External Filter refer to Section #6 of this Instruction Manual
13.Plug in the heater refer to Section #6 of this Instruction Manual
14.Plug in the Strip-Light Canopy refer to Section #6 of this Instruction Manual
15.Program the Light-Timer, if included, refer to Section #6 of this Instruction Manual
according to your requirements
16.Add the fish after the aquarium has matured
MAINTENANCE
For any maintenance operation please refer to Section #7
7
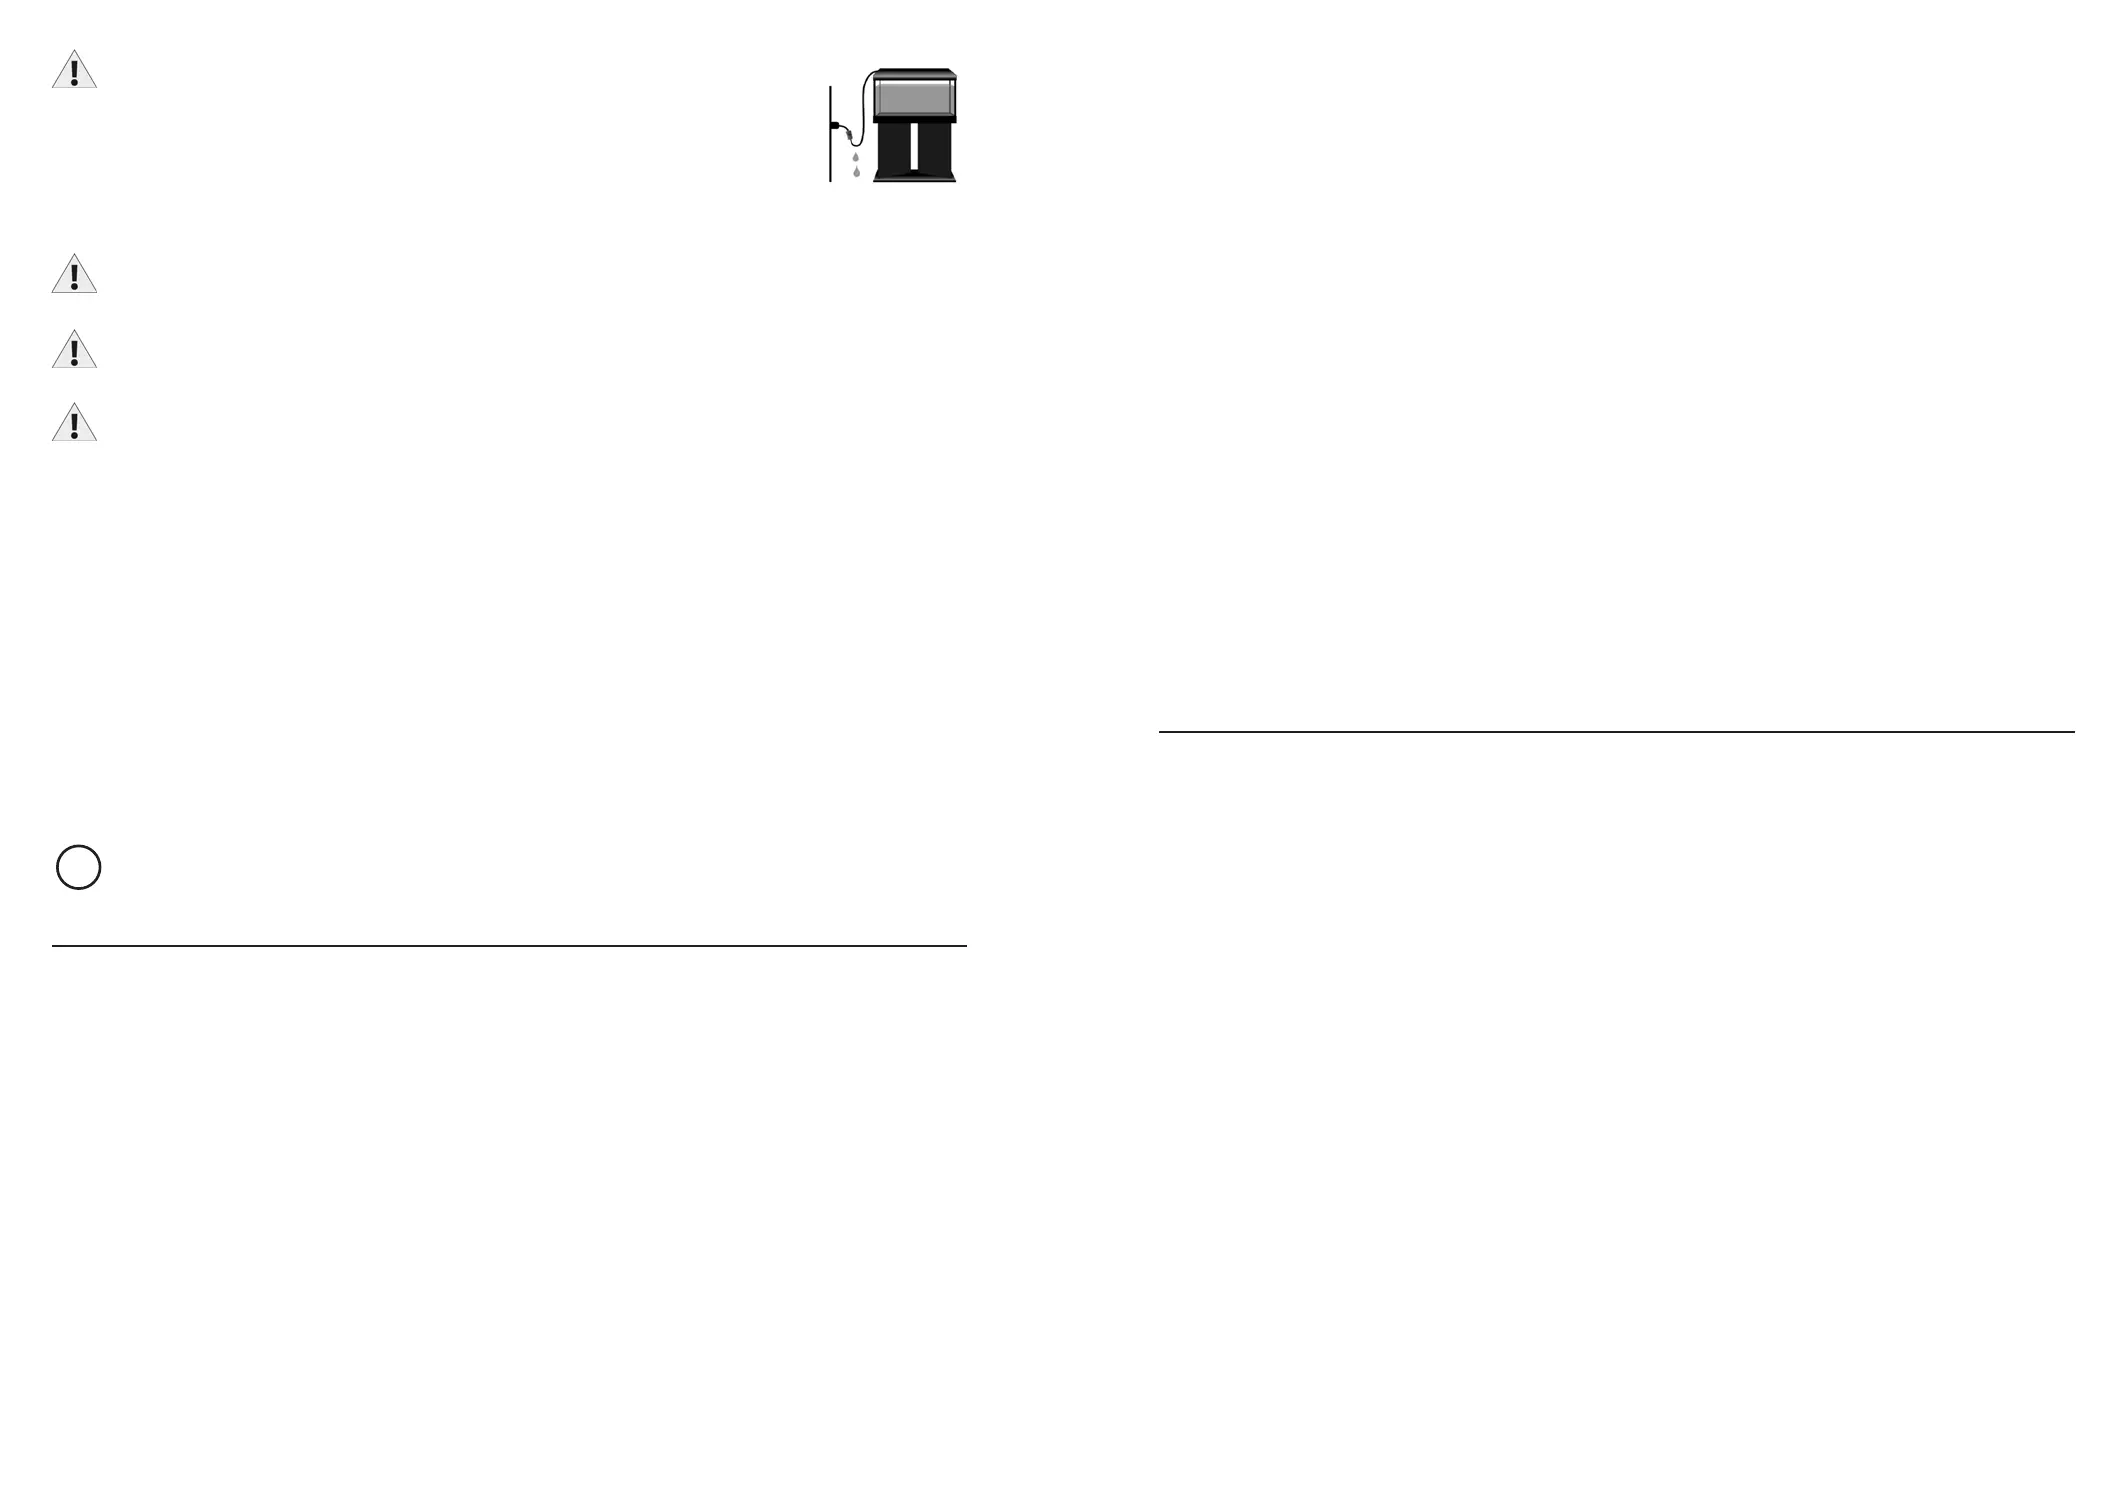
WARNING. Use a drip loop. A “drip loop” should be made by the user for each
cord connecting an aquarium appliance to a socket (see illustration). The “drip
loop” is that part of the electrical cord below the level of the socket
(or connector, if an extension cord is used) to prevent water from running along
the cord and coming in contact with the socket. If the plug or socket does
get wet, DON’T unplug the cord. Disconnect the fuse or circuit breaker that
supplies power to the appliance. Then unplug and examine for presence of
water in socket.
WARNING. Risk of overheating: do not place any objects on the aquarium or any other appliance
connected to the aquarium at any time.
If air stones are used, always keep them in the middle of the aquarium to avoid water leaks due
to capillary action around the top frame.
ADDITIONAL SAFETY INSTRUCTIONS FOR THE INSTALLATION AND MAINTENANCE OF
SALTWATER AQUARIUMS
It is commonly known that salt water is far more corrosive, electrically conductive, and generally
degrades plastic and metal parts at an accelerated rate versus fresh water. To minimize salt accu-
mulations on the aquarium, take note of the following recommendations:
1. Make sure that the filter outputs do not spray above the water surface; position them below the
water surface with a slight downward angle, but allow for surface movement (which contributes
to oxygenation).
2. If an air pump must be used, frequent removal of salt deposits will be necessary.
3. Keep the water level as constant as possible (top up regularly to make up for evaporation).This
is beneficial in providing stable salinity and will help protect the canopy.
4. Clean all aquarium components that come into contact with salt water at least every 15 days.
Use a wet cloth (never use chemical products or detergents). Simple lemon juice may be
useful for removing calcareous encrustation. Rinse thoroughly afterward to eliminate acid
residue.
The electrical cords of the Strip-Lights and the heater can exit the aquarium through the rear
openings of the aquarium top frame. For a neat installation, the cords can be supported inside the
tank by special clips hooked to the aquarium’s internal top rim.
SETTING UP YOUR FLUVAL AQUARIUM
For proper installation and start-up of your aquarium, please follow these guidelines:
A. PREPARING THE AQUARIUM KIT FOR START-UP
1. Assemble the aquarium cabinet refer to Section #1 of this Instruction Manual
and to the separate Instruction Manual which
is found in the cabinet box.
2. After verification, place the cabinet refer to Section #1 of this Instruction Manual
and the aquarium tank in their final location
3. Install the water intake/output systems refer to Section #1 of this Instruction Manual
4. Set up the filter unit and connect it to the tank refer to Section #2 of this Instruction Manual
5. Position the heater in the tank refer to Section #3 of this Instruction Manual
6. Decorate your aquarium with backgrounds, refer to Section #4 of this Instruction Manual
rocks and gravel
6
DRIP LOOP
¡
 Loading...