16 www.x.bike 17www.x.bike
F5 Trail|OwnersManual F5 Trail|OwnersManual
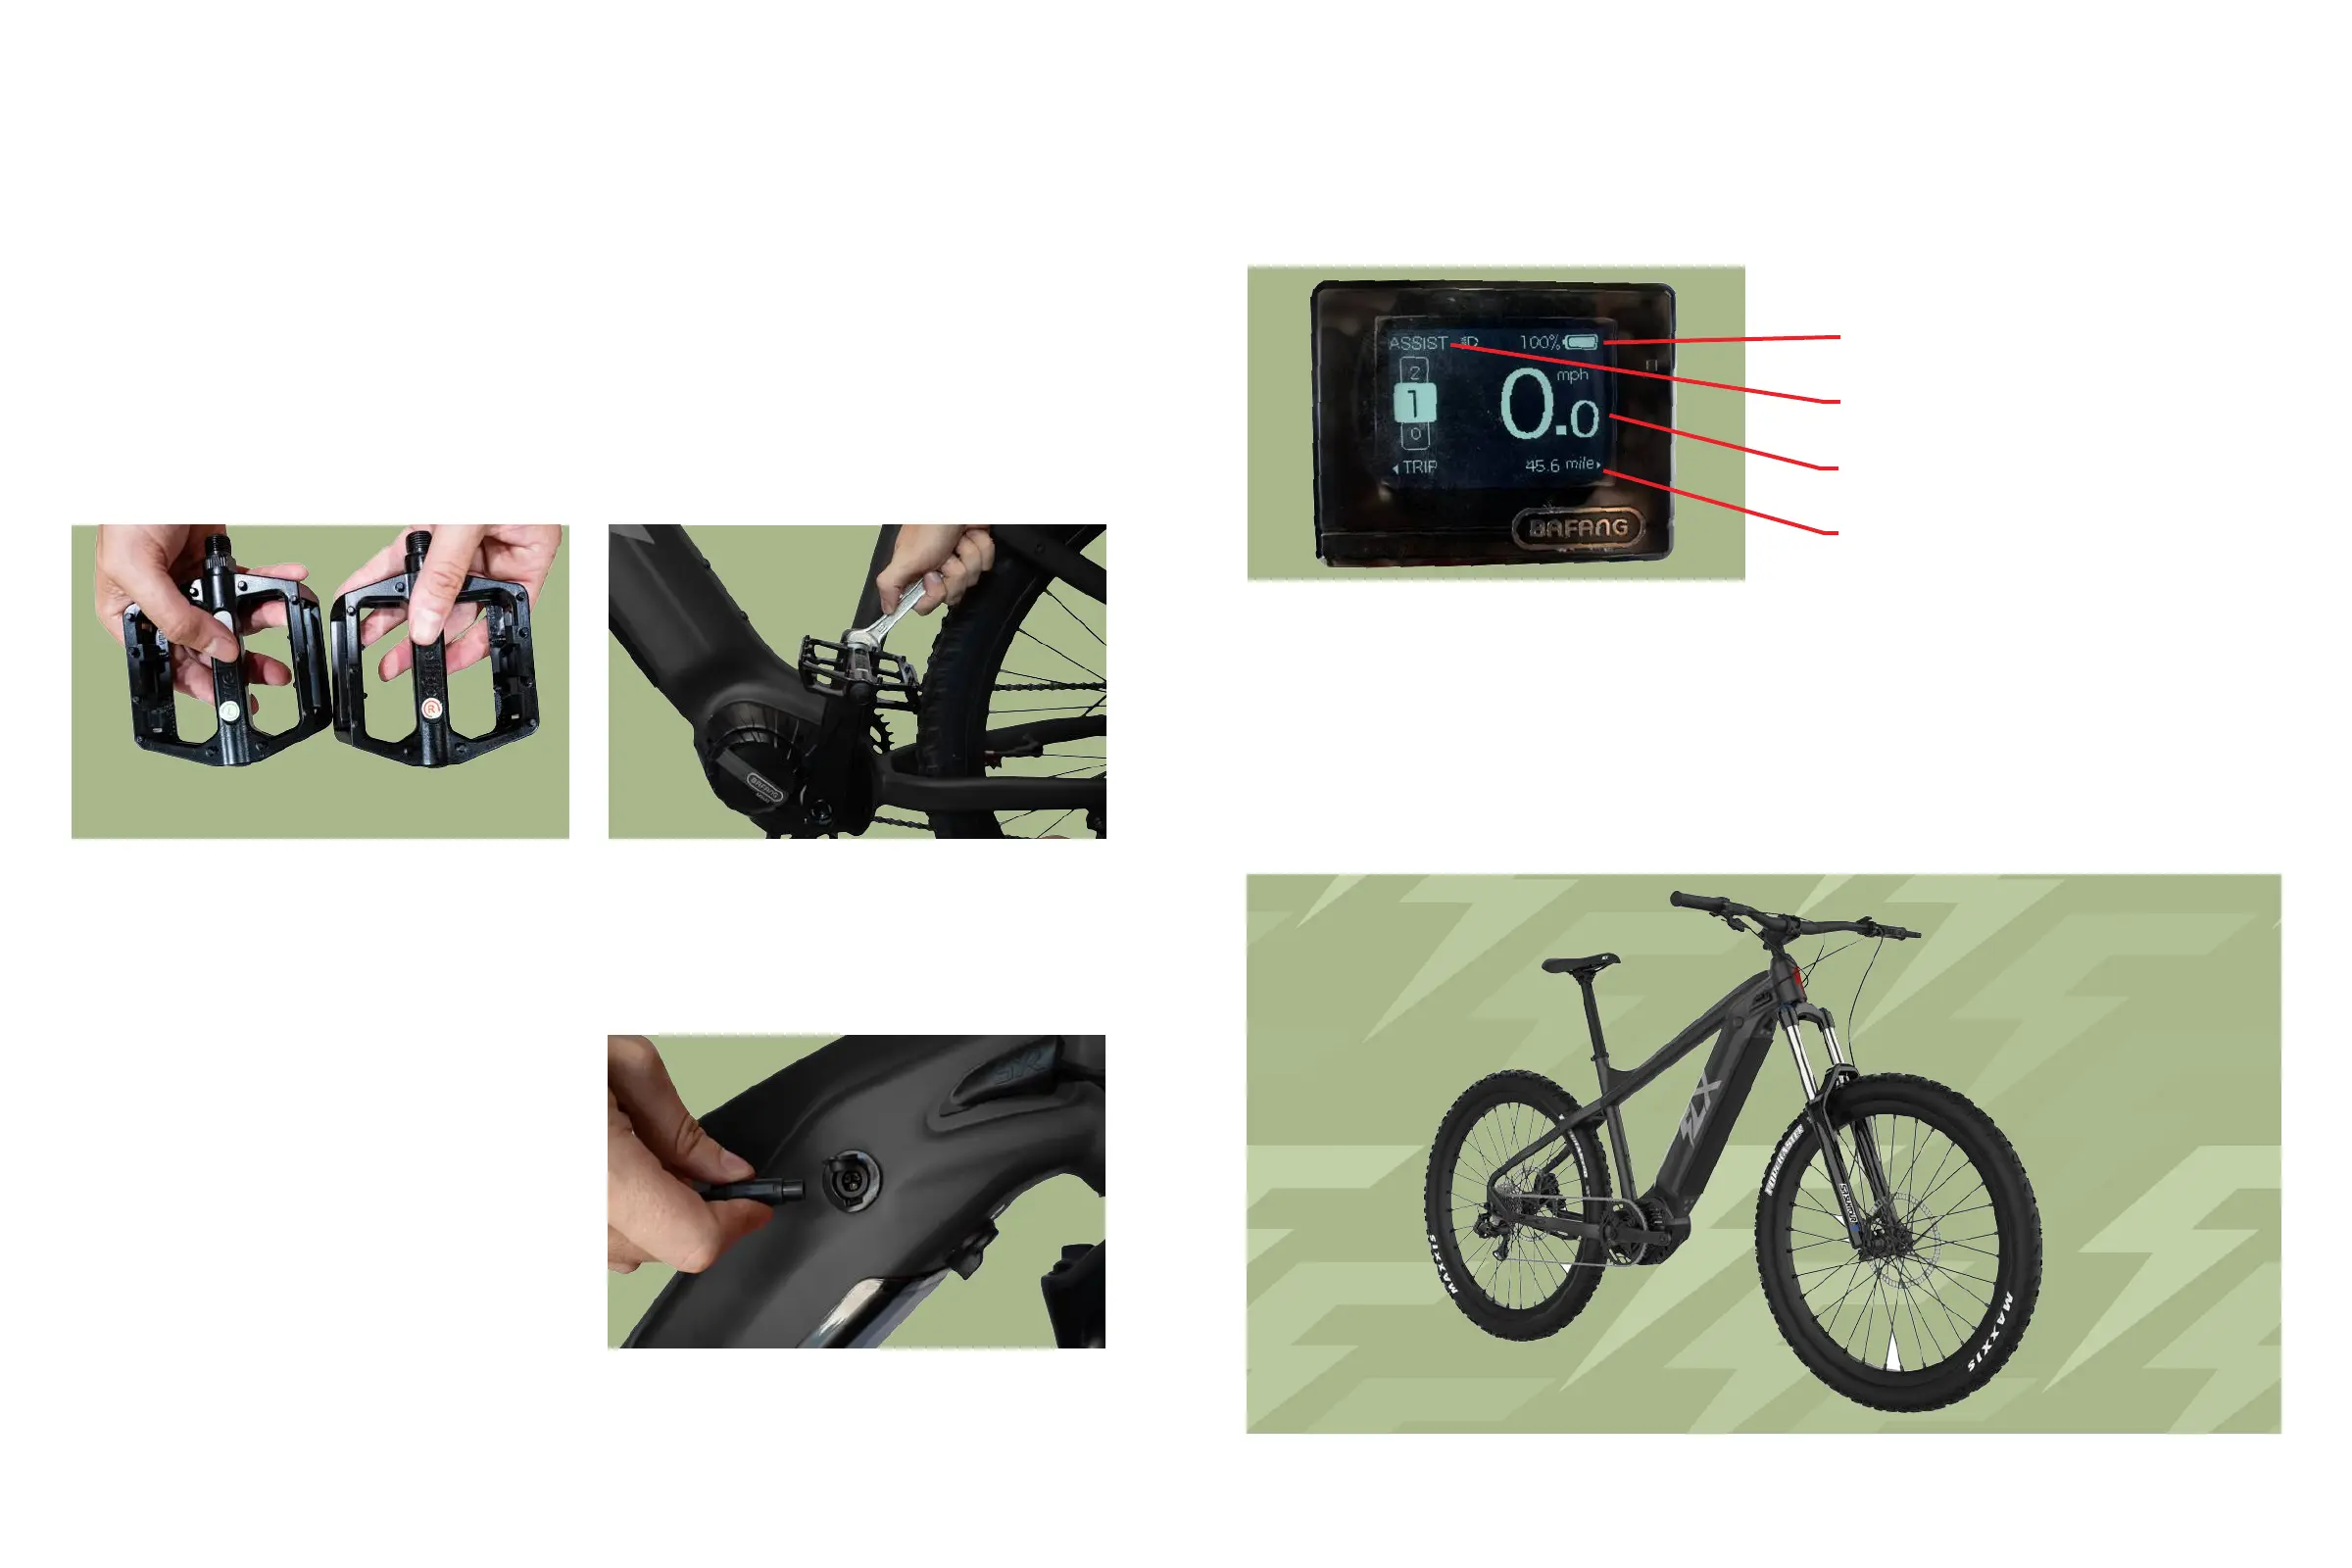
STEP 5: Attach the Pedals
1.Checktheendcaponbothpedalsinordertoidentifytheleftandrightpedal.
Tip:Imagineyouaresittingonthebiketocorrectlydetermineleftvs..rightside.
Note: The right pedal will tighten clockwise, while the left pedal will
tighten counter-clockwise.
2.Grabyourwrench,andscrewthepedaltightlyintothecorrectcrank.Thepedals
shouldthreadsmoothlyandeasilyifproperlyaligned.
Figure11.LeftVs.RightPedal Figure12.AttachingPedaltoCrank
Figure13.ChargingPort
1.Connectthechargertothecharging
portlocatedonyourbikeframerst,then
plugthechargerintoyourwalloutlet.
Tip:Allowthebatterytofullycharge
beforeriding(about8-12hoursthe
rstfewcycles).Afterthis,youmay
chargenormally(3-4.5hours).
Step 6: Charge the Battery
2.Afterallowingyourbiketofullycharge,testtomakesureyourLCDsmartdisplay
isworking.Pressandholdthepowerbutton(locatedonthethumbcontrols)for3
seconds,oruntilthescreenlightsup.Repeatthissteptoturnitoff.
Figure14.CheckingtheLCDDisplay
PedalAssist(5Speeds)
CurrentSpeed
DistanceTraveled
BatteryLife
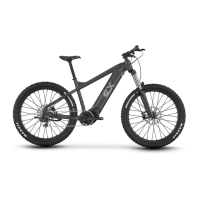
Voila!
YourF5Trailisnowfullyassembledinallitsglory.Giveyourselfapatontheback
andadmireyourwork.Takesomepictures,callafriend,andtakeawell-deserved
breakwhileitcharges.