A1 A2
C
Before Use
A3
B1 B2
Before starting your Hedgetrimmer.
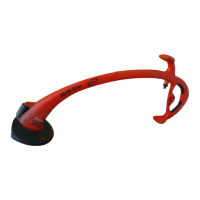
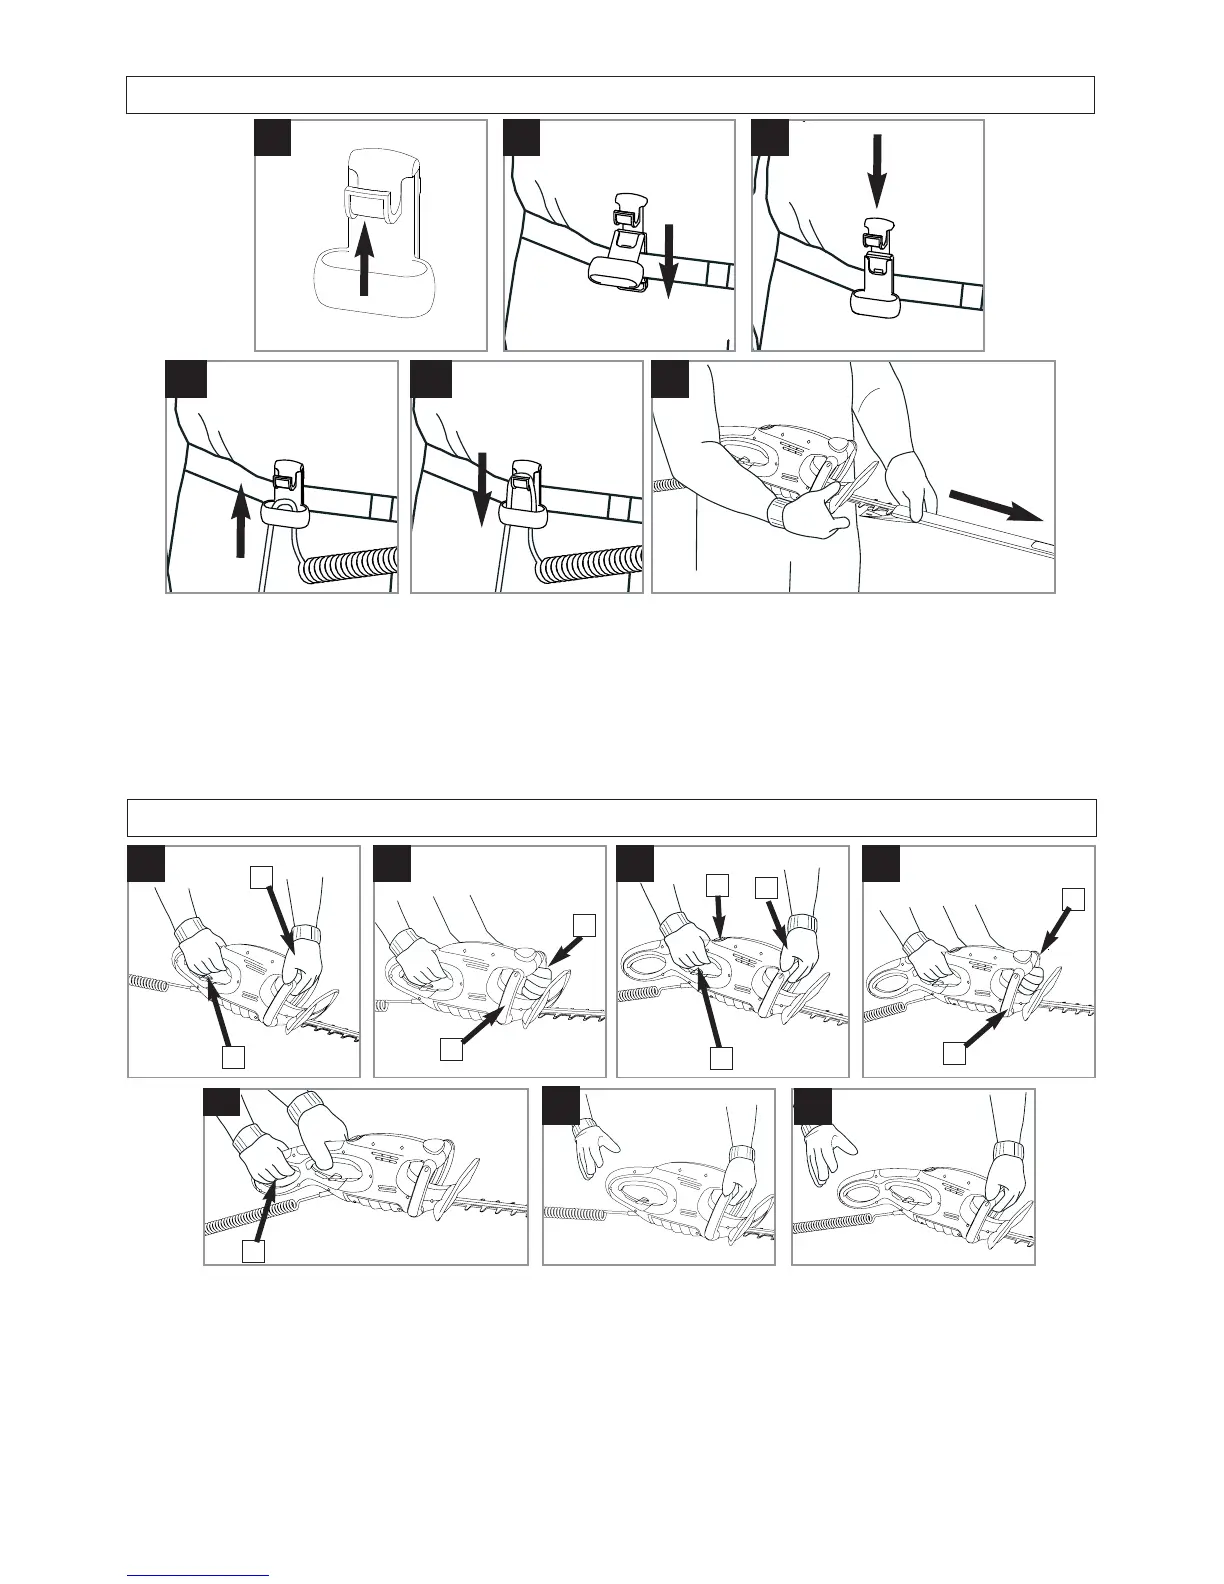
• Securing the cable in the Belt Clip helps keep the
cable away from blade.
1. Push up the hook on the Belt Clip (A1)
2. Place the rear section of the Belt Clip behind your
belt (A2)
3. Push down the hook on the Belt Clip to secure it
onto your belt (A3)
4. Form a loop in the mains cable and push the loop
through the hole in the Belt Clip (B1) ensuring the
coil in the cable is close to the clip.
5. To secure, position the loop over the hook and pull
back (B2).
6. Connect to mains and switch on
7. Remove blade cover (C).
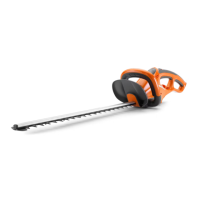
To start your Hedgetrimmer
EasiCut 5500
1. There are four switch levers fitted to your Hedgetrimmer.
2. Main switch lever (D1) and one other switch lever
need to be held in the operating position (D2, E1or
E2) for the product to start.
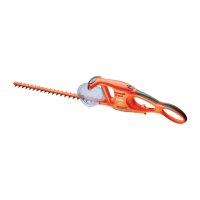
To start your Hedgetrimmer
EasiCut 6000XT
1. There are five switch levers fitted to your Hedgetrimmer.
2.
To start, push forward the lock-off button (F1),
squeeze the main switch lever (F2), release lock-off
button.
3. Main switch lever (F2) and one other need to be held
in the operating position (F3, G1,G2 or H1) for the
product to start.
To stop your Hedgetrimmer
• Move Hedgetrimmer away from cutting area before
stopping.
1. To stop, release any switch lever.(J, K)
Starting and Stopping
D
J
F G
H
E
K
1
1
2
2
1
3
1
1
2
2