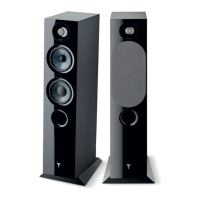
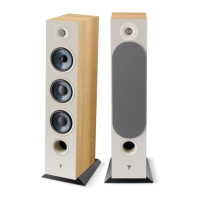
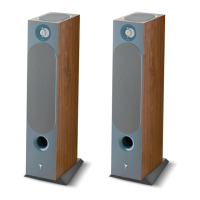
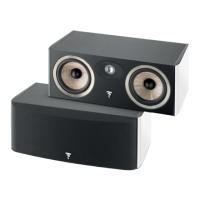
Installation
The Chorus input sockets ensure
reliable multipurpose connections for
stripped cables as well as for plugs. It
is imperative to respect the connector
polarity of both the loudspeaker
and amplifier. The positive terminal
“+” must be connected to the
corresponding (matching) amplifier’s
terminal and the negative terminal
“-“ to the negative terminal (fig. A).
Stereo image, soundstaging and
bass perception would be seriously
compromised if these conditions were
not respected. Don’t underestimate
the importance of the cable: make
sure you chose the appropriate
section and length. Let your retailer
advise you.
About amplifiers
Contrary to what one might think, it
is not a too powerful amplifier that
might damage a loudspeaker, but
rather a lack of power. Actually if the
output level of the amplifier is too
high it will saturate and distort which
will irremediably damage the tweeter.
The power handling and frequency
response of the Chorus loudspeakers
is good enough to highlight the
qualities or weak points of the
amplifiers they are combined with. Let
your retailer help you make the right
choice, matching your personal taste
and budget.
Mounting
This should be carried out after all
of the cables have been fitted. We
recommend that you use a marked
cable in order to conserve the polarity
of the speakers (+/-).
Existing construction:
• Cut the dry wall using the template
supplied (fig. B). Be sure to check
that this is perfectly vertical using a
spirit level before you begin cutting.
• Check construction plans of your
room to make sure that you are
not drilling into a pipe, an electrical
cable or any other specialised
installations behind the wall.
New construction:
• Use the dedicated mounting kit.
• Route the connection cables before
installing the plasterboard.
• Ensure that the speakers are con-
nected before installing them into
the wall!
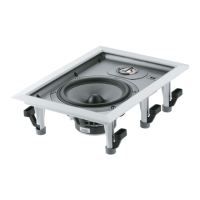
Fixing
The loudspeaker is firmly fixed into
the wall using a system of clamps.To
achieve this, place the speaker into
the cut-out and tighten the fixing
screws in a clockwise direction using a
cross-head screwdriver (fig. C, D, E).
Wall Boost Control
Your loudspeakers use an exclusive
filtering process known as OPC
(Optimum Phase Crossover) guaran-
teeing a perfect stereo image and
outstanding sound definition. Ad-
ditionally, in order to reduce the "wall
effect" inherent to any built in speaker,
we have developed a wall boost
equalization circuit which corrects
this phenomenon and makes it easier
to position your speakers to suit your
preferences.
03
 Loading...