7
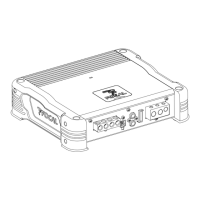
IMPULSE 4.320 aMPLIfIEr
User manual
WARNING
Avoid routing power cables close to low-level input cables (LOW-LEVEL INPUTS) and high-level input
cables (HIGH-LEVEL INPUTS), close to the car aerial or close to sensitive equipment and harnesses.
High-current power supply cables can cause static/interference that affects audio signals.
WARNING
Keep the cables as short as possible to optimise the quality of the installation. This will also limit signal
loss.
WARNING
Before beginning the connection phase, remove the negative (-) terminal from the battery of the vehicle
(fig.1).
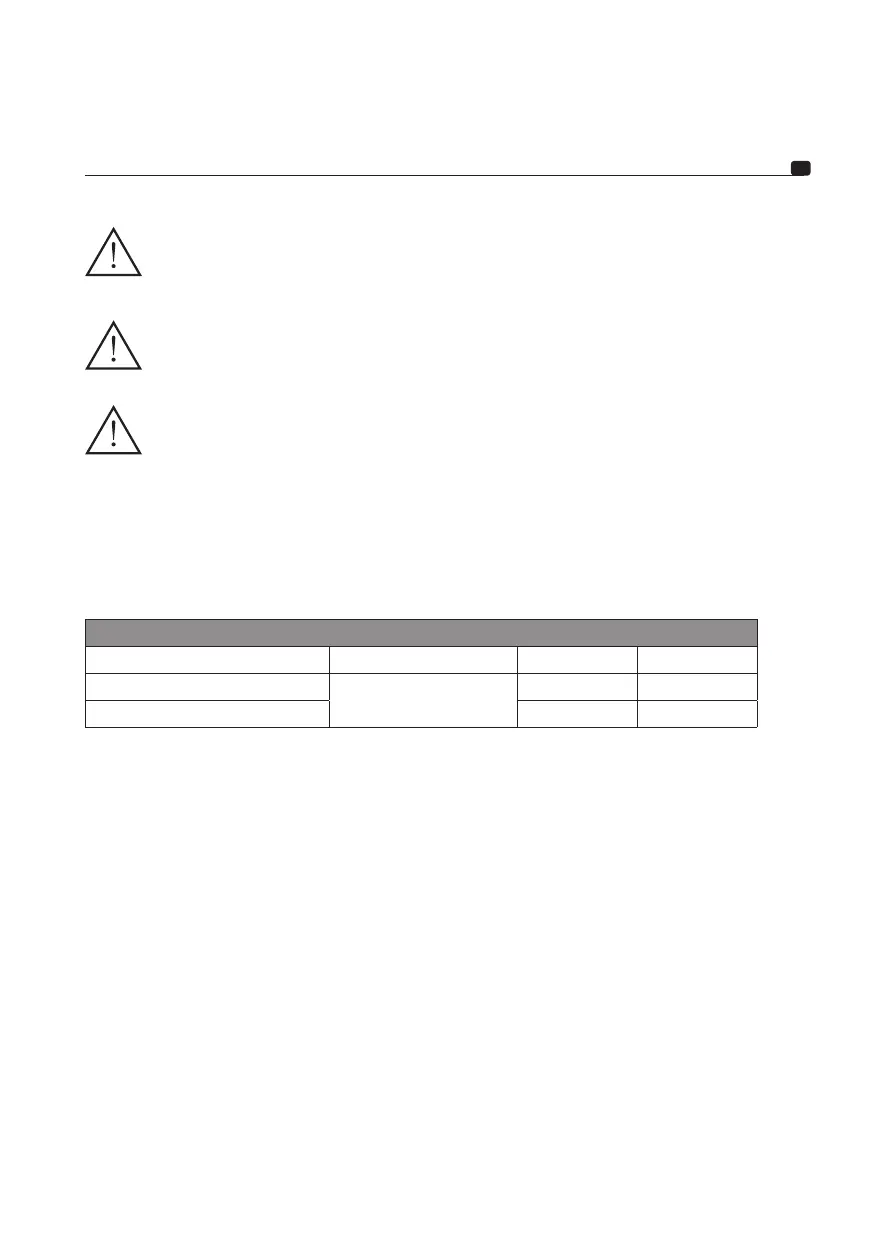
3.1 - What wire gauge should I use for the power cable?
Your IMPULSE 4.320 amplifier requires a power supply of adequate amperage.
The required wire gauge of power cables depends on the length of cabling to the battery. See recommended wire
gauge in the table below:
Length of cable to the battery in feet (metres)
Length < 3ft (1m) < 10ft (3m) < 13ft (4m)
Cross sectional area in mm
2
ISO cable recommended
3.3mm
2
> 3.3mm
2
AWG 12 AWG < 12 AWG
Compliance with these wiring rules is essential for the safety of your electrical installation, and important for
maintaining maximum performance of your IMPULSE 4.320 amplifier.
3.2 – Wiring the input and output signals on your IMPULSE 4.320 amplifier
3.2.1 – Your head unit is equipped with RCA outputs
Route the modulator cables (RCA), the speaker driver cables and the REM cable together, ensuring to isolate them
from other powerful automobile accessories, particularly electric motors (windscreen wipers,…). Keep the whole
length of the cables, which will be adjusted later on.
3.2.2 – Your head unit is only equipped with amplified outputs (speaker driver outputs).
Route the modulator cables coming from the head unit, and the speaker driver cables together, ensuring to isolate
them from other powerful automobile accessories, particularly electric motors (windscreen wipers,…). Keep the
whole length of the cables, which will be adjusted later on.
3.3 – Wiring the power supply to your IMPULSE 4.320 amplifier
3.3.1 – Route the positive power cable (+) making sure when doing so to route the cable to the opposite side of the
cables that you have previously installed to avoid any interference. DO NOT CONNECT THE CABLE YET.

 Loading...