WARNING: The heater core inlet hose will become too hot to handle if the system is working correctly.
1. Check to see that the engine coolant is at the correct level.
2. Start the engine and turn on the heater.
3. When the engine coolant reaches operating temperature, feel the heater core outlet hose to see if it is hot.
If it is not hot:
the heater core may have an air pocket.
the heater core may be plugged.
the thermostat (8575) is not working correctly.
Heater Core—Pressure Test
Use the Radiator/Heater Core Pressure Tester to carry out the pressure test.
1. NOTE: Due to space limitations, a bench test may be necessary for pressure testing.
Drain the coolant from the cooling system.
2. Disconnect the heater water hoses from the heater core. Refer to Section 412-02.
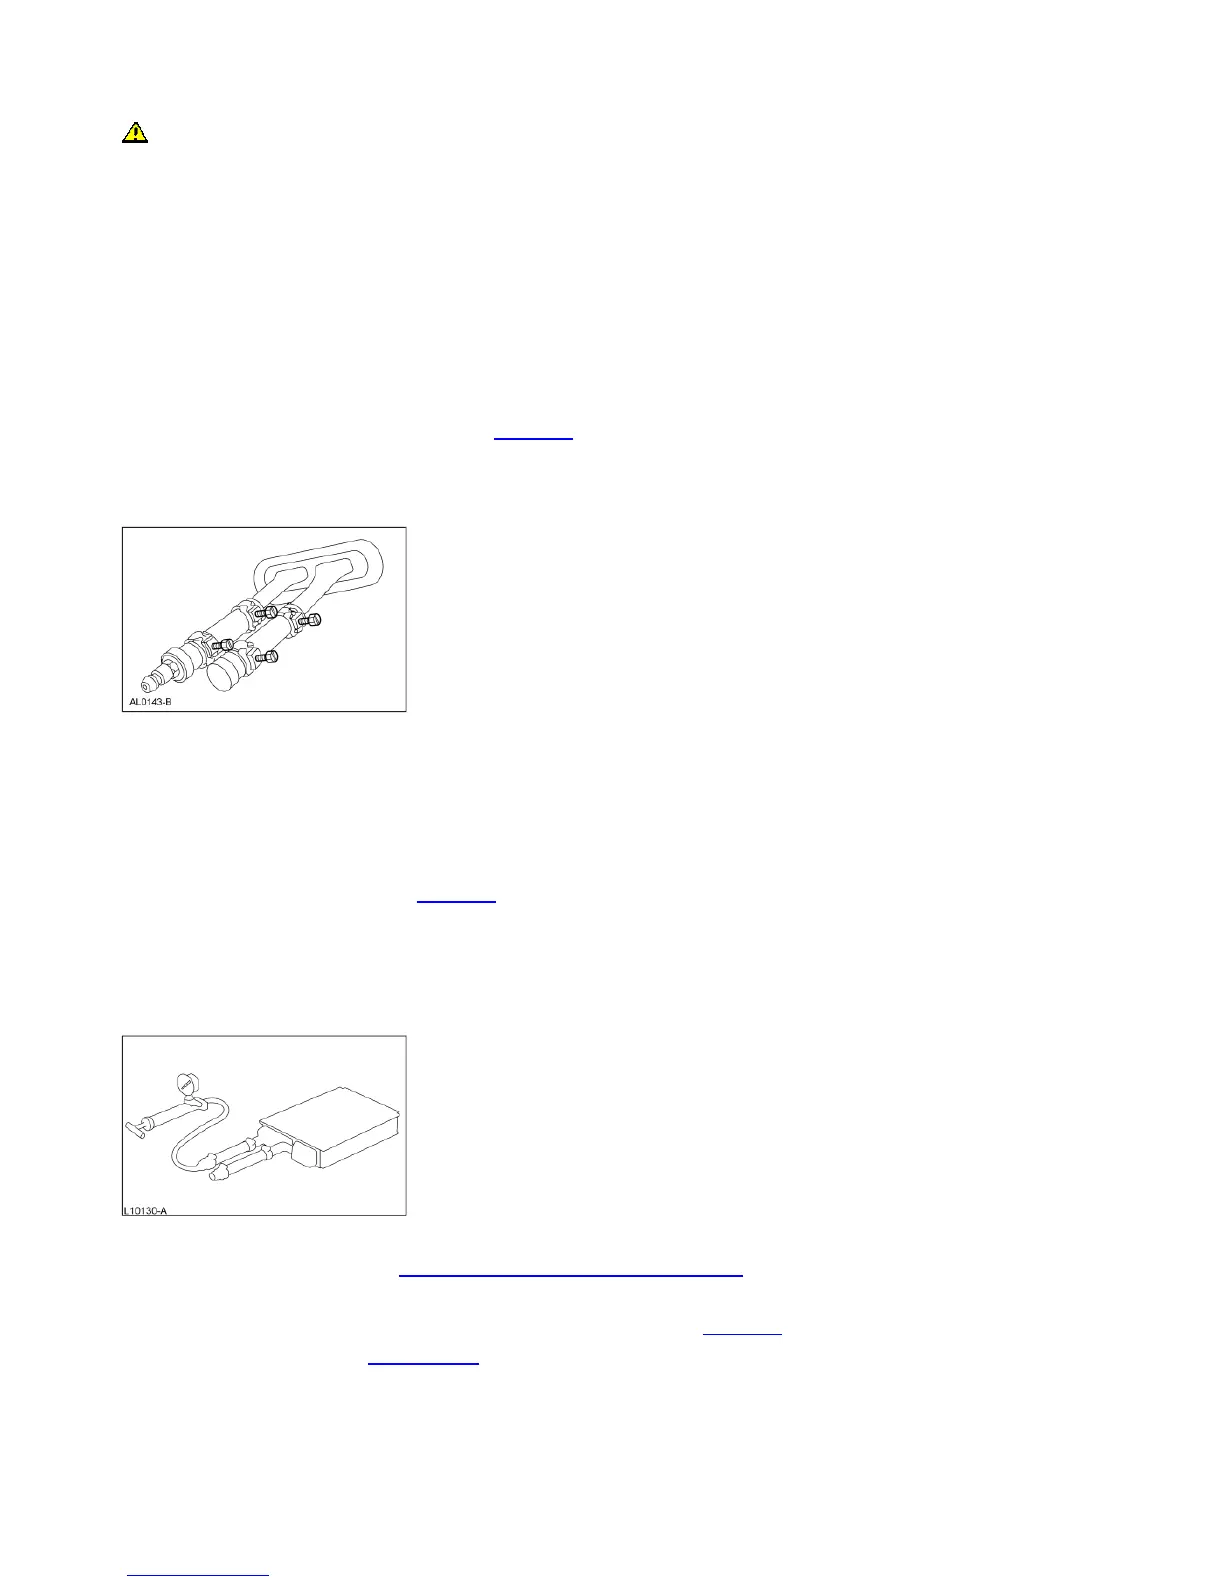
3. Install a short piece of heater water hose, approximately 101 mm (4 inches) long on each heater core tube.
4. Fill the heater core and heater water hoses with water and install Plug BT-7422-B and adapter BT-7422-A from the radiator/heater core pressure tester in the heater water hose ends.
Secure the heater water hoses, plug and adapter with hose clamps.
5. Attach the pump and gauge assembly from the radiator/heater core pressure tester to the adapter.
6. Close the bleed valve at the base of the gauge. Pump 138 kPa (20 psi) of air pressure into the heater core.
7. Observe the pressure gauge for a minimum of three minutes.
8. If the pressure drops, check the heater water hose connections to the core tubes for leaks. If the heater water hoses do not leak, remove the heater core from the vehicle and carry
out the bench test.
Heater Core—Bench Test
1. Remove the heater core from the vehicle. Refer to Section 412-02.
2. Drain all of the coolant from the heater core.
3. Connect the 101 mm (4 inch) test heater water hoses with plug and adapter to the core tubes. Then connect the radiator/heater core pressure tester to the adapter.
4. Apply 138 kPa (20 psi) of air pressure to the heater core. Submerge the heater core in water.
5. If a leak is observed, install a new heater core.
A/C Evaporator/Condenser Core—On-Vehicle Leak Test
1. Discharge and recover the refrigerant. Refer to Air Conditioning (A/C) System Recovery, Evacuation and Charging in this section.
2. NOTICE: DO NOT leak test an evaporator core with the suction accumulator attached to the core tubes.
Disconnect the suspect evaporator core (19860) or condenser core (19712) from the A/C system. Refer to Section 412-03.
3. Clean the spring lock couplings. Refer to Spring Lock Coupling in this section.
4. Connect the appropriate test fittings from the R-12/R-134a Air Conditioning Test Fitting Set to the evaporator or condenser tube connections.
5. NOTE: The automatic shut-off valves on some gauge set hoses do not open when connected to the test fittings. If available, use hoses without shut-off valves. If hoses with shut-off
valves are used, make sure the valve opens when attached to the test fittings or install an adapter which will activate the valve. The test is not valid if the shut-off valve does not
open.
2003 Taurus/Sable Workshop Manual
http://www.fordtechservice.dealerconnection.com/pubs/content/~WS3H/~MUS~LEN/19/
 Loading...