Do you have a question about the Fores MAX120W and is the answer not in the manual?
| Brand | Fores |
|---|---|
| Model | MAX120W |
| Category | Indoor Furnishing |
| Language | English |
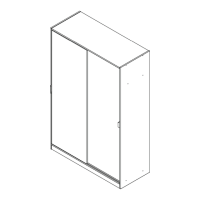
Illustrates all furniture components and their numerical identifiers for assembly.
Lists precise dimensions for individual furniture components, aiding identification.
Displays icons for tools needed, such as a hammer, screwdriver, and measuring tape.
Presents all hardware items with their codes (A, B, C, etc.) and quantities.
Installs parts N and R onto panel 1 using screws F.
Installs parts M and N onto panel 2.
Attaches part W to panel 3 using dowels A.
Attaches part W to panel 9 using dowels A.
Inserts dowels A into panel 10.
Joins panels 4, 9, and 10 with screws C and B.
Connects panels 2, 3, 4, and 9 using screws C, B, and P.
Joins panels 1, 2, 3, 4, 7, 8, and 9 with screws C, P, and F.
Verifies the structure is square using diagonal measurements (X=Y).
Fastens top panels (part 6) using screws D, F, and Q.
Attaches part S, likely a rail support, to the wardrobe.
Installs parts X, Z, U, and H, likely for door mechanisms.
Adjusts the sliding mechanism for the right door (5-B).
Adjusts the sliding mechanism for the left door (5-A).
Provides general advice on preparing parts, tools, and the assembly area to prevent damage.
Advises on placement, domestic use, and ventilation after assembly.
Explains how to clean the furniture using mild soap and a soft cloth.
Outlines the 3-year warranty, contact information, and conditions.
Shows symbols and names for recyclable materials like EPS, LD-PE, and PAP.
Provides company website, phone number, and recycling advice.
