1
Assemble top handle and bottom
supports. (Tools needed: screwdriver)
2
Attach gas bottle and regulator hose
assembly. (Tools needed: adjustable
wrench)
3
Use Process Selector Knob to select
desired process.
1
Adjust polarity for the stick electrode.
2
Disconnect MIG gun as it will be
electrically “hot” while Stick welding.
3
Adjust amperage.
4
Adjust hot start if needed.
1
Attach TIG torch and Foot Pedal if
desired.
2
Verify proper shielding gas is used
for TIG welding.
3
Disconnect MIG gun as it will be
electrically “hot” while Stick welding.
4
Adjust amperage.
* Torch & Foot Pedal sold seperately
WARNING: To prevent serious injury, read manual warnings and instructions before use.
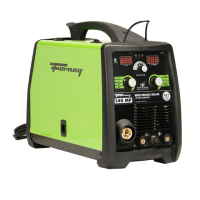
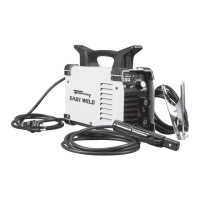
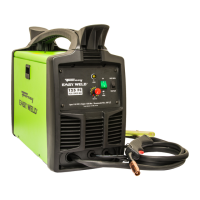
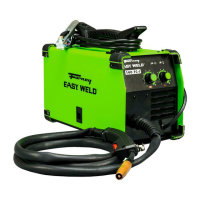
140 MP WELDER QUICK START GUIDE
WARNING: To prevent fire and serious injury: Keep torch and wire clear of grounded objects while welder is plugged in. Be sure to
follow safe welding proceedures and wear proper PPE (clothes, welding helmet, safety glasses, welding gloves, boots, etc.)
STICKMIG TIG
(Most MIG shielding gases
will not work)
(Usually DCEP - Electrode
Positive).
1
Install wire spool.
2
Install MIG gun, turn it on, and
squeeze trigger until wire comes out.
3
Adjust wire feed tension.
4
Adjust wire feed speed and voltage
per chart on the inside of welder.
5
Verify drive rolls, liner and tips are
properly sized for desired wire
diameter.
Verify polority is set
correctly for MIG or
Flux-core welding wire.
Adjust
Tension
Knob