Package Contents
Quick Installation Guide
Resource CD Ethernet CablePower Adapter
Mounting Bracket
(Except FI9900EP V2 / FI9901EP)
IP Camera
Warranty Card
WARRANTY CARD
~~~~~~~~~~~~~~~~~~~~~~
~~~~~~~~~~~~~~~~~~~~~~
~~~~~~~~~~~~~~~~~~~~~~
~~~~~~~~~~
~~~~~~~~~~~~~~~~~~~~~~
~~~~~~~~~~~~~~~~~~~~~~
~~~~~~~~~~~~~~~~~~~~~~
~~~~~~~~~~
V5.0
EQ990309
LAN
Power
Reset Button
Induction IC
LENS
Infrared Lamp Array
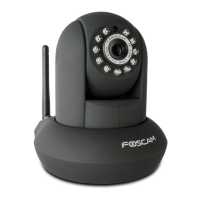
Model: FI9803EP
Model: FI9903P
Model: FI9900EP V2 / FI9901EP
FI9900EP V2 / FI9901EP
FI9900EP V2 / FI9901EP
FI9803EP / FI9903P
FI9803EP / FI9903P
LAN
Audio in/out
Power
Reset Button
Induction IC
LENS
Infrared LED
Quick Installation Guide
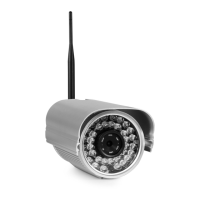
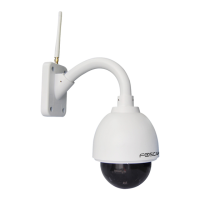
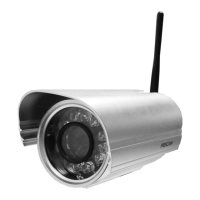
Outdoor HD P2P IP Camera
Model: FI9803EP
Model: FI9903P
Model: FI9900EP V2
Quick Installation Guide
Outdoor HD P2P IP Camera
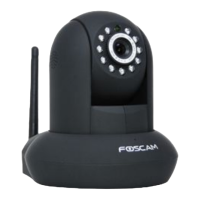
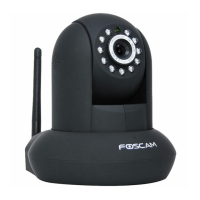
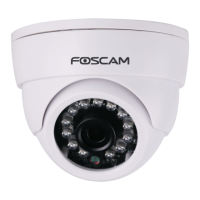
1 Hardware Introduction
Physical Description
Hardware Installation
Hardware Connection
1. Connect the power adapter to the camera.
2. Connect the camera to the wireless router via
ethernet cable.
1. Screw the mount on the wall with the 3 screws provided.
2. Install the camera on the mounting bracket with 1
screw to complete installation.
Before you continue, please note:
Make sure your smartphone is connected to the internet.
WPS
"Foscam" App download
Security Warning
Please Note:
Ensure that the rain or water will not reach the
connector ports at the end of the pig tail wiring.
These connectors are not weather-resistant.
Fixate the camera on your preferred location and use
screws to mount it. We have provided screws in the
packaging.
Foscam cameras and NVRs require good security
practices to safeguard your privacy. You should
regularly change your camera or NVR password
which is 8-10 numbers, letters, symbols combination.
You should update your camera or NVR regularly.
Make sure your camera or NVR has the latest
rmware installed for your specic model and better
experience.
0~90°
0~90°
0~360°
0~360°
0~360°
0~360°