Install Instructions
9
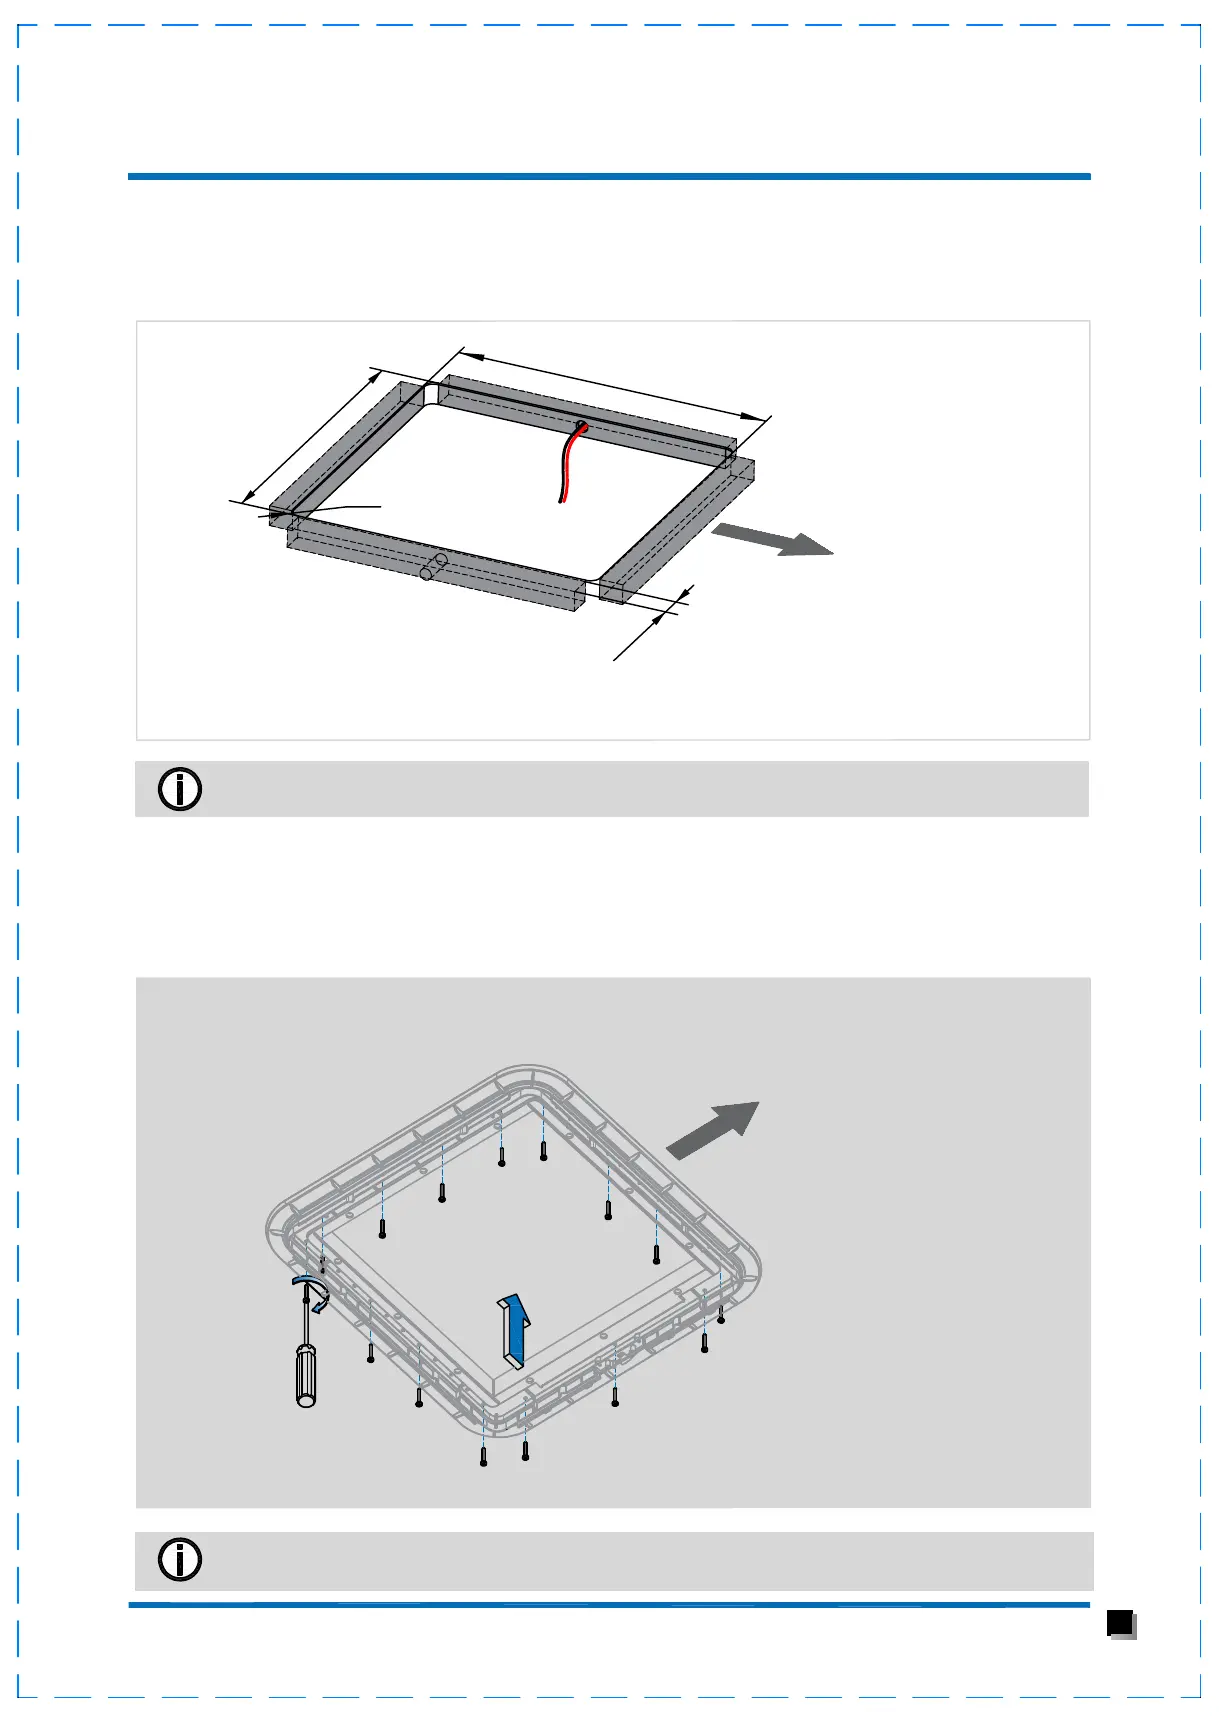
1、According to the hole size drawing on the product size page, cut the installation hole on the
roof (a solid wall ≥ 30mm wide is required around the opening so that the screw can be firmly
nailed into the wall), and you can choose to install it on the left or right( reserve a room for a
power cord ≥50mm in the side hole).
4
0
2
m
m
≥
3
0
m
m
R13
2、After observing the position of the touch switch on the mounting frame, confirm the
direction of the mounting frame according to the reserved position of the power cord (the switch
position and the reserved line position are on the same side), and use 15 ST4.0×16 self-tapping
screws from the inside car to fix the mounting frame on the roof, and check whether the
mounting frame is fixed well to the roof.
This installation instruction takes the outlet on the left side of the car body as an example.
The frame body should be aligned with the hole in the center, with the same seams all around,
and pay attention to protect the induction spring on the circuit board during installation.
D
r
i
v
i
ng
d
i
r
e
c
t
i
o
n
D
r
i
v
i
n
g
d
i
r
e
c
t
i
o
n
 Loading...