9
Step 2:
• Mount the upper bracket (4) onto the ceiling with 4
sets of long screws (10) and washers (11) (fig. ).
• Make sure the power cable for the range hood is
routed inside the bracket.
• Depending on the ceiling height ensure required
power cable length. See the table and fig.
below for reference.
Ceiling height
8 feet 9 feet 10 feet
Power
cable
length
3.3 feet 4.3 feet 3.3 feet
Power cord
Step 3:
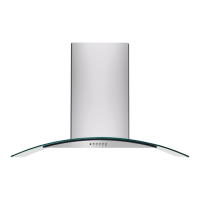
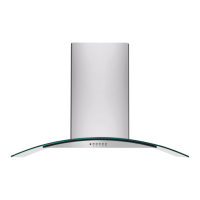
• Mount the glass cover
(2)
onto the range hood
(1)
.
Use the allen key (16) to secure it with 4 sets of
bolts, rubber washers, and washers
(9)
(fig.
).
Step 4:
• Attach the collar (6) to the range hood (1). Secure
it with 2 short screws (19) (fig.
)
.
Step 5:
• Place the exhaust duct onto the collar (6) and
secure it with duct tape (not provided) (fig.
)
.
Installing the hood
NOTE
Sometimes, sponge tape covers the holes. If the
holes are located behind the sponge tape, simply
insert the screw through the sponge tape.