For questions, please call 1-800-672-4399.
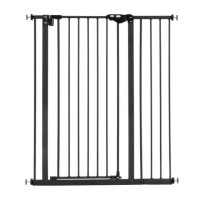
DOG PLAYPEN ASSEMBLY INSTRUCTIONS
Gloves suggested to avoid injury during assembly. Please assemble on a flat surface, and be careful not to scratch the floor.
INSTALLING SKID-RESISTANT PADS
INSTALLING BETWEEN TWO WALLS
NOTE: When setting up as a barrier, maximum number of panels is six. WARNING: Do not mount gate hinges into sheetrock or
plaster. Hardware is included for use in solid materials, such as wood or metal. Never mount the gate at the top of the stairs.
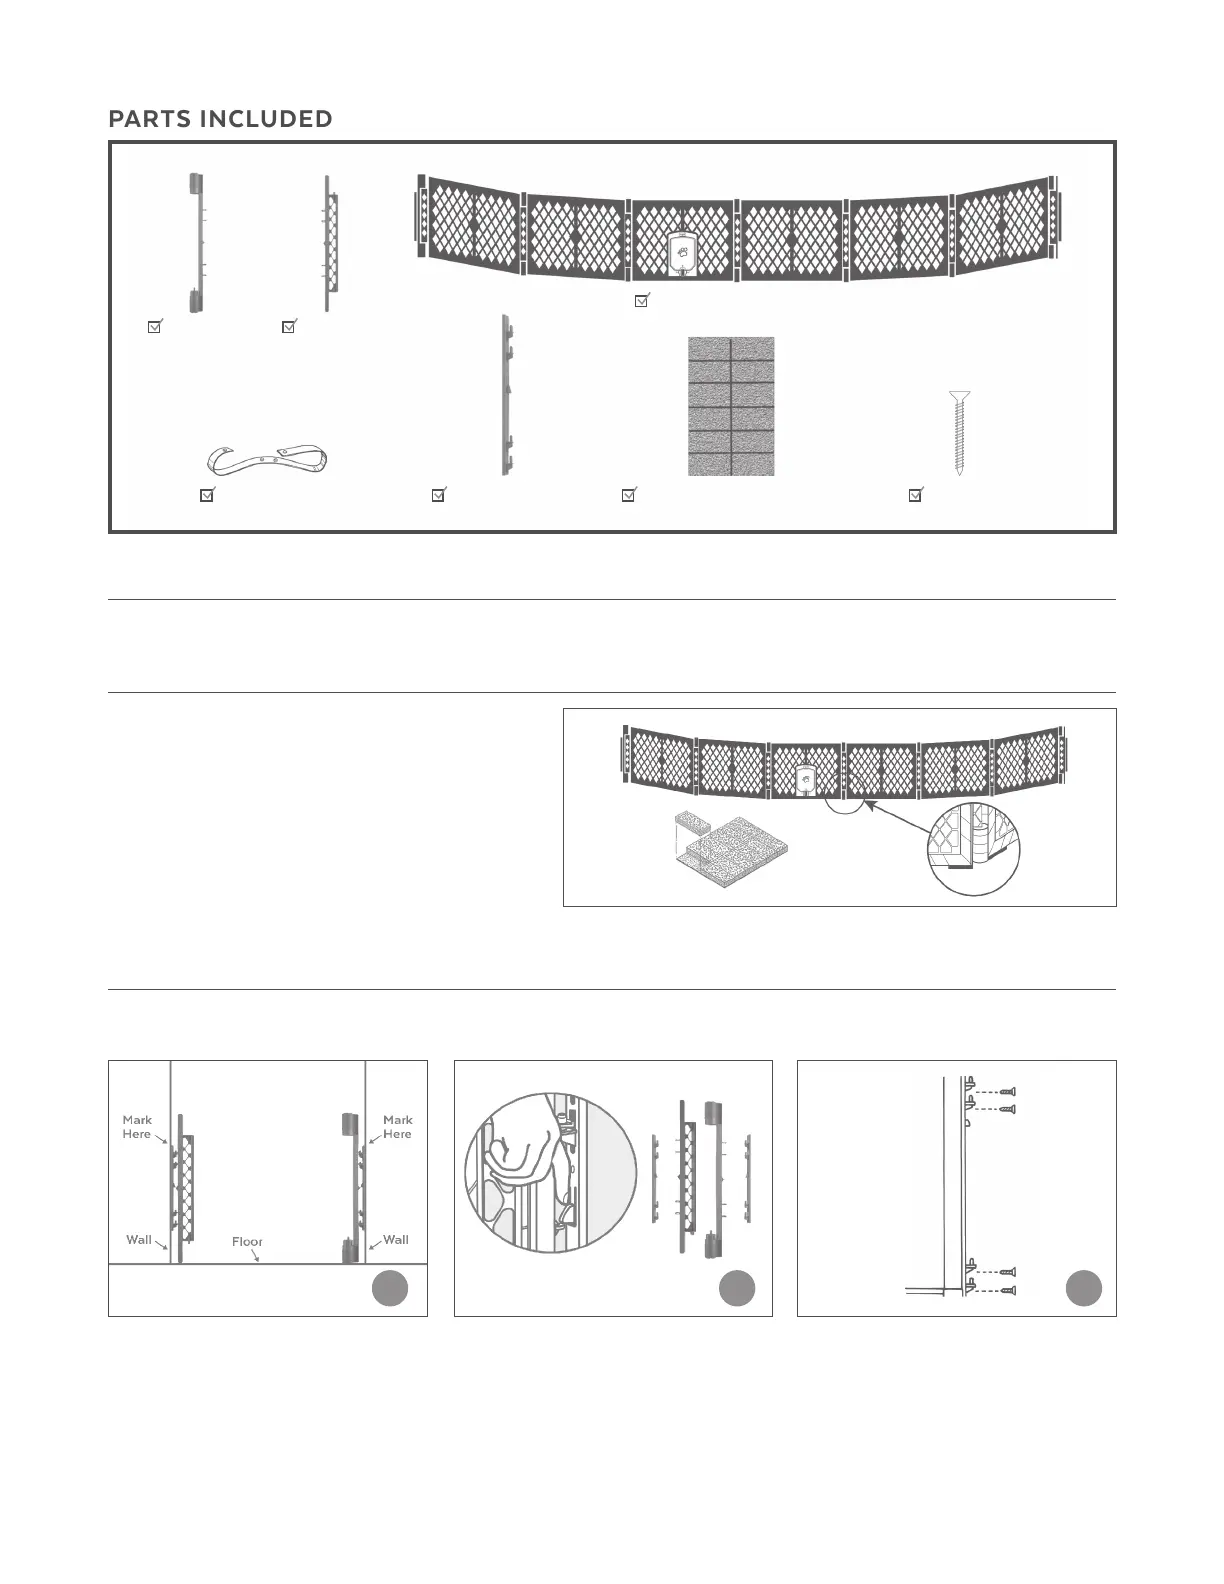
8 Screws (G) Carry Strap (D)
Preassembled Panels (C)
Mounting
Connector (B)
12 Skid-Resistant Pads (F) 2 Wall Hinges (E)
Mounting
Connector (A)
21 3
STEP 1 Position both of the preassembled
wall mounting connectors/wall hinges,
vertically so the wall hinge pins are facing
upwards on the wall, and the mounting
connector is as close to the floor as
possible. Mark the top of each wall hinge.
See Figure 3.
To help protect floors, ensure the skid-resistant pads
are on the bottom of the gate panels. Clean and dry
the panels prior to installing the pads. Remove a single
pad from the release paper as shown in Figure 1. Place
the adhesive side of the pad onto the bottom edge
of the gate panel approximately 2" from the center of
each hinge, as shown in Figure 2. Repeat steps for each
of the remaining pads. Maximum skid-resistance will
be maintained by cleaning the bottoms of the pads
periodically with a water-dampened clean cloth.
STEP 2 Separate the mounting
connectors from the wall hinges by
pressing inward on the locking boss
located in the center of the wall hinge.
Lift up on the connectors to free them
from the wall hinge. See Figure 4 for
removal from wall hinge.
STEP 3 To attach the wall hinge to the
wall, align the top with the mark drawn
in Step 1. Mark the top hole and pre-drill
a 1/8" pilot hole. Attach the top of the
wall hinge in place with a screw. Proceed
down the hinge and install a screw into
each screw hole with screws provided.
FIGURE 1
FIGURE 4 FIGURE 5FIGURE 3
FIGURE 2
 Loading...