3000 Computer Field Replacement for Legacy Fryers
6. Install the replacement controller. LEAVE THE LOCATOR PLUG IN THE REPLACEMNET CONTROLLER IN
PLACE.
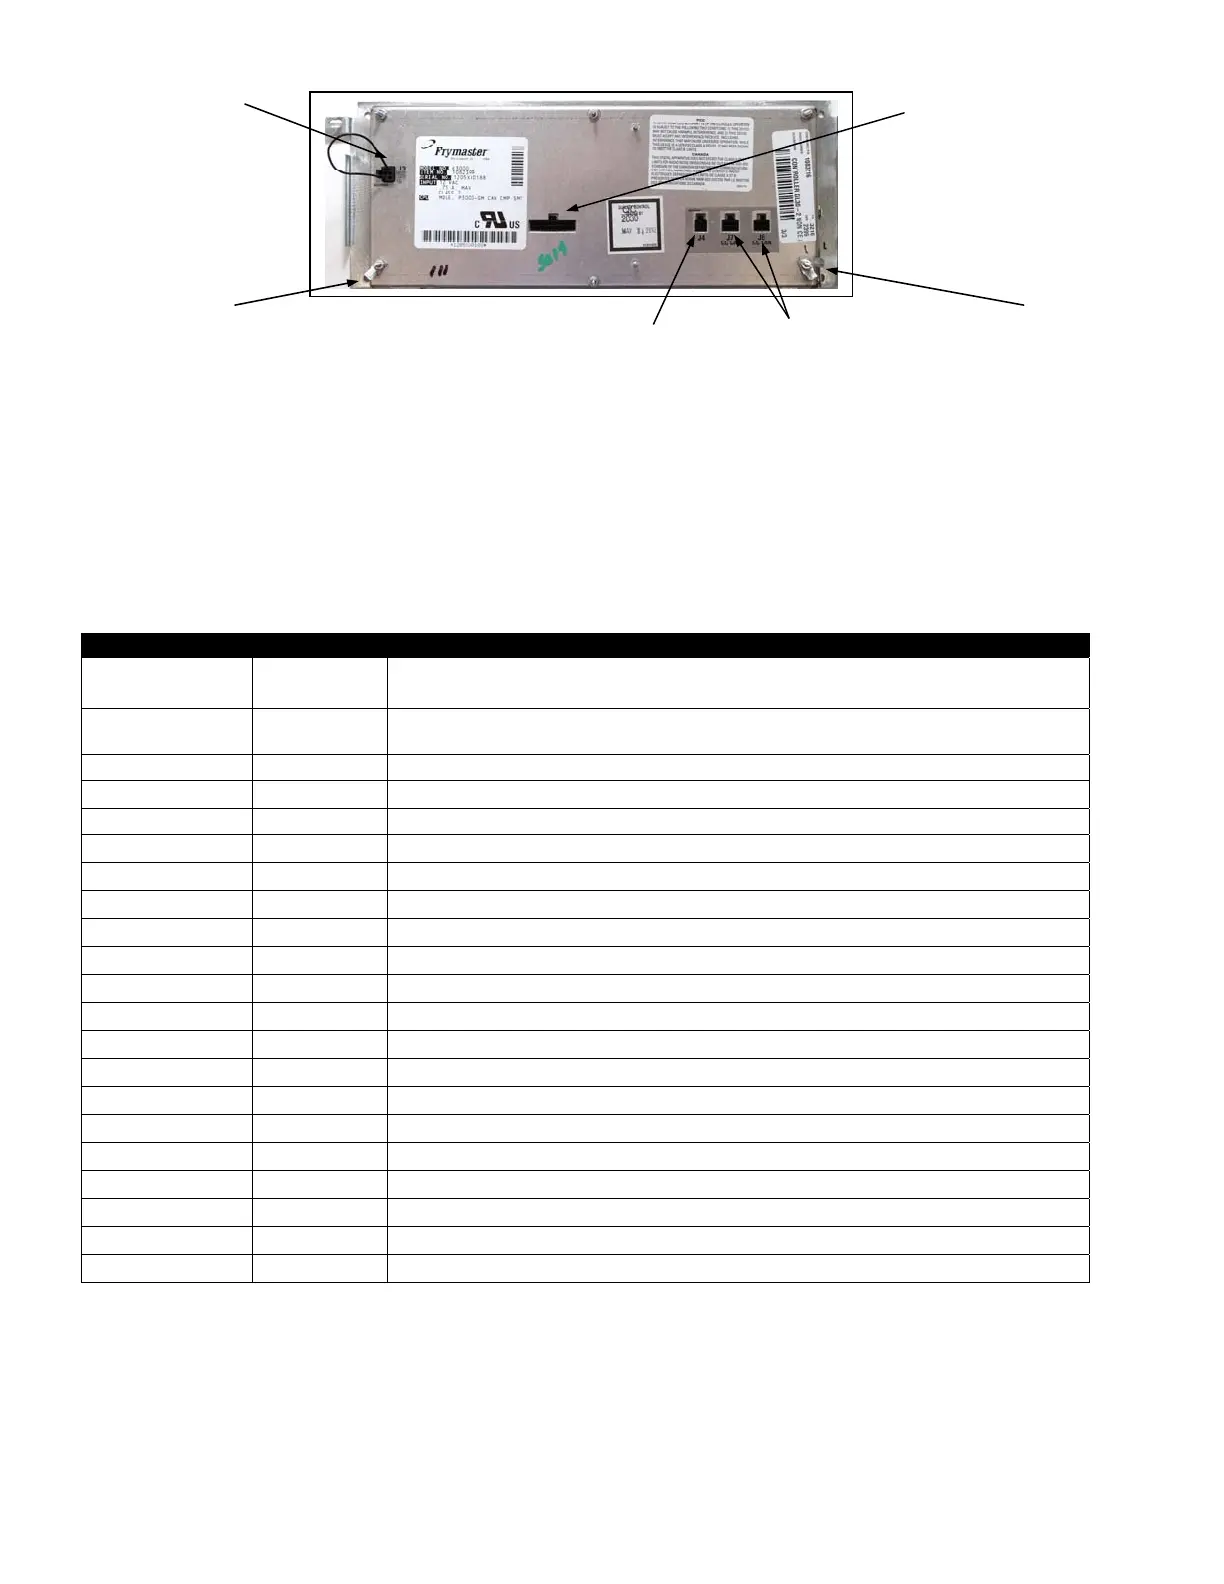
7. Attach the ground wires and 20-pin connector.
8. Rotate the controller up and install one screw to position it for the setup sequence.
9. Follow the instructions below to setup the controller to match the settings recorded earlier from the fryer bank’s
leftmost controller.
Setup: Legacy Fryers
Left Display Right Display Action
OFF OFF
Press until the controller scrolls Info Mode, changing to Main and then PRODUCT
SETUP.
Product Setup
Blank Press to scroll to Vat SETup. Press .
Vat setup Enter code
Enter 1656
system
Press .
Language English
Press to scroll to another language. Press .
2nd Language Spanish
Press to scroll to another language. Press .
Locale Non-ce
Press to change locale. Press .
Energy gas
Press o change to ELEC if necessary. Press .
Type HD60 Full
Press to scroll to scroll to selection that matches fryer vat. Press .
System volume 5
Press to change to setting recorded from fryer controller. Press .
Temper format F
Press to change to setting recorded from fryer controller. Press .
Exit melt 180F
Press to change to setting recorded from fryer controller. Press .
Cool mode 250F
Press to change to setting recorded from fryer controller. Press .
Cool mode default 0
Press to change to setting recorded from fryer controller. Press .
Fresh oil NONE
Press to change to setting recorded from fryer controller. Press .
Waste None
Press to change to setting recorded from fryer controller. Press .
Drain switch No
Press to change to setting recorded from fryer controller. Press .
Recovery alarm Disabled
Press to change to setting recorded from fryer controller. Press .
Basket lift Disabled
Press to change to setting recorded from fryer controller. Press .
Hold time Auto
Press to change to setting recorded from fryer controller. Press .
Exit Exit
Press .
10. Lower controller.
11. Rotate controller up and secure on control box.
12. Install the software update, one at a time, on the other 3000 controllers on the fryer, following the
provided software update instructions.
13. Return to these instructions after the software update.
Ground Wire Terminal
20-Pin Connecto
Port
Drain Switch Port
Communication Ports;
not used on legacy
fryers
Locator Wire
Harness
Ground Wire
Terminal
 Loading...


