Auto Adjust Paper Registration
749
Appendix
16
5
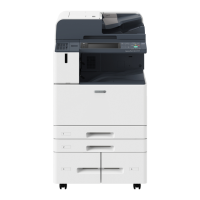
Select [Auto Adjust Paper Registration].
6
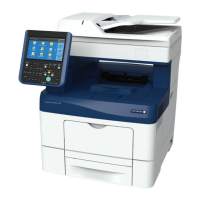
Select [Print Adjustment Chart].
7
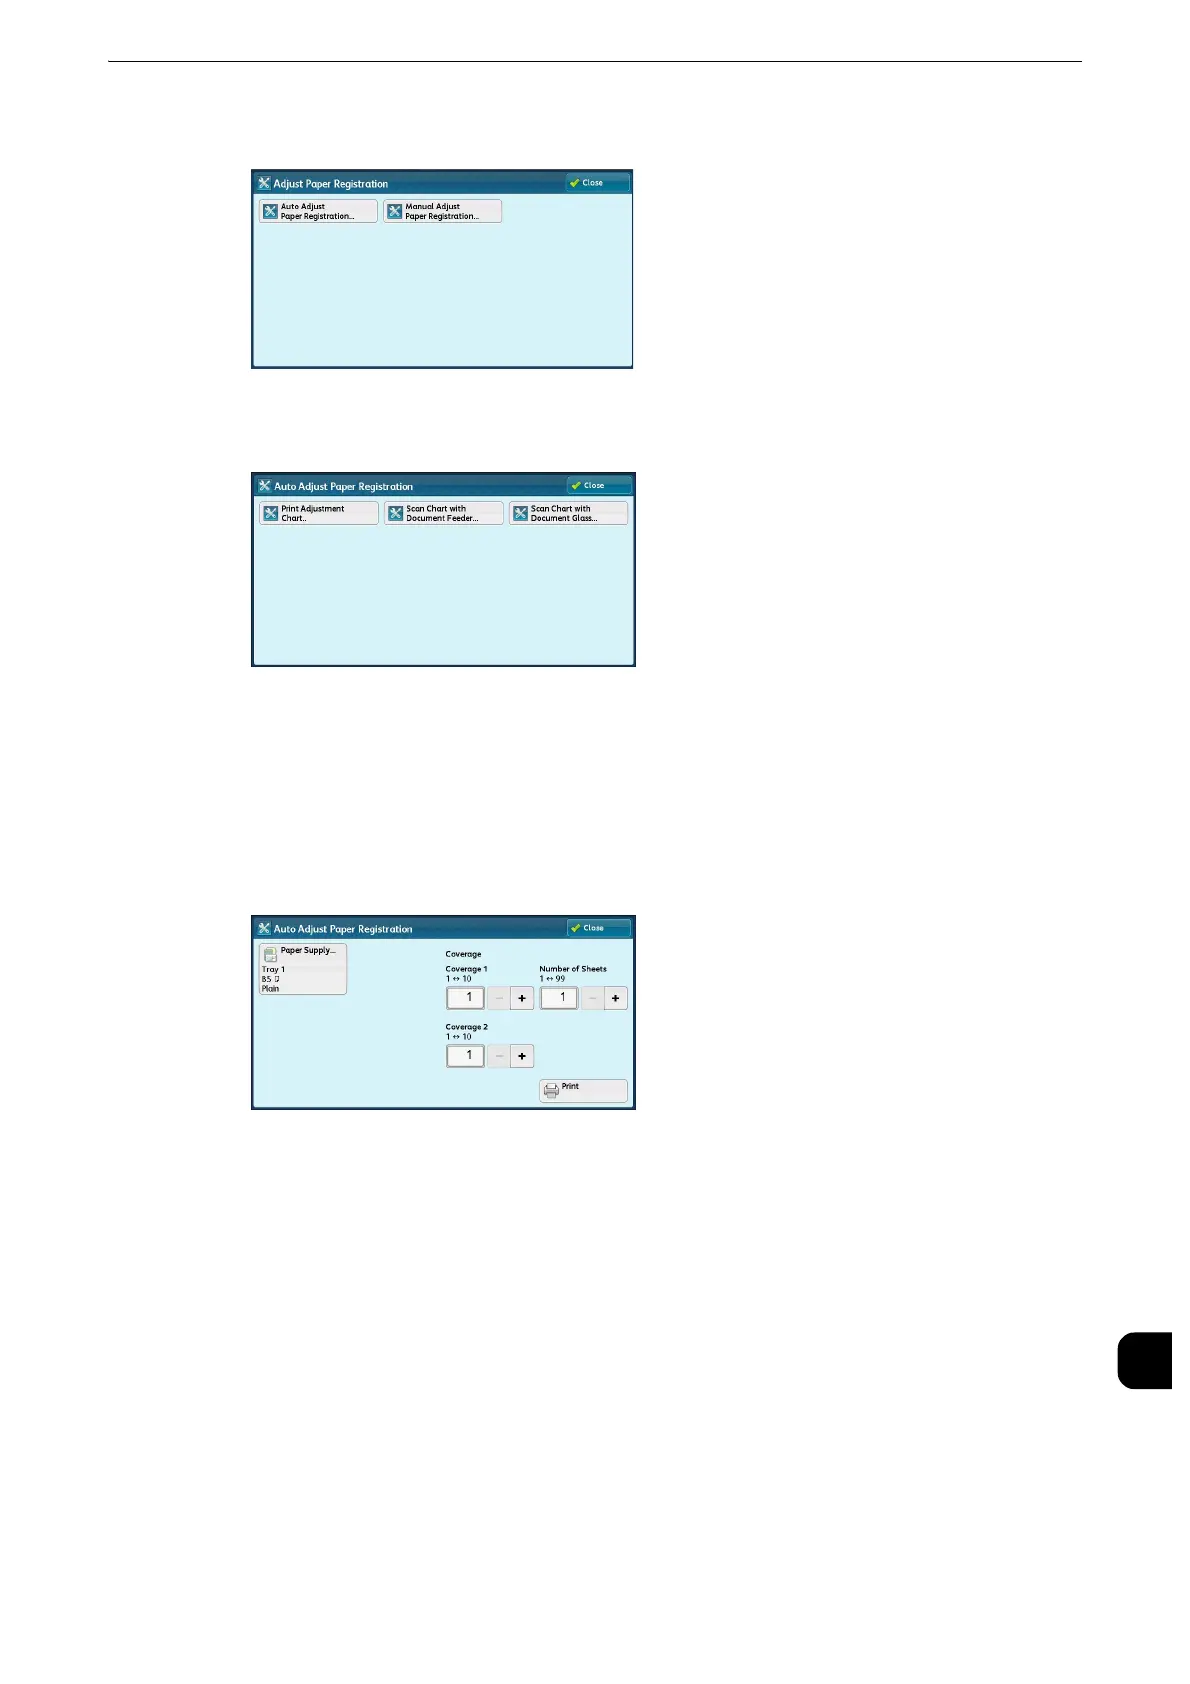
Select [Paper Supply] to select a tray to assign the adjusted value. Specify [Coverage 1] and
[Coverage 2] between 1 and 10, and the number of paper sheets between 1 and 99, and
then select [Print].
The adjustment chart will be printed.
You are recommended to average the variations that you print or scan three and more
adjustment charts.
z
For the paper size, select 182 mm (width) x 182 mm (length) or larger.
z
If you use colored paper or paper with dark ground color, it may result in an adjustment failure.
z
To collectively assign the Adjust Paper Registration settings to the multiple paper trays, print an adjustment
chart, next print an adjustment chart selecting another paper tray.
z
Scanning all adjustment charts allows you to collectively save each adjustment settings of all the paper trays.
z
The adjustment chart contains encoded information as to “from which tray the chart was printed” and “what
number of sheet was the chart”, which will be read at scanning.
8
Scan the adjustment chart.
z
When using the document feeder, refer to "Scanning the Adjustment Chart with Document Feeder" (P.750).
z
When using the document glass, refer to "Scanning the Adjustment Chart with Document Glass" (P.750).
z
Scanning by using the document glass may complete successfully if the scanning by the document feeder
has not completed with error.
 Loading...