4 FULBAT - www.fulbat.com
CHARGING INSTRUCTIONS
STEP 1 - Pre charge check & electrolyte level check
• Check the Battery Electrolyte level (Not required on
Sealed or Maintenance Free Batteries). If necessary,
remove the vent caps and add distilled water so the levels
are halfway between the upper and lower ll lines.
• Check the Voltage Output Switch on the charger
and make sure it’s on the correct voltage.
STEP 2 - Connecting the battery charger to your battery
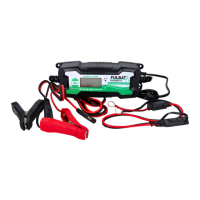
• Select the plug needed (eyelets or alligator
clips) and connect it to the charger.
• Connect the Red lead from the charger to
the positive (+) battery terminal.
• Connect the Black lead from the charger to
the negative (-) battery terminal.
STEP 3 - Connect the battery charger to mains power
(240Vac)
• Connect the battery charger to a
240Vac Mains Powered socket.
• Turn on the 240Vac Mains Power and select the
battery mode to start the charging process. Before
choosing, please read the charging mode to unders-
tand the differences between each mode.
STEP 4 - Disconnecting the battery charger from battery
once the charge is nished
• Switch OFF and Remove the AC Power
Socket from the outlet.
• Remove the Black lead and then the Red lead.
• Check electrolyte levels if possible (As they may
need topping up with distilled water after charging).
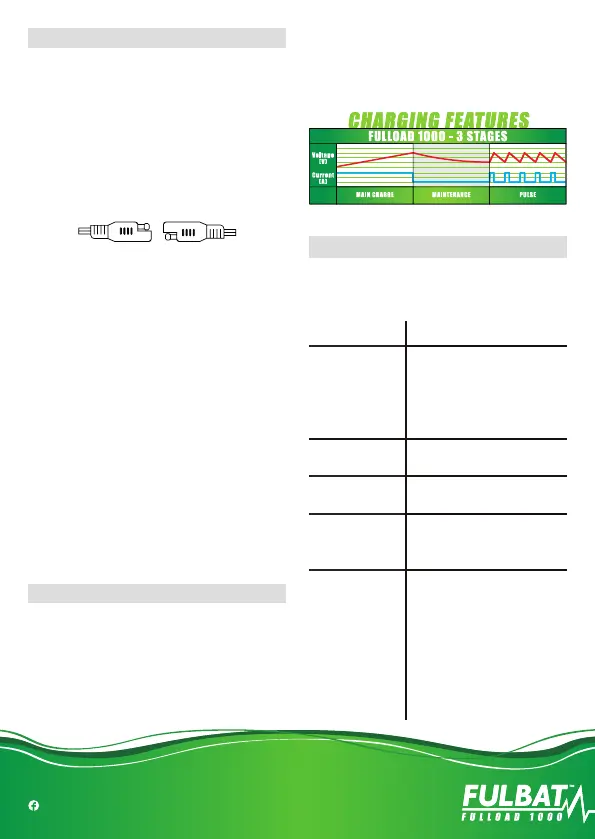
THE CHARGING PROCESS
The charging process is as follows:
• Conrm the battery voltage and chemical properties.
• The AC power plug has been inserted into the power socket,
press the mode button to switch to the charging mode
suitable for the battery voltage and chemical properties.
• The charger will start in standby mode with a green LED indi-
cation. In this state, the charger does not provide any power.
• Conrm that the positive and negative termi-
nals of the battery and the terminal connecting
wire or clip wire are correctly connected.
• The mode LED will light up the selected charging mode, and the
charging LED display will light up (depending on the health of
the battery), indicating that the charging process has started.
LED STATUS INDICATOR TABLE
The charger has some charging LEDs. The charging LED indicates
the charging status of the connected battery.
Please refer to the following instructions:
LED
Explanation
Red LED ashes
1. When the DC output is connected in
reverse, the red error LED ashes once
and goes off once.
2. When the AC output is short-cir-
cuited, the red error LED ashes twice
and goes out once.
Red LED is always on
The battery is damaged when the
charger is connected.
Red LED is always on
No AC input, DC output from charger
connected to battery.
Green LED is
always on
After the maintenance indicator turns
twice, the power indicator (green) is
always on.
Charging percentage
LED light
During the charging process, 25% or
50% or 75% charging LED will ash
slowly. Indicates the charging status
and displays the current battery
capacity. When the battery is about to
be fully charged, the 100% charge LED
will slowly ash. When the battery is
fully charged, the 100% charge LED will
turn solid white. The charger can be
connected to the battery indenitely.