00020952.DOC, Version 1.6
44/116
Connection with the mains
Connect the device to the mains with the enclosed power supply cable.
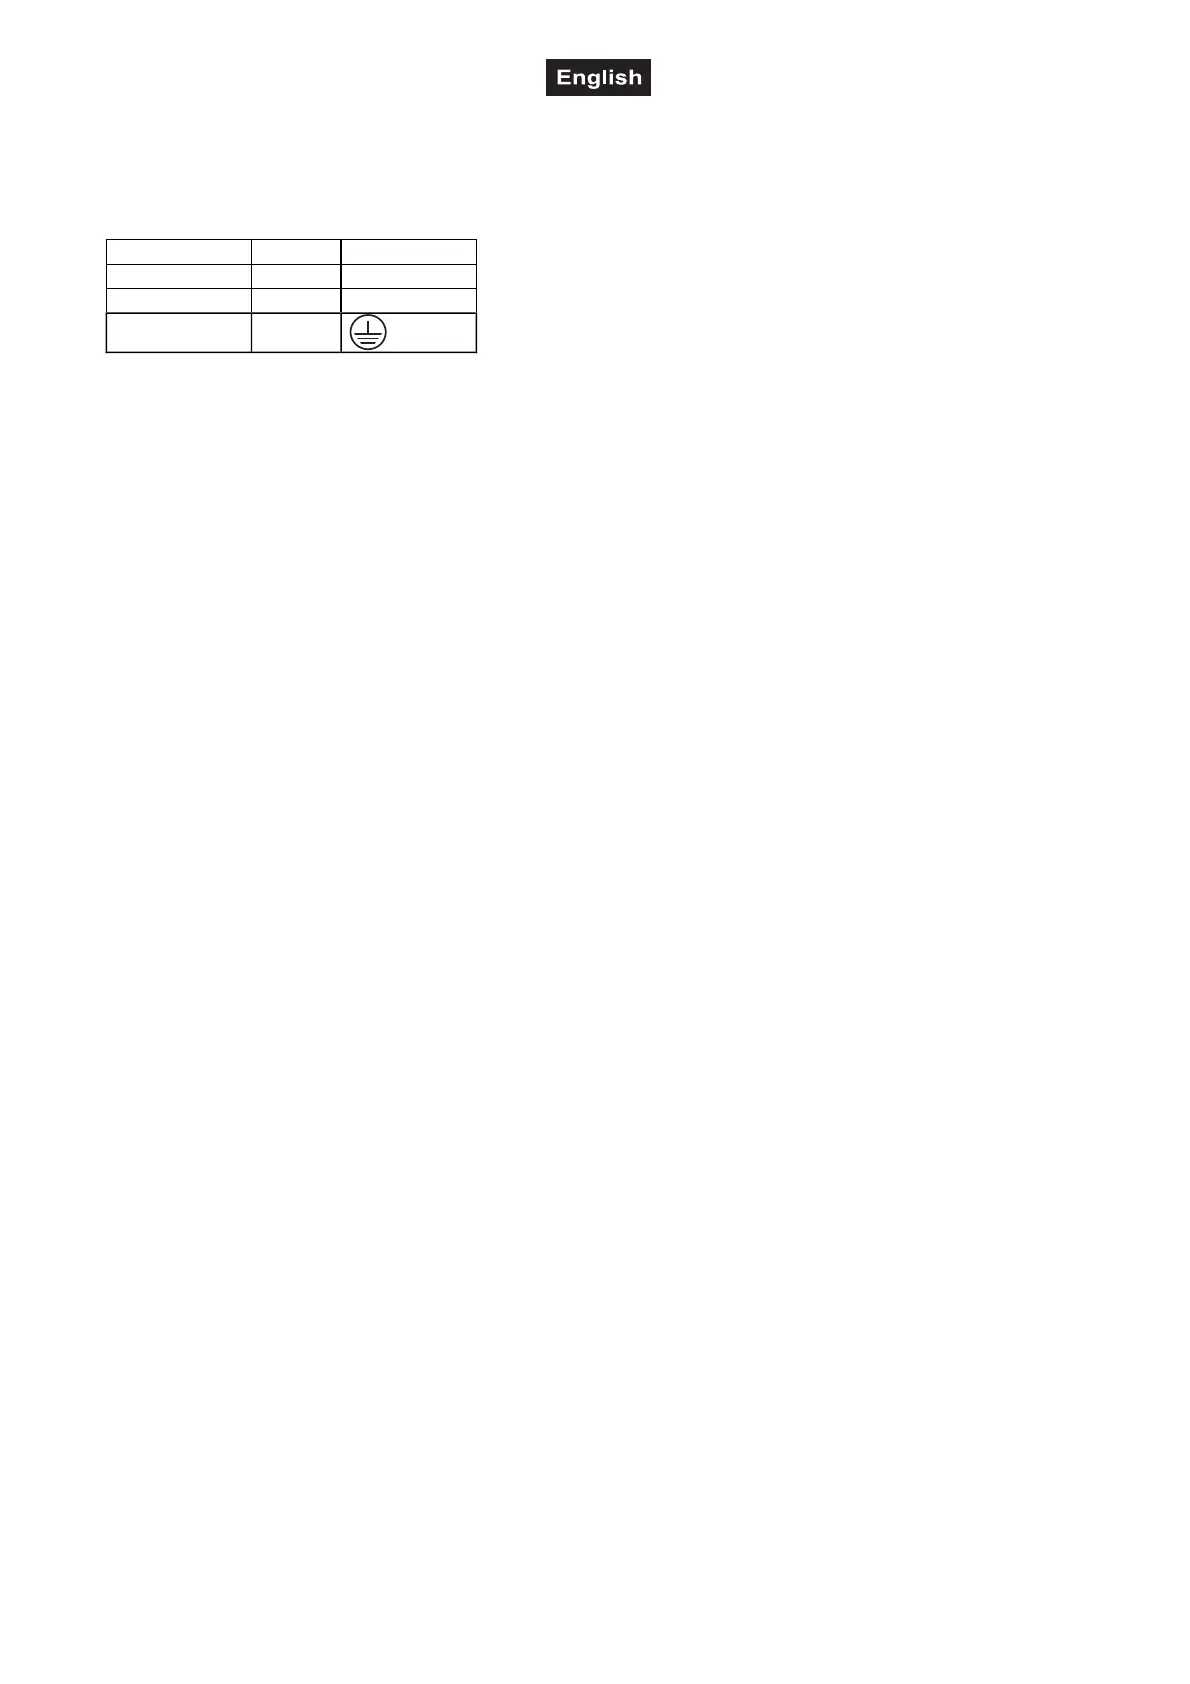
The occupation of the connection-cables is as follows:
Cable Pin International
Brown Live L
Blue Neutral N
Y
ellow/Green Earth
The earth has to be connected!
If the device will be directly connected with the local power supply network, a disconnection switch with a
minimum opening of 3 mm at every pole has to be included in the permanent electrical installation.
The device must only be connected with an electric installation carried out in compliance with the IEC-
standards. The electric installation must be equipped with a Residual Current Device (RCD) with a maximum
fault current of 30 mA.
Lighting effects must not be connected to dimming-packs.
OPERATION
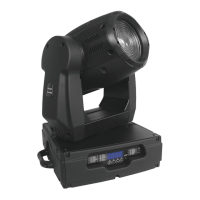
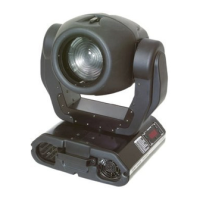
After you connected the effect to the mains, the PHS-260 starts running. During the Reset, the motors are
trimmed and the device is ready for use afterwards.
Stand Alone operation
In the Stand Alone mode, the PHS-260 can be used without controller.
Disconnect the PHS-260 from the controller and call the internal program.
1. Press [MODE/ENTER] button to enter the main menu "MODE" (display flashing)
2. Press [MODE/ENTER] and select “RUN” by pressing [UP] button.
3. Press [MODE/ENTER] and select “AUTO” by pressing [UP] button.
4. Press [MODE/ENTER] and select “ALONE” by pressing [UP] button.
5. Press [MODE/ENTER] to confirm.
6. Press 3 x [EXIT] to confirm, the display shows “AU-A”.
Please refer to the instructions under Control Board, Main functions, menus Run and Edit.
DMX-controlled operation
You can control the projectors individually via your DMX-controller. Every DMX-channel has a different
occupation with different features. The individual channels and their features are listed under DMX-protocol.
Addressing
The Control Board allows you to assign the DMX starting address, which is defined as the first channel from
which the PHS-260 will respond to the controller.
If you set, for example, the address to channel 16, the PHS-260 will use the channel 16 to 30 for control.
Please, be sure that you don’t have any overlapping channels in order to control each PHS-260 correctly and
independently from any other fixture on the DMX-chain.
If several PHS-260 are addressed similarly, they will work synchronically.
Press the Up/Down-buttons for setting the desired starting address. Now you can start operating the PHS-
260 via your lighting controller.
Note:
The modes of DMX 512 data and lamp are shown via the display:


 To Next Page