09FLATLINE VAN CO • SUPPORT@FLATLINEVANCO.COM • 888-667-5576
TOOLS REQUIRED FOR THIS STEP:
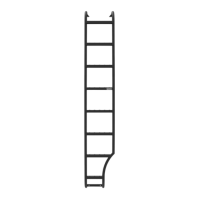
STEP | 05 SIDE LADDER INSTALL
5.1 Fastening Support Bracket to Van: After drilling, swing the
bracket back in place and loosely attach using (1) 3/8-16 x 1”
Screw, 3/8 Flat Washer, and 3/8-16 Nylock Nut (FIG 15).
5.2 Fastening Mount Plate to Van: Slide the Mount Plate up as
tight to the pinch seam as you can (FIG 16) and temporarily
tighten the two bolts holding it to the Ladder. Using the Mount
Plate as a guide, drill pilot holes for the two center holes along
the pinch seam, then drive 1/4” Self Drilling Screws through
them to hold it in place. You’ll have to remove the ladder to get to
the remaining two (2) as they sit behind the ladder uprights and
are not easily accessible without a 90-degree drill head.
5.3 Tighten Down All Fasteners: Go back and tighten down your
fasteners along the Roof Rail and Mounting Brackets.
NOTE - If desired, you can replace the self drilling screw with
1/4-20 bolts & nuts.
FIG 15
FIG 16
+ POWER DRILL
+ 1/8” DRILL BIT
+ 9/16” WRENCH OR SOCKET
+ 7/32” ALLEN WRENCH
+ 7/16” WRENCH OR SOCKET
+ 5/32” ALLEN WRENCH
MAKE SURE THIS IS AS MAKE SURE THIS IS AS
HIGH UP AS POSSIBLEHIGH UP AS POSSIBLE
 Loading...